8 Simple Steps to Remove Kitchen Cabinets
Feeling overwhelmed at the thought of removing your kitchen cabinets? You’re not alone. Many people struggle with this project, unsure where to start or how to do it safely.
But with a little guidance, you can make the process smoother and less stressful.
To remove kitchen cabinets, start by gathering your tools and clearing out all items.
Disconnect electrical and plumbing safely, then remove doors, hardware, and shelves.
Support the cabinets as you unscrew and carefully take down the main frames.
Inspect and clean the wall area afterward.
Watch out for issues like hidden screws or damage, and plan your next steps.
If you keep exploring, you’ll find detailed tips to make the process easier and safer.
Key Takeaways
- Clear out the cabinet contents and remove hardware, doors, and shelves to make the removal process easier.
- Turn off electrical and plumbing supplies before disconnecting any connections. Safety first!
- Use the right tools to carefully detach the cabinets from the wall. Be sure to support the weight as you go.
- Remove mounting screws or nails one by one. Take care to avoid damaging the wall or floor.
- Once the cabinets are out, inspect the area for any damage. Clean up all debris so the space is ready for what’s next.
- Whether you’re installing new cabinets or doing repairs, a clean and prepared space makes the job much smoother.
Gather the Right Tools and Supplies for Removing Kitchen Cabinets
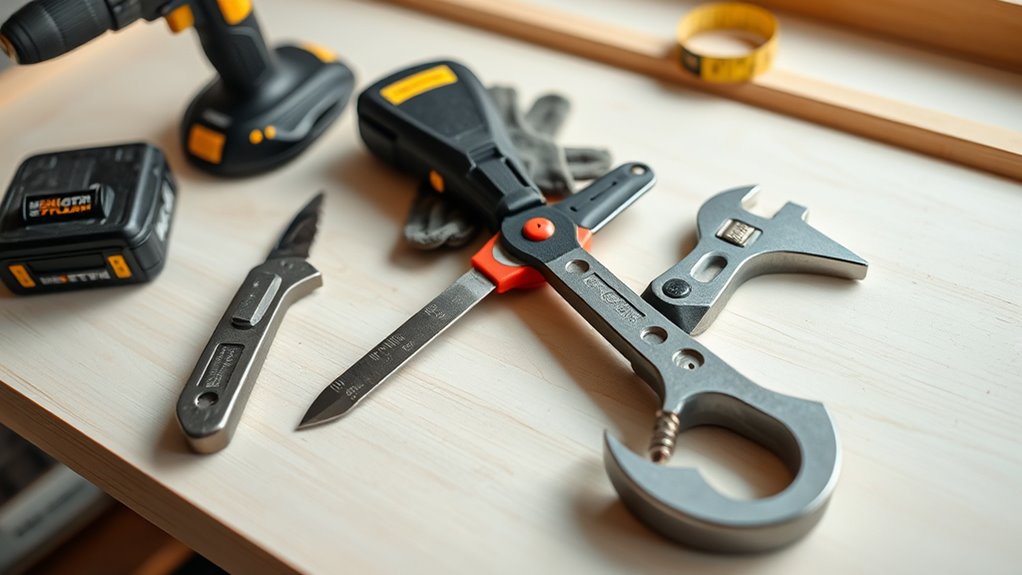
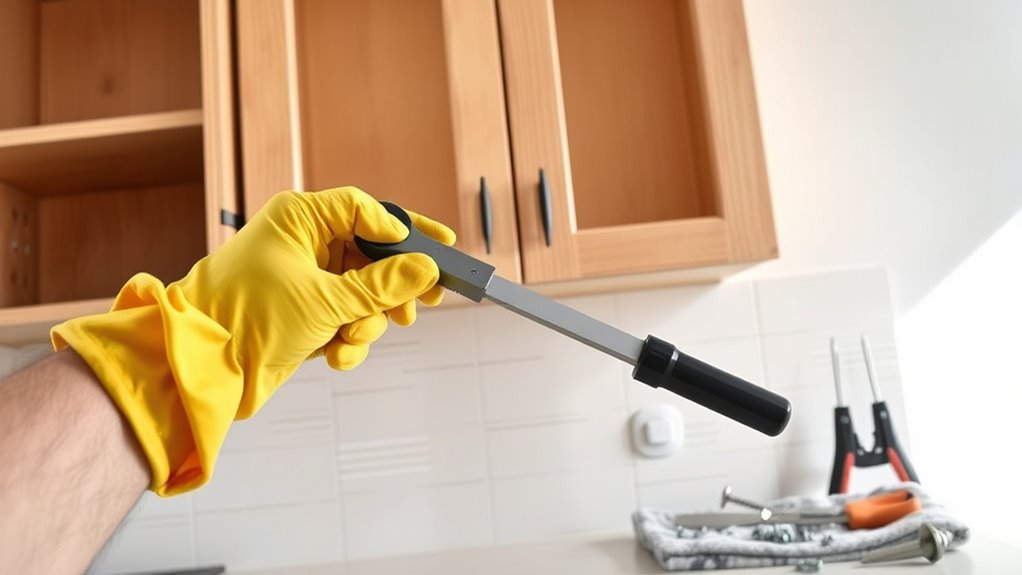
Before you start removing your kitchen cabinets, gather all the tools and supplies you’ll need to make the process smooth and efficient. You’ll want a cordless drill or screwdriver with different bits to easily remove screws.
A pry bar or crowbar can help loosen stubborn cabinet frames, and a utility knife is useful for cutting through caulk or paint sealing the cabinets. Keep a measuring tape handy if you plan to replace or modify the cabinets later.
Safety gear like gloves and safety glasses will protect you during the removal. Also, have a sturdy step ladder if your cabinets are high up. Organize your tools in a tool belt or bucket so you can access everything quickly.
This way, you’ll reduce interruptions and make the job more manageable.
Clear Out Cabinets and Disconnect Electrical and Plumbing Safely
Once you’ve gathered your tools, the next step is to clear out the cabinets and disconnect any electrical and plumbing connections. Empty all items from the cabinets to make removal easier and safer. Carefully unscrew or detach shelves and hardware, setting everything aside for reuse or disposal.
Before disconnecting electrical wiring, switch off the circuit breaker to prevent shocks. Use a voltage tester to verify power is off. For plumbing, locate the shut-off valves under the sink or nearby, and turn them off. Place a bucket or towels under the connections to catch any water.
Use appropriate tools to disconnect pipes or hoses. Always work slowly and carefully, making sure you don’t damage any wiring or plumbing. Stay safe throughout the process.
Remove Cabinet Doors and Hardware to Make Dismantling Easier
Start by removing the cabinet doors and hardware to make the dismantling process smoother. Use a screwdriver to carefully unscrew hinges from the doors, then set the doors aside.
Remove handles, knobs, and any other hardware, keeping screws in a small container for safekeeping. Doing this first helps prevent damage during removal and makes it easier to access the cabinet frames later.
Remove hardware carefully and store screws safely to prevent damage and simplify cabinet removal.
Check for any hidden screws or clips that might hold the doors or hardware in place. If hinges are stubborn, gently wiggle or tap them with a screwdriver to loosen.
Removing all hardware and doors now creates a clear workspace and reduces weight, making the next steps of dismantling safer and more efficient.
Carefully Take Down the Main Cabinet Frames
Carefully take down the main cabinet frames by supporting their weight as you loosen the mounting screws or nails. Use one hand to hold the cabinet steady, preventing sudden drops.
With your other hand, remove the screws or nails securing the frame to the wall. Work systematically, starting from one corner and moving across.
Once the fasteners are free, gently pull the cabinet away from the wall, ensuring it remains balanced. If the cabinet feels heavy or resistance is high, check for any remaining fasteners or adhesive.
Avoid forcing it, as this can damage the wall or the cabinet itself. Keep a firm grip throughout, and have someone assist if the cabinet is large or awkward to handle.
Carefully lowering it minimizes the risk of accidents or damage.
Inspect the Wall Area and Clean Up After Removing Cabinets
After removing the cabinets, take a close look at the wall to assess any damage or remaining fasteners. Check for holes, dents, or loosened drywall that might need patching. Remove any leftover nails, screws, or staples to create a smooth surface.
Use a putty knife or pry bar to carefully lift any stubborn fasteners. Clean the area thoroughly with a vacuum or damp cloth to remove dust, debris, and adhesive residue. This step guarantees a clean workspace and helps you spot potential issues early.
If you notice cracks or holes, patch them with spackle or joint compound, then sand smooth once dry. Proper inspection and cleanup prepare the wall for painting, refinishing, or installing new cabinets. This makes the next steps easier and more effective.
Troubleshoot Common Problems During Kitchen Cabinet Removal
As you remove your cabinets, you might find hidden fasteners or unexpected wall damage.
It’s a good idea to identify these fasteners early so you can avoid surprises later on.
Knowing how to handle any wall issues that come up will keep the process smooth.
Being prepared for these common problems makes the removal safer and more efficient.
Identifying Hidden Fasteners
Hidden fasteners can often be the trickiest part of removing kitchen cabinets because they’re designed to stay out of sight. To find them, look closely at the cabinet’s edges and inside corners.
Fasteners may be screws, nails, or clips concealed behind panels, moldings, or trim. Use a pry bar or putty knife to gently remove decorative elements and reveal hidden hardware. Sometimes, fasteners are behind the cabinet’s face frame or inside the cabinet cavity.
| Location | Fastener Type | How to Find |
|---|---|---|
| Behind decorative trim | Screws or clips | Remove trim carefully |
| Inside cabinet edges | Nails or screws | Feel along the seams |
| Inside face frame | Hidden clips | Inspect with a flashlight |
| Behind panels | Screws or nails | Check for panel removal |
Managing Wall Damage
When removing cabinets, wall damage can happen if you’re not careful, but knowing how to troubleshoot common issues can save you time and money.
If you see drywall cracking or chipping, stop removing fasteners and take a look at the area.
Use a putty knife to gently pry loose drywall from behind the cabinet, which helps minimize further damage.
For holes or gouges, clean the area well and apply a patch or spackle. After it dries, sand it smooth, then prime and repaint to match the wall.
Be cautious around electrical wiring and plumbing to avoid accidental damage.
If you come across stubborn nails or screws, remove them carefully with pliers or a pry bar.
Taking your time and working methodically helps prevent unnecessary wall repairs and keeps your kitchen looking neat.
Plan Your Next Steps for Renovating or Replacing Cabinets
Before you start tearing out your old cabinets, it’s essential to plan your next steps carefully. Decide whether you want to replace the cabinets with new ones or renovate the existing setup.
Measure your space accurately to determine the size and style of the new cabinets. Consider your budget and prioritize features like storage, style, or durability.
Accurately measure your space and prioritize features like storage, style, and durability within your budget.
Research different materials and designs to find options that match your vision. Create a timeline for the project, including ordering new cabinets and scheduling installation.
Think about the overall look you want to achieve and how the new cabinets will fit with your kitchen’s layout. Proper planning guarantees a smoother renovation process and helps you avoid surprises along the way.
Safety Tips to Keep in Mind During Cabinet Removal
Starting the cabinet removal process requires careful attention to safety to prevent accidents or injuries. Before you begin, turn off the power supply if your cabinets have electrical components, and unplug any appliances nearby.
Wear safety goggles to protect your eyes from falling debris and gloves to shield your hands. Use a sturdy ladder or step stool if you’re working above your head, making sure it’s stable.
Be cautious of sharp edges on cabinet parts or nails sticking out. Handle tools with care, keeping a firm grip to avoid slips.
Clear the area of clutter to prevent tripping hazards. Remember, don’t rush—taking your time minimizes the risk of accidents.
Staying alert and following these safety tips keeps you safe throughout the removal process.
Frequently Asked Questions
How Do I Identify Hidden Plumbing or Electrical Connections Behind Cabinets?
You should start by inspecting the edges and seams of your cabinets for any signs of pipes or wires. Look for gaps, stains, or marks that might indicate hidden connections.
Turn off the water supply and electricity before removing panels or baseboards. This helps keep you safe while revealing any hidden plumbing or electrical lines.
Use a flashlight and a mirror to look behind walls or inside cavities. This can give you a better view of what’s behind the cabinetry without causing damage.
If you’re unsure about what you find, consider consulting a professional. They can safely locate and disconnect any hidden plumbing or electrical lines.
What Should I Do if Cabinets Are Glued or Nailed Too Securely?
If your cabinets are glued or nailed too securely, start by carefully prying around the edges with a pry bar or putty knife. Take your time and work gently to avoid damaging the cabinets or walls.
You can also apply heat with a heat gun to soften the glue, making it easier to detach. Just be careful not to overheat or damage the finish.
If the nails are stubborn, use a nail puller or side cutters to remove them. Patience is key here—work slowly and steadily.
Remember to protect your walls and floors during the process to prevent any accidental damage.
How Can I Prevent Wall Damage During Removal?
Think of removing cabinets like delicately peeling a sticker without tearing the paper; you want to avoid damage. To prevent wall harm, loosen the cabinet carefully with a pry bar, working slowly along the edges.
Use painter’s tape around the area to protect the wall surface. Moreover, place a thin pry board between the wall and cabinet to distribute pressure evenly, reducing the risk of gouges or dents.
Are There Eco-Friendly Disposal Options for Old Cabinets?
You can find eco-friendly disposal options for your old cabinets by donating them to local charities or shelters, which often accept gently used furniture. Recycling centers may also take cabinet materials like wood and metal.
Some companies specialize in repurposing or refurbishing old cabinets. Before disposal, check if your community offers hazardous waste collection or furniture recycling programs.
This way, you reduce waste and give your cabinets a new purpose.
Can I Remove Cabinets Without Damaging the Wall Finish?
Did you know that improper removal can damage up to 50% of wall finishes? You can remove cabinets without harming your walls by carefully loosening screws, avoiding excessive force, and using a putty knife to gently pry the cabinets away.
Tape off nearby walls to prevent scratches, and work slowly, especially around corners and edges. This careful approach helps preserve your wall finish while giving your cabinets a proper removal.
Conclusion
Remember, removing kitchen cabinets isn’t just about physical effort. It’s also a chance to rethink your space and picture your dream kitchen.
By planning carefully and following these steps, you show that patience and preparation really do pay off. Taking down the old opens the door for new possibilities.
Think of it this way: sometimes, tearing out what’s old makes room for fresh beginnings. Approach the process with confidence, knowing each step gets you closer to a kitchen you’ll love.