10 Essential Steps to Refinish Kitchen Cabinets
If you’re like many homeowners, transforming your kitchen cabinets can feel overwhelming. You want a fresh, updated look but don’t know where to start or worry about making mistakes.
You’re not alone—refinishing cabinets is a popular project, but it can seem tricky without the right guidance.
To refinish your kitchen cabinets, start by evaluating their condition and preparing the surfaces, including removing hardware and cleaning thoroughly.
Next, sand the surfaces using appropriate tools for a smooth finish.
Apply primer and paint carefully, then seal and protect your work.
Reinstall hardware and avoid common mistakes like rushing or skipping steps.
Regular maintenance keeps your cabinets looking great.
If you want detailed guidance on each step, continue exploring the process more closely.
Key Takeaways
- Assess the condition of your cabinets. Check for any damage or issues that might need fixing. Remove all hardware and give the surfaces a thorough clean. Sand everything well to prepare for refinishing.
- Use the right sanding tools and techniques. Always sand with the grain to avoid scratches. After sanding, wipe away all the dust completely. This will help your finish stick better.
- Apply a high-quality primer evenly across all surfaces. Once the primer dries, start painting with a suitable paint. Be sure to let each coat dry completely before applying the next.
- Finish up by sealing your cabinets with a compatible sealant. This adds protection and boosts durability. It’s a simple step that makes a big difference.
- When reinstalling hardware, do it carefully. Test the hardware to make sure everything functions properly. Regularly maintain your cabinets with gentle cleaning to keep them looking great.
Assess Your Cabinets’ Condition Before Refinishing
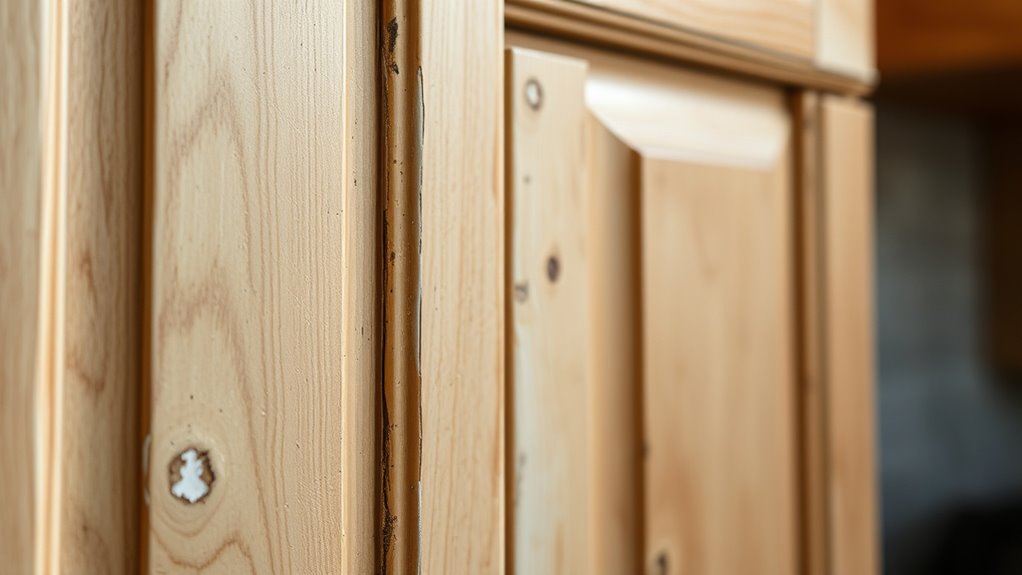
Before you start refinishing your kitchen cabinets, it’s important to check their condition carefully. Look at each cabinet door and drawer for any damage like cracks, warping, or peeling paint.
Next, examine the hinges and hardware to see if they’re rusted or loose. You might need to replace them to ensure everything works smoothly. Also, check for signs of water damage or mold, which could mean more repairs are needed.
Think about what material your cabinets are made of—wood, laminate, or MDF—as each one requires different prep work. Look at the existing finish to see if it’s intact or if it’s peeling or bubbling.
This assessment helps you figure out if refinishing is possible and guides your plan of action. Knowing how much damage there is means you’re better prepared to achieve a durable, professional-looking finish.
Select the Right Sanding Tools and Techniques
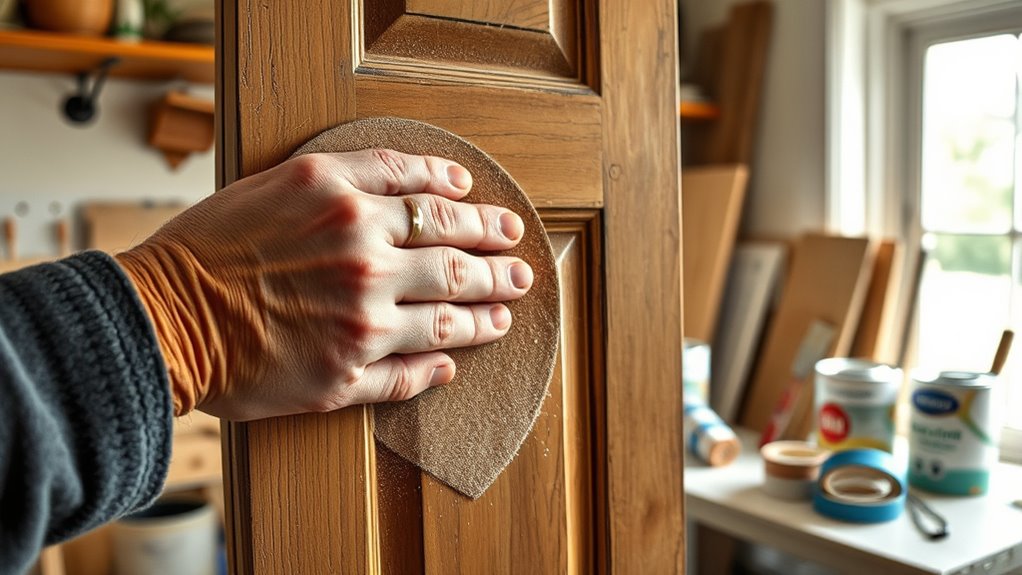
Choosing the right sanding tools and techniques is key to getting a smooth, even finish on your cabinets. Start with a medium-grit sandpaper (around 120 grit) to take off the old finish and smooth out rough spots.
Use a sanding block or an orbital sander for flat surfaces to ensure consistent pressure and even sanding. For detailed areas or corners, switch to hand sanding with a fine grit (220 or higher) to avoid damaging edges.
Always sand in the direction of the grain to prevent scratches. If you’re using a power sander, keep it moving to avoid gouging. After sanding, wipe down the surfaces with a tack cloth to remove dust and ensure a clean surface for primer and paint.
Remove Hardware and Prepare Surfaces Properly
Before you start refinishing, gather your tools, like screwdrivers and a putty knife.
Next, carefully remove all hardware, such as handles and hinges, to avoid any damage.
Finally, give the surfaces a good cleaning and sanding to ensure a smooth, even finish.
Gather Necessary Tools
To start refinishing your kitchen cabinets, gather all the necessary tools to make the process smoother. Having the right equipment on hand makes the job easier and faster.
First, get a screwdriver to remove hinges and handles if you haven’t already. Second, grab a sanding sponge or electric sander to smooth out surfaces.
Third, pick up painter’s tape to protect adjacent areas and create clean lines. Finally, have a clean cloth or tack cloth ready to wipe down surfaces after sanding.
These tools will help you prep efficiently, ensuring a clean, smooth finish. Double-check your supplies before you start so you’re not interrupted halfway through.
Being prepared with these essential tools sets the foundation for a successful cabinet refinishing job.
Detach All Hardware
Start by removing all hardware from your cabinets, including handles, knobs, and hinges. Use a screwdriver to carefully take them off, keeping track of small parts. Place hardware in a labeled container or a small bag to prevent loss.
Removing all hardware guarantees you can clean and sand surfaces thoroughly without obstructions. This step also helps prevent damage to hardware during the refinishing process. Before proceeding, check for any damaged or loose hardware that might need replacement.
Keep the hardware aside in a safe spot for reinstallation later. Take your time to remove everything carefully, as rushing could lead to stripped screws or misplaced pieces. Properly detaching hardware now makes the next steps smoother and assures a professional-looking finish.
Clean and Sand Surfaces
Begin by wiping down all cabinet surfaces with a damp cloth to remove dust, grease, and dirt. This step guarantees a clean surface for sanding and painting. Once dry, lightly sand the entire surface to smooth out imperfections and create a better grip for paint or stain. Be sure to sand in the direction of the wood grain.
Next, follow these key steps: Remove any remaining dust with a tack cloth or a vacuum with a brush attachment. Fill any holes or dents with wood filler, then sand smooth after it dries.
Wipe down surfaces again to confirm all dust is gone. Double-check that all hardware is removed and surfaces are clean, ready for priming and painting. Proper preparation ensures a professional finish.
Apply Primer and Choose the Best Paint
Applying primer correctly creates a smooth, long-lasting finish on your cabinets. Pick a high-quality primer suited for your material—oil-based for durability or latex for easier application.
Apply the primer evenly with a brush or roller, avoiding drips and streaks. Once it’s dry, choose the best paint based on your desired look: semi-gloss or satin for easy cleaning, matte to hide imperfections.
Here’s a quick guide:
| Primer Type | Best for |
|---|---|
| Oil-based | Heavy use, durability |
| Latex | Easy to use, quick drying |
| Bonding primer | Laminates, slick surfaces |
And for paint finishes:
| Finish | Benefits |
|---|---|
| Semi-gloss | Easy to clean, shiny |
| Satin | Slight sheen, versatile |
| Matte | Hides imperfections |
How to Achieve a Smooth, Professional Finish
Achieving a smooth, professional finish on your cabinets takes attention to detail and the right technique. First, make sure your surface is perfectly smooth by sanding thoroughly between coats.
Next, use high-quality brushes or rollers to avoid streaks and uneven texture. Keep your strokes consistent and don’t overload your brush with paint to prevent drips.
Finally, apply thin, even coats and let each layer dry completely before adding the next. These simple steps will give your cabinets a flawless, professional look that really enhances their appearance.
How to Seal and Protect Your Cabinets
To keep your cabinets looking great long-term, you need to seal and protect them properly. Choosing the right sealant is key to making sure they stay durable and have a smooth finish.
Applying protective finishes helps guard against moisture and daily wear. Follow these steps carefully to maintain your cabinets’ beauty and integrity over time.
Choosing the Right Sealant
Selecting the right sealant is key to keeping your kitchen cabinets protected and looking great for years. The sealant you pick affects how durable, attractive, and easy to maintain your cabinets are.
Think about the type of sealant first. Water-based options are low odor and dry quickly, while oil-based ones tend to be more durable.
Next, consider the finish. You can choose matte, satin, or gloss depending on the look you want and how much shine you prefer.
Make sure the sealant is compatible with your cabinet’s paint or stain. This helps prevent issues like peeling or discoloration over time.
Finally, choose a sealant that matches your application method, whether you’ll be brushing, rolling, or spraying it on. That way, you get a smooth, even coat.
Being careful with your choice not only protects your cabinets but also boosts their overall appearance.
Applying Protective Finishes
Start by preparing your workspace and tools to guarantee a smooth application process. Make sure your area is well-ventilated and free of dust.
Gather your brushes, rollers, or sprayers, and have your chosen protective finish ready. Before applying, stir the finish thoroughly—don’t shake it, as this can create bubbles.
Use a clean brush or roller to apply a thin, even coat, working with the grain of the wood. Be patient and avoid over-brushing, which can cause streaks.
Once you finish, let the first coat dry completely according to the manufacturer’s instructions. Lightly sand the surface if needed, then wipe away dust before applying additional coats.
Proper application of protective finishes ensures your cabinets are sealed, durable, and resistant to moisture and stains.
Reinstall Hardware and Add Final Touches
Carefully reinstall the hardware, making sure each piece lines up correctly and works smoothly. Take your time to position handles, knobs, and hinges so they operate seamlessly. Once everything is in place, double-check that all screws are tight but not over-tightened, which could damage the hardware or surface.
Next, step back and add final touches to improve your cabinets’ appearance and functionality. Inspect hardware alignment and tighten screws if needed. Clean off any fingerprints, dust, or smudges for a polished look.
Test all doors and drawers to confirm they open and close smoothly. Touch up paint or finish if you notice any spots needing refinement. These steps will ensure your cabinets look great and work perfectly.
Common Mistakes to Avoid When Refinishing Cabinets
Refinishing cabinets can be rewarding, but it’s easy to make mistakes that hurt your results. One common error is skipping proper surface prep. Not cleaning, sanding, or fixing damages can lead to uneven finishes or peeling paint.
Another mistake is rushing the drying process. Applying coats too quickly or working in humid conditions causes drips and bubbles, ruining the look. Using the wrong tools or cheap paints can also affect how long your finish lasts and how good it looks.
Ignoring manufacturer instructions on paint or primer can cause adhesion problems. Finally, not taping off areas or working in a poorly ventilated space results in messy edges and fumes. Avoiding these mistakes helps your project look professional and stay durable longer.
Tips for Maintaining Your Refinished Cabinets
To keep your refinished cabinets looking their best, regular cleaning with gentle methods is key.
Avoid harsh cleaning products that can damage the finish, and always handle your cabinets carefully to prevent scratches or dents.
Regular Cleaning Techniques
Maintaining your newly refinished kitchen cabinets starts with regular cleaning to keep them looking their best. Consistent upkeep prevents dirt and grime from building up and helps preserve the finish. Here are four essential tips:
- Use a soft, damp cloth to wipe down surfaces weekly, avoiding excessive moisture.
- Mix a mild dish soap with water for gentle cleaning, steering clear of harsh chemicals.
- Dry cabinets immediately with a clean cloth to prevent water spots and damage.
- Clean handles and knobs regularly to prevent grease buildup and keep them shining.
Avoiding Harsh Products
While it might be tempting to use all-purpose cleaners, avoiding harsh products is essential for preserving the beauty of your refinished cabinets. Strong chemicals like bleach, ammonia, or abrasive scrubbers can damage the finish, causing dullness or peeling.
Instead, opt for mild detergents or gentle soap mixed with water. Test any cleaner on a small, hidden area first to make sure it doesn’t harm the surface. Avoid products with alcohol, acetone, or other solvents, as these can strip or discolor the finish.
Using the right cleaning agents helps maintain the integrity of your refinished cabinets, keeping them looking fresh longer. Remember, gentle cleaning and avoiding aggressive chemicals are key to preserving your investment.
This way, your cabinets will stay beautiful for years to come.
Proper Handling Tips
Proper handling is key to keeping your refinished cabinets looking great. To help maintain that fresh look, here are some simple tips:
Use gentle cleaning methods with soft cloths and mild soap. Avoid abrasive scrubbers that can scratch the surface.
Don’t hang heavy items on cabinet doors or handles, as this can loosen or damage them over time.
Wipe up spills right away to prevent stains or moisture from settling in.
When opening cabinets, use the handles instead of pulling on the doors. This helps avoid misalignments or scratches.
Should You Hire a Professional or DIY?
Deciding whether to hire a professional or tackle your kitchen cabinet refinishing project yourself depends on several factors, like your skill level, budget, and timeline.
If you have experience with painting and woodworking, DIY might save you money and give you a sense of accomplishment.
But if you’re new to these tasks or want a flawless finish, hiring a professional guarantees quality results and saves time.
Consider your available time too; refinishing cabinets can be time-consuming and messy.
Your budget also matters—professionals charge for their expertise, but their work can prevent costly mistakes.
Ultimately, weigh your confidence and resources.
Assess your confidence and resources to determine the best approach for your kitchen cabinet project.
If you’re unsure, consulting a professional can help you decide whether to DIY or hire someone to get the best outcome.
Frequently Asked Questions
How Long Does the Entire Cabinet Refinishing Process Typically Take?
The entire cabinet refinishing process usually takes about 3 to 7 days, depending on the size of your kitchen and how complex the work is.
You’ll spend a day or two cleaning, sanding, and prepping the cabinets. Then, applying primer and paint or stain takes a couple of days, giving enough time for proper drying.
Expect some extra time for curing and reassembling, so it’s good to plan ahead and avoid rushing through the project.
What Are the Best Eco-Friendly Paints for Kitchen Cabinets?
You’re looking for eco-friendly paints that won’t harm your home or the environment. Brands like Benjamin Moore’s Natura, Sherwin-Williams Harmony, and AFM Safecoat lead the way with low or zero VOC formulas.
These paints are safe for your family and the planet, giving your cabinets a fresh look while keeping air quality in check. Think of it as hitting two birds with one stone—beautiful and sustainable finishes.
Can I Refinish Cabinets Over Existing Paint or Stain?
Yes, you can refinish cabinets over existing paint or stain if the surface is clean, dry, and free of peeling or chipping.
Start by thoroughly cleaning and lightly sanding the surface to ensure proper adhesion. Removing any grease or residue is essential.
Applying a suitable primer will help the new finish stick better. With these steps, you’ll achieve a fresh, updated look without stripping the original finish completely.
How Do I Prevent Brush Marks and Streaks During Painting?
To prevent brush marks and streaks, use a high-quality, angled brush or a foam roller for smoother application. Work in thin, even coats and follow the grain of the wood.
Keep your brush or roller lightly loaded with paint and don’t press too hard. This helps avoid excess paint that can cause streaks.
Maintain a wet edge by overlapping slightly as you go. This helps you avoid lap marks and creates a more uniform finish.
Finally, lightly sand between coats for a flawless, professional look.
What Safety Precautions Should I Take During Refinishing?
Think of safety as your guiding star through the refinishing journey. You should wear protective gear like gloves, goggles, and a mask to shield yourself from harmful fumes and chemicals. Keep the workspace well-ventilated and avoid open flames or sparks.
Store paints and solvents properly, and dispose of waste responsibly. These precautions guarantee your project stays safe, while your home transformation becomes a rewarding, worry-free masterpiece.
Conclusion
Like a painter with a fresh canvas, your kitchen cabinets can tell a new story.
By following these steps, you’re not just restoring furniture—you’re reviving the heart of your home.
Remember, patience and attention to detail are your brushes and colors.
With each careful stroke, you’re creating a space that’s uniquely yours, much like an artist shaping their masterpiece.
So, roll up your sleeves and bring your vision to life. Your dream kitchen, with beautifully refinished cabinets, awaits.