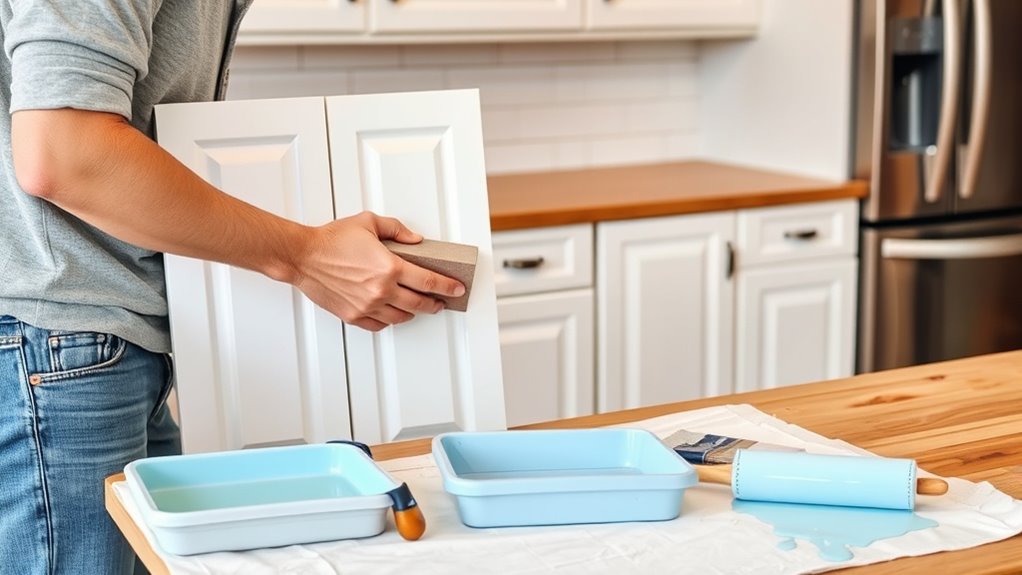
8 Simple Steps to Repaint Kitchen Cabinets
Thinking about giving your kitchen a fresh new look but feeling overwhelmed by the idea of repainting your cabinets? You’re not alone—many people struggle with knowing where to start or worry about messing up the job.
Repainting kitchen cabinets can seem daunting, but with the right steps, it’s totally doable and rewarding.
To repaint your kitchen cabinets, start by removing doors, hardware, and thoroughly cleaning and sanding surfaces. Gather quality paints, brushes, and protective supplies.
Choose a durable finish like semi-gloss or satin. Carefully apply primer, then the paint in thin coats, avoiding drips.
Watch for common mistakes like rushing or skipping prep. Once finished, clean and maintain your cabinets regularly.
If you want to master each step, stay with us for more helpful tips.
Key Takeaways
- Remove cabinet doors, hardware, and label parts for easy reassembly.
- Clean surfaces thoroughly to eliminate grease and dirt before sanding.
- Sand surfaces to promote paint adhesion and create a smooth base.
- Apply primer, then follow with durable paint using the right brushes or rollers.
- Reassemble the cabinets carefully, and keep up with regular cleaning to make them last longer.
What You Need to Know Before Repainting Kitchen Cabinets
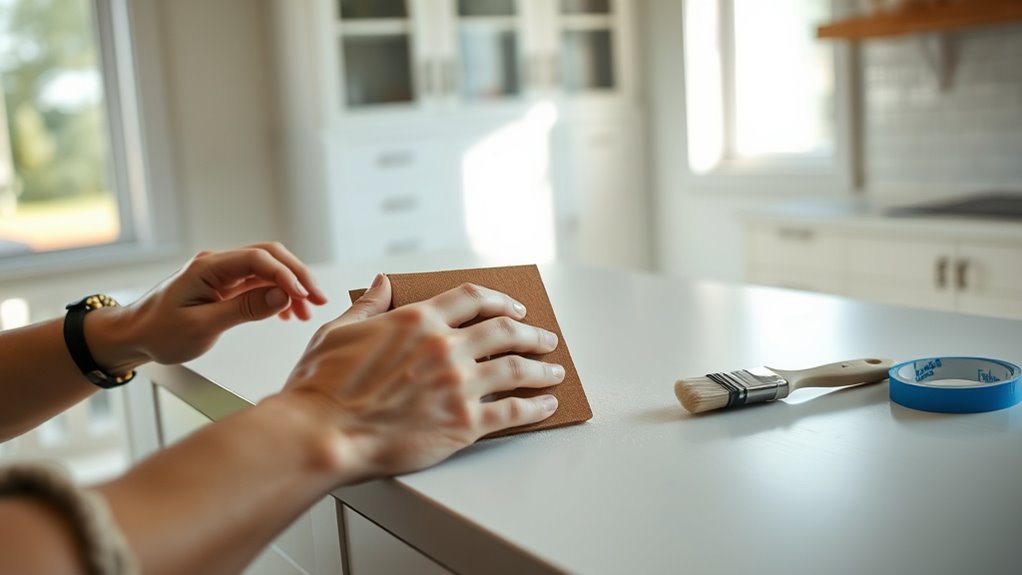
Before you start repainting your kitchen cabinets, it’s good to know what the project involves and what you’ll need to get professional-looking results. Repainting isn’t just about slapping on new paint; it requires proper prep like cleaning, sanding, and priming to make sure the finish lasts.
You’ll also want to pick the right paint, ideally a durable semi-gloss or satin finish that can handle kitchen wear. Don’t forget, good ventilation is key to avoid fumes and stay safe while working.
Make sure to set aside enough time to do each step carefully. Knowing these basics helps you avoid mistakes and saves you from having to redo parts later. Being prepared makes the whole process smoother and gives you a polished, long-lasting cabinet finish.
Gather the Right Tools and Materials for a Smooth Finish
To get a smooth, professional-looking finish on your cabinets, it’s important to gather the right tools and materials first. Start with quality painting supplies like a good primer, durable paint, and the right brushes or rollers. This will help you get an even coat and avoid drips.
Next, make sure you have protective gear such as painter’s tape, drop cloths, and gloves. These will keep your workspace clean and safe while you work.
Finally, gather cleaning supplies like a gentle cleanser, sanding blocks, and tack cloths. Proper surface prep is key to a flawless finish.
Having everything ready beforehand makes the job smoother and helps you achieve the best results. Investing in the right tools really makes a difference in how your cabinets turn out.
How to Prepare Your Cabinets for Painting
To get your cabinets ready for painting, start by removing the doors and hardware. It’s easier to work on the surfaces without those in the way.
Next, clean all surfaces thoroughly to remove grease and dirt. This step helps the paint stick better and gives you a smoother finish.
Finally, sand the surfaces to guarantee the paint adheres properly. A little sanding now makes a big difference in how your cabinets look after painting.
Remove Cabinet Doors
Start by carefully removing all cabinet doors and drawers to make the painting process easier. This way, you can access every surface without hassle and get a professional-looking finish.
Use a screwdriver to unscrew hinges and handles, and keep the screws organized so you don’t lose them. Label each door and drawer with painter’s tape and a marker to remember where they go later.
Gently lift the doors and drawers away from the cabinet frames, being careful not to damage hinges or paint. Taking your time here prevents mishaps and saves you time when you reassemble everything.
Removing the doors and drawers lets you work more efficiently and helps you achieve a polished look once you’re done painting.
Clean All Surfaces
Begin by thoroughly cleaning all cabinet surfaces to remove grease, dirt, and dust that can prevent paint from sticking properly. Use a degreasing cleaner or a mixture of warm water and mild dish soap. Wipe down every surface, including doors, drawers, and frames, with a clean cloth or sponge.
Pay special attention to greasy spots around handles and hinges. Rinse with a damp cloth to remove any soap residue, then dry thoroughly with a clean towel to prevent streaks or water marks. If there’s stubborn grime, consider using a gentle scrub brush.
Making sure all surfaces are clean and dry creates a smooth foundation for your primer and paint. This helps your finish look professional and last longer. Proper cleaning is key to getting a flawless, long-lasting paint job.
Sand for Adhesion
Before applying primer and paint, you need to sand the cabinet surfaces to create a rough texture that promotes adhesion. Sandpaper helps remove any gloss, smooth out imperfections, and give the paint a better grip.
To do this effectively:
- Choose medium-grit sandpaper (around 120-150 grit) for a good balance of abrasiveness and control.
- Sand in the direction of the wood grain to prevent scratches and uneven surfaces.
- Wipe down the cabinets with a damp cloth afterward to remove dust and debris.
This step guarantees the paint adheres properly and lasts longer. Skipping sanding can lead to peeling or chipping down the line, so take your time to prepare your cabinets thoroughly.
Choosing the Best Paint and Finish for Your Kitchen Cabinets
Choosing the right paint finish can really change how your cabinets look and how well they hold up over time. Think about options like matte, satin, or semi-gloss finishes based on your style and how much maintenance you’re willing to do.
Picking a durable paint is key. It helps keep your cabinets looking great longer, even with daily use and wear. So, go for a finish that matches your needs and keeps your kitchen looking fresh.
Types of Paint Finishes
Selecting the right paint finish is key because it impacts both how your cabinets look and how long they last. Different finishes give different styles and levels of durability.
Here are three common options:
- Matte provides a smooth, non-reflective surface that hides imperfections. It’s great for a modern, understated look.
- Eggshell is slightly shinier than matte, making it durable and easy to clean. It’s perfect for busy areas.
- Semi-gloss has a shiny finish that’s highly washable and resistant to moisture. It works well in kitchens that see a lot of use.
Choosing the right finish depends on your style and how much wear your cabinets will face. Each one adds a unique touch while meeting different functional needs.
Choosing Durable Paint Options
In regard to repainting your kitchen cabinets, opting for durable paint options guarantees your investment withstands daily wear and tear. Look for paints labeled as “high-traffic” or “kitchen and bath,” as they’re designed to resist moisture, stains, and scratches.
Oil-based paints offer durability and a smooth finish, but water-based or acrylic paints have improved in quality, making them easier to clean and quicker to dry.
Satin or semi-gloss finishes are ideal because they’re tough and easy to wipe down without showing fingerprints or smudges.
Avoid flat or matte finishes, as they’re less resistant to moisture and harder to clean.
Choose a paint formulated for cabinetry to ensure good adhesion and longer-lasting results, saving you time and effort in the long run.
Step-by-Step Guide to Painting Kitchen Cabinets Like a Pro
Painting kitchen cabinets like a pro starts with careful preparation. First, remove all cabinet doors, drawers, hardware, and hinges. Then, clean every surface thoroughly with a degreaser to get rid of grease and grime.
Next, lightly sand all surfaces to create a smooth base for the paint. Fill any dents or holes with a suitable filler, and once it’s dry, sand again. Tape off nearby walls and countertops to protect them from paint splatters.
Make sure you work in a well-ventilated space and wear a mask for safety. Taking the time to prep properly will give you a professional-looking finish. Once that’s done, you’re ready to move on to priming and painting with confidence.
Common Painting Mistakes to Avoid for Perfect Results
Even with thorough preparation, mistakes can still happen if you’re not careful during the painting process. One common error is rushing through the job, which leads to uneven coverage or missed spots.
Avoid skipping surface prep or neglecting to sand and clean the cabinets properly. Using the wrong brush or roller can also cause streaks or brush marks; opt for high-quality tools suited for your paint type.
Applying thick coats instead of thin, even layers results in drips and longer drying times. Don’t rush the drying process—patience guarantees a smooth finish.
Finally, neglecting to tape off edges or hardware can create messy lines. Stay focused, work carefully, and follow best practices to achieve flawless, professional-looking results.
How to Clean and Maintain Your Refinished Kitchen Cabinets
Maintaining your freshly refinished kitchen cabinets is essential to keep them looking their best for years. Regular cleaning helps prevent dirt and grease buildup that can dull the finish.
Use a soft cloth or sponge with warm water and a mild dish soap for effective cleaning. Avoid abrasive cleaners or scrub brushes that might scratch the surface.
Wipe down your cabinets weekly to prevent grime from accumulating. Be gentle around hardware by removing knobs and handles for a thorough clean.
Quickly wipe up spills and splashes to avoid stains or damage. Gentle cleaning helps preserve your cabinet’s finish and extend its lifespan.
Consistent maintenance ensures your refinished cabinets stay vibrant and beautiful over time.
Tips to Keep Your Kitchen Cabinets Looking Fresh Over Time
To keep your kitchen cabinets looking fresh over time, it’s important to develop simple and consistent habits. Regularly wipe down your cabinets with a soft, damp cloth to remove dust, grease, and splatters.
Avoid harsh chemicals that can damage the finish. Instead, use mild soap and water for cleaning. Keep an eye out for drips or stains and clean them promptly to prevent staining or warping.
Use a gentle touch when opening and closing cabinet doors to prevent unnecessary wear. Consider applying a light, protective polish or wax every few months to maintain the shine and seal the paint.
Avoid excessive moisture and direct sunlight, which can cause fading or peeling. These small habits will help your cabinets stay vibrant and appealing for years to come.
Frequently Asked Questions
How Long Does It Typically Take to Repaint Kitchen Cabinets?
Repainting your kitchen cabinets usually takes about 3 to 5 days. You’ll spend the first day cleaning, sanding, and prepping the surfaces.
The next day, apply primer and paint, letting each coat dry thoroughly. The final days involve additional coats if needed and curing time before you start using your cabinets again.
Keep in mind, factors like cabinet size, paint type, and drying conditions can influence the timeline.
Can I Repaint Kitchen Cabinets Without Removing the Doors?
Think of your cabinets as a canvas—you can paint over them without removing the doors. You can definitely repaint kitchen cabinets without taking the doors off if you prep well. Use painter’s tape to protect hinges and hardware, and cover surrounding areas with drop cloths.
Carefully sand and clean the surfaces, then apply paint with a brush or roller. This way, you’ll give your cabinets a fresh look without the extra hassle of removal.
What Are Eco-Friendly Paint Options for Cabinets?
You can choose eco-friendly paint options for your cabinets by looking for labels like low-VOC, zero-VOC, or water-based paints.
Brands like Benjamin Moore’s Natura, AFM Safecoat, and ECOS Paints offer sustainable choices that emit fewer fumes and are safer for the environment.
Always make sure to have proper ventilation during application.
These paints give you a durable finish while helping you reduce your environmental impact.
How Do I Prevent Paint From Chipping Over Time?
To prevent paint from chipping over time, think of your cabinets as a well-loved book—handle with care.
Start by making sure your surface is properly prepped and sealed with a high-quality primer. This gives the paint a good base to stick to.
Apply thin, even coats of paint and let each layer dry completely before adding the next. This helps create a durable finish that lasts.
Finally, use a clear topcoat for extra protection. Avoid harsh cleaning or excessive moisture to keep your paint looking fresh longer.
Is It Necessary to Sand Cabinets Before Painting?
Yes, you should sand your cabinets before painting. Sanding smooths out the surface, removes any old paint or grime, and helps the new paint stick better.
Use a fine-grit sandpaper and lightly sand in the direction of the wood grain. This helps create a smooth, even surface and reduces brush strokes.
Skipping this step can cause uneven paint, chips, or peeling over time. It also helps your cabinets look better and last longer.
Conclusion
Repainting your cabinets is like giving your kitchen a fresh coat of confidence. It transforms the space and boosts your home’s value. Just like a painter carefully chooses their colors, taking your time and avoiding common mistakes guarantees a smooth finish.
Remember, patience and preparation are key. With each brushstroke, you’re not just updating furniture; you’re creating a welcoming heart for your family.
Stick to these steps, and you’ll enjoy stunning results that last. Repainting your kitchen cabinets can make a big difference in how your space feels and functions.