10 Essential Steps to Plumb Your Kitchen Sink Like a Pro
Many homeowners feel overwhelmed when it comes to plumbing their kitchen sink. You’re not alone—plumbing can seem tricky if you’re not familiar with the process.
But with a little guidance, you can tackle this project confidently and save money.
To plumb your kitchen sink like a pro, start by preparing your workspace, clearing debris, and protecting nearby surfaces. Gather all necessary tools and parts, then turn off the water supply to prevent leaks.
Remove the old sink, install the new faucet and drain assembly, and tighten all connections. Check for leaks and address common issues like clogs or loose fittings.
With these steps, you’ll guarantee a reliable, leak-free setup. Stick with us to learn more expert tips for plumbing your kitchen sink with ease.
Key Takeaways
- Turn off the main water supply and protect the surrounding surfaces before starting the installation.
- Gather all the tools and replacement parts you’ll need. This will make the process smoother and save you from running around last minute.
- Carefully disconnect the old plumbing, remove the sink, and make sure the area is ready for the new fixtures.
- Attach the faucet, connect the supply lines, and tighten the drain assembly securely. Take your time to ensure everything lines up properly.
- Once everything is in place, check for leaks. Tighten any connections if needed and test the sink to make sure it’s working perfectly.
Preparing Your Kitchen and Workspace for Sink Plumbing
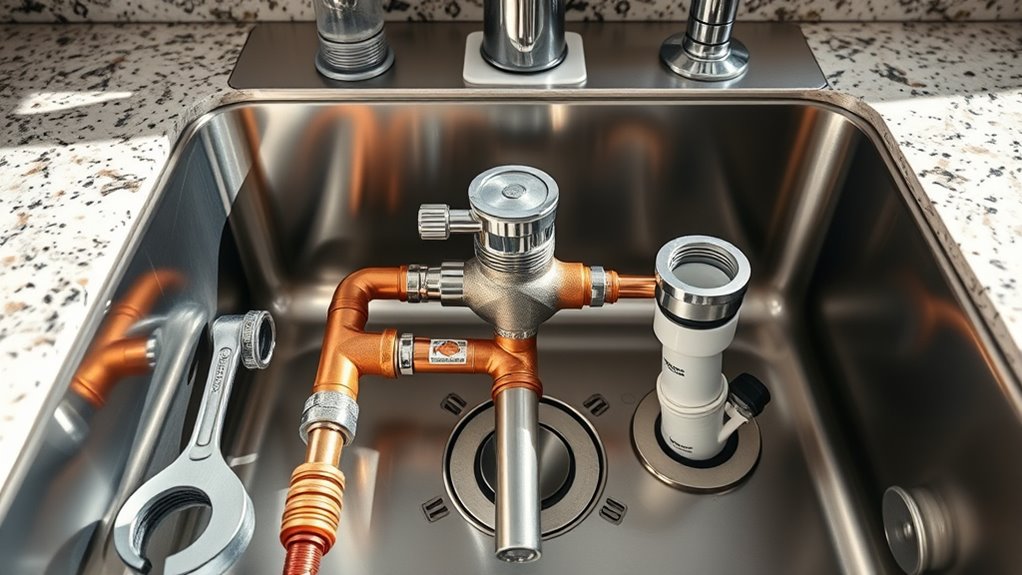
Before you start working on your sink plumbing, clear the area beneath and around your kitchen sink. Remove any stored items, cleaning supplies, or trash that could get in your way.
This gives you easy access to the plumbing and helps prevent accidental damage. Cover nearby surfaces with drop cloths or old towels to protect against water spills or debris.
Turn off the water supply valves to prevent leaks while you’re working. Make sure your workspace is well-lit so you can see what you’re doing clearly.
Turn off the water supply and ensure your workspace is well-lit for safe, clear plumbing work.
Clear enough space to move around comfortably and work on the pipes. These steps keep your workspace organized and safe, making the plumbing process smoother and more efficient.
Gather Tools and Materials Needed for the Job
Gathering all the necessary tools and materials before you start working on your sink ensures the job goes smoothly without unnecessary trips to the store or interruptions. You’ll need a wrench, pliers, screwdrivers, a bucket, plumber’s tape, and possibly a hacksaw.
Make sure you have replacement parts like a new faucet, drain assembly, and rubber gaskets. Check if you need a new supply line or shut-off valves. Gather cleaning supplies and a rag for spills.
Having everything on hand minimizes delays and keeps your workspace organized. Double-check your list to confirm you don’t forget anything essential.
Preparing your tools and materials beforehand helps you work efficiently, saves time, and reduces frustration during the plumbing process.
Turn Off Water and Protect Your Kitchen Area
Before starting, turn off the main water valve to prevent leaks.
Then, cover nearby surfaces with a cloth or plastic to protect them from water or debris. Taking these steps keeps your workspace clean and avoids unnecessary messes.
Shut Off Main Valve
Turning off the main water valve is an important first step to prevent water damage while working on your kitchen sink.
Find the main shut-off valve, usually near your water meter or where the main line enters your home. Turn the valve clockwise to close it completely.
This stops all water flow to the house, helping avoid leaks or floods during repairs or installation.
Double-check that the water is off by opening a faucet at the sink or nearby to see if any water comes out.
Taking this step keeps your kitchen safe and prevents costly water damage.
Once the valve is shut, you can go ahead with your plumbing project, knowing the risk of unexpected water flow is gone.
Cover Surrounding Surfaces
To prevent water damage and keep your workspace clean, it’s important to cover the surfaces around your sink before you start working. Use old towels, plastic sheets, or drop cloths to protect countertops, cabinets, and flooring.
Secure the coverings with painter’s tape or clips to prevent slipping. This step helps minimize messes and keeps your surfaces safe from water, debris, and damage.
Also, cover nearby appliances and fixtures to keep them dry and protected during plumbing work. Take a moment to plan your coverage so all vulnerable areas are covered.
Proper preparation saves cleanup time and helps avoid costly repairs. Make sure to protect everything before you begin your work.
Remove the Old Sink and Clear the Space
You need to safely disconnect the water lines from the sink, making sure no water leaks out. Then, remove the mounting hardware securing the sink in place.
Once these steps are done, you can lift out the old sink and clear the space for the new installation.
Safely Disconnect Water Lines
Before removing the old sink, it’s important to safely disconnect the water lines to avoid leaks and water damage. Turn off the shut-off valves under the sink by rotating them clockwise until they’re tight.
Place a bucket or towel underneath to catch any remaining water. Use an adjustable wrench to loosen the nuts connecting the water supply lines to the shut-off valves and faucet.
Carefully detach the supply lines, making sure no water drips onto your cabinets or floor. If the lines are corroded or stuck, apply penetrating oil and wait a moment to loosen them.
Once disconnected, double-check that no water remains in the lines. This step keeps you dry and helps prevent any water damage during sink removal.
Remove Mounting Hardware
Carefully loosen and remove the mounting hardware securing the old sink to the countertop or wall. Use a wrench or screwdriver to take out screws, bolts, or clips holding the sink in place. Keep a container nearby to catch any debris or leftover hardware.
Once the fasteners are removed, gently lift the sink free from its position. If it’s stuck, wiggle it slightly or tap around the edges with a rubber mallet. Clear the area of any remaining caulk, sealant, or debris to guarantee a clean workspace.
Check for any residual attachments or supports and remove them. This step frees up space for the new sink and makes the plumbing easier to access. Afterward, clean the surrounding countertop or wall thoroughly before proceeding.
Install Your Faucet and Drain Assembly Step-by-Step
Installing your faucet and drain assembly starts with gathering all the tools and parts you’ll need. Then, follow each step carefully to make sure everything is secure and leak-free.
Begin by attaching the faucet to the mounting holes on the sink, using the hardware provided. Tighten the nuts underneath the sink to hold it firmly, but don’t overtighten to avoid damage.
Next, connect the water supply lines to the faucet’s inlets. Make sure the hot and cold lines are attached correctly. Hand-tighten the fittings first, then use a wrench for a snug fit—just don’t overtighten.
For the drain, insert the drain flange into the sink’s opening. Secure it from underneath with the mounting nut. Double-check all connections to ensure they are tight and there are no leaks before moving on.
Connect the P-Trap and Ensure Proper Alignment
Once the faucet and drain assembly are in place, connect the P-trap to the drain outlet.
First, slide the P-trap onto the tailpiece, making sure the rubber gasket creates a tight seal. Next, position the P-trap so it points downward and lines up with the wall drain pipe.
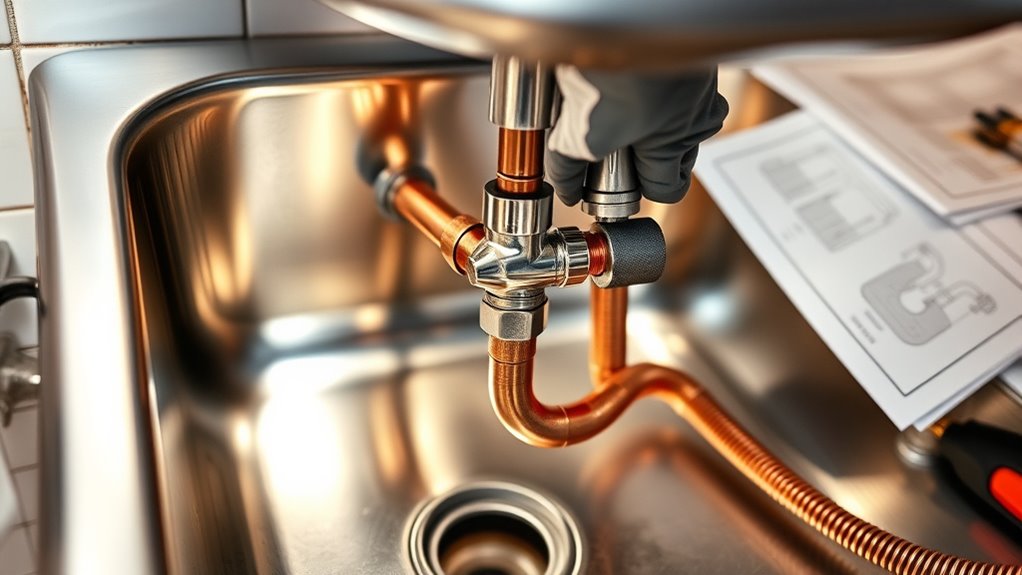
Then, connect the P-trap’s outlet arm to the drain pipe using slip nuts and washers. Tighten the slip nuts by hand, then give them a slight turn with pliers—just avoid over-tightening.
Secure Your Plumbing Connections and Check for Leaks
Tighten all the slip nuts and fittings by hand to make sure they’re secure, but don’t over-tighten because that can damage the parts. Once they’re tight, use a wrench to give each connection a slight additional turn, just enough to make sure they’re snug but not forced.
After you’ve secured all the fittings, slowly turn on the water supply. Watch each joint closely for leaks or drips. If you see any moisture, tighten the fittings a little more, but be careful not to overdo it.
Use a dry cloth or paper towel to wipe around the connections and check for moisture. Once you’re confident there are no leaks, run the water for a couple of minutes to ensure everything stays dry.
Properly securing your connections helps prevent future water damage and makes sure your sink works smoothly.
Troubleshoot Common Kitchen Sink Plumbing Issues
Even after securing all your plumbing connections, issues can still pop up that mess with your sink’s performance. Common problems include clogs, leaks, slow drainage, and foul odors. To troubleshoot:
- Check for clogs by removing and inspecting the drain stopper. Use a plunger if needed to clear the blockage.
- Look under the sink for leaks, especially around connections and seals. Tighten fittings or replace damaged washers as necessary.
- If water drains slowly, try clearing out buildup in the pipes with a drain snake or a homemade vinegar and baking soda solution.
- For stubborn odors, thoroughly clean the P-trap and run hot water with some baking soda to neutralize smells. Addressing these issues quickly helps keep your sink running smoothly.
Tips for Maintaining Your Sink Plumbing
Regular maintenance is key to keeping your sink plumbing working smoothly and avoiding costly repairs. Start by pouring hot water down the drain regularly to wash away grease and soap buildup.
Once a month, try a mixture of baking soda and vinegar to help break down stubborn clogs and freshen things up. Keep an eye out for leaks around the faucet and under the sink, and fix small drips early to prevent water damage and save on utility bills.
Make sure to clean the sink strainer often so debris doesn’t clog your pipes. Avoid pouring grease, coffee grounds, or food scraps down the drain since these can cause blockages.
Finally, check your plumbing connections now and then for signs of rust or loose fittings. Tighten or replace parts as needed to keep the flow steady and prevent problems before they start.
When to Call a Professional Plumber
Sometimes, despite your best efforts, plumbing problems can become too complex or persistent to fix on your own. Recognizing when to call a professional can save you time and prevent further damage.
Consider these signs:
- If the clog won’t clear after multiple attempts or using a plunger, it might be time to call in a pro.
- When you notice persistent leaks or water pooling under the sink, it’s a good idea to get help.
- If water pressure drops suddenly or the drain smells foul, a plumber can diagnose the issue.
- When you’re unsure about how to proceed or if you hear unusual noises, don’t hesitate to reach out.
If any of these issues come up, it’s best to contact a licensed plumber. They have the tools and expertise to diagnose and fix the problem safely, protecting your plumbing system and peace of mind.
Frequently Asked Questions
How Do I Identify and Fix Hidden Leaks Behind the Sink?
To identify hidden leaks behind your sink, look for water stains, mold, or dampness on the cabinet walls or floor. These signs can indicate a leak you haven’t noticed yet.
Turn off the water supply and check around the pipes and fittings for drips or moisture. Sometimes, leaks are subtle and only show up when the water isn’t running.
Tighten any loose connections with a wrench. Also, replace cracked or worn-out washers or hoses to stop leaks at the source.
If you still see leaks after these steps, it’s a good idea to call a professional plumber. They can inspect and fix the issue properly to prevent further damage.
What Are the Best Practices for Sealing Joints to Prevent Future Leaks?
You should use high-quality plumber’s putty or silicone caulk to seal joints effectively. Apply a thin bead around the edges of fittings before tightening them, making sure it’s a watertight seal.
Avoid over-tightening, which could cause cracks or damage. Regularly check your joints and reapply sealant if you notice leaks or signs of wear.
Properly sealing joints helps prevent water from seeping through and keeps your plumbing system durable and leak-free.
How Can I Prevent Clogs in My Kitchen Sink Drain?
To prevent clogs in your kitchen sink drain, avoid pouring grease or coffee grounds down the drain. They can solidify and cause blockages.
Use a drain strainer to catch food scraps and debris, and clean it regularly. This helps keep your drain clear and flowing smoothly.
Run hot water after each use to help flush away small particles. It’s a simple step that can make a big difference.
Occasionally, use a natural enzyme cleaner to break down buildup. This keeps your drain free-flowing and prevents stubborn clogs.
What Are the Signs That My Plumbing Connections Are Failing?
You notice water pooling around your sink’s base or it drains slowly, like a clogged river. Foul odors waft up, hinting at leaks deep inside.
You might also see water stains or mold, which are warning signs of hidden damage. These clues suggest your plumbing connections are starting to fail and could cause bigger problems.
It’s important to act quickly. Tighten fittings, replace worn parts, or call a professional to prevent costly repairs and keep your kitchen dry and safe.
How Do I Safely Dispose of Old Plumbing Materials and Parts?
You should safely dispose of old plumbing materials by first checking your local regulations for disposal methods.
Place metal parts in a recycling bin and plastic components in the trash if they’re not recyclable.
For hazardous materials like old pipes coated with lead or asbestos, contact your local waste management or hazardous waste facility for proper disposal.
Always wear gloves and wash your hands afterward to avoid exposure to potentially harmful substances.
Conclusion
Think of your sink plumbing as the heartbeat of your kitchen. When it flows smoothly, everything else runs seamlessly.
By following these steps, you’re not just fixing pipes; you’re restoring the rhythm of your daily routines.
With care and attention, you guarantee your sink remains a reliable source of life and energy in your home.
Keep the flow steady, and your kitchen will always be ready for whatever comes next.