Step-by-Step Guide to Installing Your Kitchen Sink
Many homeowners find installing a kitchen sink more challenging than they expected. It’s a common frustration to struggle with leaks, uneven fittings, or simply feeling unsure about the right steps.
Don’t worry—you’re not alone, and with a little guidance, you can do it yourself confidently.
To install your kitchen sink, start by turning off the water supply and removing the old unit. Prepare your workspace, then carefully fit the new sink into the countertop.
Secure it with mounting clips, ensuring it’s level. Connect water lines and the drain assembly properly, sealing gaps with silicone or plumber’s putty.
Turn the water back on and check for leaks. If you want a smooth, leak-free install, follow these steps closely.
Key Takeaways
- Prepare the sink by applying sealant, securing the mounting clips, and making sure everything lines up properly before you start installing.
- Shut off the water supply first. Then, drain any remaining water from the lines so you can connect everything without leaks.
- Next, connect the water supply lines to the faucet. Make sure the fittings are tight and properly aligned to avoid any drips.
- Attach the drain assembly and P-trap. Check that the gaskets and washers are in place and sealed correctly.
- Once everything is connected, turn the water back on and test for leaks. Seal the edges with silicone if needed.
- Finally, double-check all connections to ensure a secure, watertight installation.
Why Replace Your Kitchen Sink? Benefits and Considerations
Have you ever thought about why replacing your kitchen sink might be a good idea? Upgrading can make your kitchen look fresher and more modern.
It also boosts functionality. Newer sinks often have better features like deeper bowls or built-in accessories that make cleaning and chores easier.
Older sinks can develop leaks, cracks, or stains that are hard to fix. These issues can cause water damage and mold growth over time.
Replacing your sink can prevent these problems and even increase your home’s value. Just keep in mind factors like fitting with your countertops and plumbing.
While it might seem like a big investment, the long-term benefits—better performance, improved look, and peace of mind—are often worth it.
In the end, a new sink can refresh your space and make your daily routine smoother.
Gather Your Tools and Materials for the Installation
Before you start installing your sink, make sure you have all the essential tools like a wrench, screwdriver, and plumber’s putty.
Gather the required materials, including the sink, faucet, pipes, and sealant, to keep everything ready.
Don’t forget safety equipment like gloves and goggles to protect yourself during the process.
Essential Tools Needed
To successfully install your kitchen sink, gather all the essential tools and materials you’ll need beforehand. Having the right tools ready makes the process smoother and prevents delays.
First, you’ll need a wrench or adjustable spanner to tighten fittings securely. Second, a plumber’s putty or silicone sealant helps create a watertight seal around the sink’s edges.
Third, a bucket or container is useful for catching water when disconnecting plumbing. Moreover, having a screwdriver (flathead or Phillips) and a putty knife can help with loosening fixtures and applying sealant.
Ensuring these tools are at hand allows you to work efficiently, avoiding interruptions and ensuring a proper, leak-free installation.
Required Materials List
Gathering all the necessary materials is key to ensuring a smooth sink installation. You’ll need a new kitchen sink, along with a drain assembly and mounting hardware.
Make sure you have plumber’s putty or silicone sealant for sealing gaps, and flexible hoses or supply lines to connect the water supply. You’ll also want a basin wrench or adjustable wrench to tighten fittings, plus a bucket to catch any water during the process.
Don’t forget a towel or rags for cleanup, and a level to check that the sink sits evenly. Double-check that all parts are compatible with your sink model. Having everything ready beforehand helps avoid delays and makes the install much easier.
Safety Equipment Checklist
Ensuring you have the right safety equipment is essential for a smooth and injury-free sink installation. First, wear protective gloves to prevent cuts from sharp edges and to keep your hands clean.
Second, use safety goggles to shield your eyes from debris, splashes, or accidental sparks if you’re working near electrical components. Third, keep a sturdy work apron or clothing that covers your skin, reducing exposure to sharp tools and chemicals.
Furthermore, having a fire extinguisher nearby is wise in case of sparks or fire hazards. Make sure your workspace is well-ventilated, and keep a first aid kit within reach for minor injuries.
Proper safety gear minimizes risks, so don’t skip this vital step before starting your installation.
Turn Off the Water Supply and Prepare Your Workspace
Before you get started, turn off the main water valve to prevent any leaks.
Clear the area around your sink so you have enough space to work comfortably.
Gather all the tools you’ll need so you’re ready to go without delays.
Shut Off Main Valve
Turning off the main water valve is the essential first step before installing your kitchen sink. This guarantees no water flows while you work, preventing leaks and damage. Locate your main water shutoff valve, which is usually near your water meter, basement, or utility area.
Once you find it, follow these steps:
- Turn the valve clockwise to shut off the water supply completely.
- Open a faucet to drain any remaining water in the pipes.
- Check that water has stopped flowing to confirm the valve is fully closed.
Taking these precautions keeps your workspace dry and safe. Once the water is off, you can confidently proceed with disconnecting pipes and removing the old sink.
Clear Workspace Area
Once you’ve shut off the main water supply, it’s time to clear your workspace. Remove all items from around your sink, like dishes, cleaning supplies, and small appliances.
Clear the countertop and the cabinet beneath the sink to give yourself plenty of room to work comfortably. Use a bucket or towels to catch any leftover water that might drip during disassembly.
If there’s any clutter or unnecessary items, move them out of the way to prevent accidents or damage. Keeping things organized helps you work more efficiently and reduces the chance of losing small parts.
Take a moment to inspect the area for hazards, like sharp edges or loose fixtures, before you start the installation.
Gather Necessary Tools
To start gathering your necessary tools, you’ll want to have a wrench, screwdriver, pliers, plumber’s tape, and a bucket or towels ready nearby. These tools are essential for turning off water supplies, disconnecting the old sink, and preparing for the new installation.
Before you begin, make sure you have a wrench to loosen and tighten fittings. A screwdriver will help remove clips and secure connections, while pliers are useful for gripping and manipulating hoses or fittings.
Having these items within reach makes the process smoother and helps prevent interruptions. Keep a bucket or towels handy to catch any water that may leak during disconnection.
Properly gathering your tools ensures a quick, efficient sink installation without unnecessary hassle.
Remove the Old Sink and Clear the Countertop
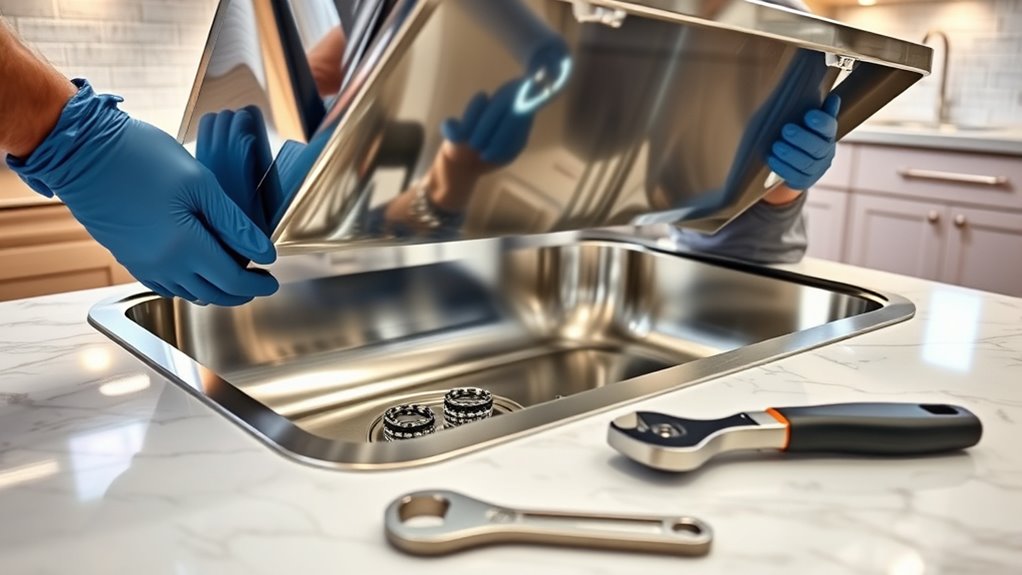
Start by shutting off the water supply to prevent any leaks or spills. Next, disconnect the plumbing beneath the sink, including the supply lines and drain pipe, using a wrench. Place a bucket underneath to catch any residual water.
Once disconnected, loosen any clips or brackets securing the sink to the countertop. Carefully lift the old sink out, supporting it from underneath to avoid damage. Clear away any debris or caulk remaining on the countertop to create a clean surface for the new sink.
Check for any damage or water stains around the area, and clean thoroughly. Removing the old sink and clearing the countertop prepares your workspace for the installation of the new sink, ensuring a smooth changeover and proper fit.
Install the Faucet and Drain Assembly on the New Sink
Begin by gathering all the necessary parts for your faucet and drain assembly, making sure you have the correct sizes and types specified for your sink. Once you’re ready, follow these steps:
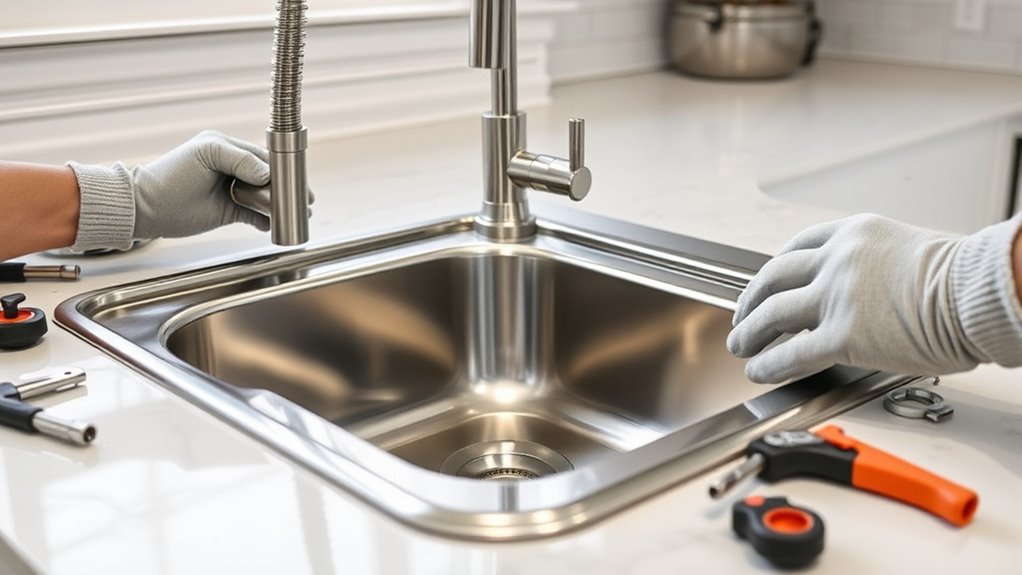
Attach the faucet to the sink’s mounting holes, tightening the mounting nuts from underneath.
Connect the water supply lines to the faucet’s inlet ports, tightening securely but not too tight.
Install the drain assembly by inserting the drain flange into the sink’s drain hole, then secure it underneath with a gasket and locknut.
Make sure all connections are tight and properly aligned to prevent leaks. Hand-tighten first, then use a wrench for final tightening, avoiding over-tightening that could damage parts.
Position the Sink in the Countertop and Secure It in Place
Carefully position the sink into the cutout in your countertop, making sure it lines up evenly with the edges and mounting points. Hold it steady and check its placement from all sides.
If it doesn’t sit flush or is misaligned, lift it out and adjust the cutout or the sink’s position. Once you’re happy with the fit, apply a thin bead of silicone sealant around the underside edge of the sink’s rim to create a watertight seal.
From underneath, insert the mounting clips or brackets, lining them up with the sink’s mounting holes. Tighten the clips evenly to secure the sink against the countertop, but be careful not to overtighten and crack the sink.
Make sure the sink is level and securely in place before moving on.
Connect the Water Supply Lines to the Faucet
Before connecting the supply lines, make sure to shut off the main water valve to prevent leaks.
Then, attach the supply lines to the faucet’s connections, tightening them securely. Double-check that the connections are tight to avoid any drips once you turn the water back on.
Shutting Off the Water
Shutting off the water supply is an important first step before connecting the water lines to the faucet. This helps prevent leaks and water damage during installation.
Find your main shut-off valve or the individual shut-offs under the sink. To make sure the water is fully off, follow these steps:
- Turn the shut-off valves clockwise until they stop.
- Open the faucet to drain any remaining water.
- Check for drips from the supply lines to confirm the water is off.
Connecting Supply Lines
Once the water supply has been turned off and the faucet is drained, you can start connecting the supply lines. First, attach the hot and cold water lines to the matching inlet valves on your faucet.
Hand-tighten the fittings to avoid cross-threading, then use a wrench to snug them up. Be careful not to over-tighten. Make sure the connections are secure and properly aligned.
If your supply lines have compression fittings, check that the washers are in place to prevent leaks. Once everything is connected, slowly turn the shutoff valves back on to restore water flow.
Keep an eye out for leaks at the connections. If you see any dripping, tighten the fittings slightly until the leaks stop. Testing the faucet will confirm your supply lines are properly connected and leak-free.
Hook Up the Drain and P-Trap Correctly to Prevent Leaks
To prevent leaks, it’s important to connect the drain and P-trap correctly. First, make sure the drain tailpiece fits snugly into the sink’s drain opening and tighten the slip nut securely.
Next, attach the P-trap to the tailpiece, ensuring the rubber gasket is in place to create a proper seal. Then, connect the other end of the P-trap to the drainpipe, tightening the slip nut until it’s secure but not overtightened.
Here are some key steps:
- Check that all gaskets and washers are properly positioned before tightening.
- Use adjustable pliers to tighten slip nuts evenly, avoiding over-tightening that can crack fittings.
- Test the connection by running water and inspecting for leaks, tightening as needed.
Proper assembly guarantees a leak-free, durable connection.
Seal the Edges With Silicone Caulk for a Watertight Fit
Applying silicone caulk around the edges of your sink guarantees a watertight seal that prevents leaks and water damage. Start by loading your caulk gun with a high-quality silicone sealant.
Squeeze a steady bead of caulk along the perimeter of the sink’s edge, where it meets the countertop. Use a damp finger or a caulk smoothing tool to gently press the caulk into the joint, making sure it fills gaps completely.
Be careful to apply evenly and avoid gaps or air bubbles. Once you’re done, wipe away any excess caulk with a damp cloth for a clean finish.
Allow the silicone to cure for the recommended time before using the sink. Proper sealing helps keep your installation secure and leak-proof for years to come.
Turn Water Back On and Check for Leaks
After you’ve finished sealing the sink, it’s time to turn the water back on and check for leaks. First, slowly open the main water supply to avoid any pressure surges. Then, carefully watch the connections, especially around the drain and supply lines.
Next, follow these steps to make sure everything is sealed properly:
- Turn on both hot and cold faucets fully and look for drips or water seeping from the joints.
- Check beneath the sink for any signs of water pooling or dampness.
- Run water for a minute to see if any leaks develop during normal use.
If you notice leaks, tighten the fittings slightly or reapply sealant as needed. Once everything looks dry, your installation is complete.
Troubleshooting Common Installation Problems
Even after carefully sealing your sink and checking for leaks, some common installation problems can still happen. If water isn’t draining properly, make sure the drain assembly is aligned correctly and that no debris is blocking the pipes.
Leaks around the faucet or sink edges might be caused by loose or improperly tightened fittings. Double-check all connections and tighten them as needed. If your sink wobbles, confirm that the mounting brackets are secure and that the sink is level.
Persistent leaks or drips could be due to damaged gaskets or washers. Replacing these should help restore a proper seal. If your sink is noisy when water runs, look for loose mounting hardware or vibrations in the pipes. Addressing these issues quickly helps keep your sink working smoothly.
Tips for Maintaining Your Kitchen Sink After Installation
A well-maintained kitchen sink keeps it functioning smoothly and extends its lifespan. To do this, follow these tips:
- Regularly clean the sink surface with mild soap and a soft cloth to prevent buildup and staining.
- Avoid pouring grease or food scraps down the drain. Use a drain strainer to catch debris and keep things flowing.
- Periodically flush the drain with hot water or a mix of vinegar and baking soda. This helps prevent clogs and keeps odors at bay.
Frequently Asked Questions
What Types of Kitchen Sinks Are Easiest for DIY Installation?
You’ll find drop-in or top-mount sinks easiest for DIY installation because they sit directly on the countertop, making setup straightforward.
Undermount sinks require more precision and sealing, which can be tricky for beginners.
Composite and stainless steel sinks are popular choices since they come with pre-drilled holes and are compatible with standard plumbing, streamlining the process.
Choose a sink designed for simple installation to save time and avoid complications.
How Do I Choose the Right Size for My New Sink?
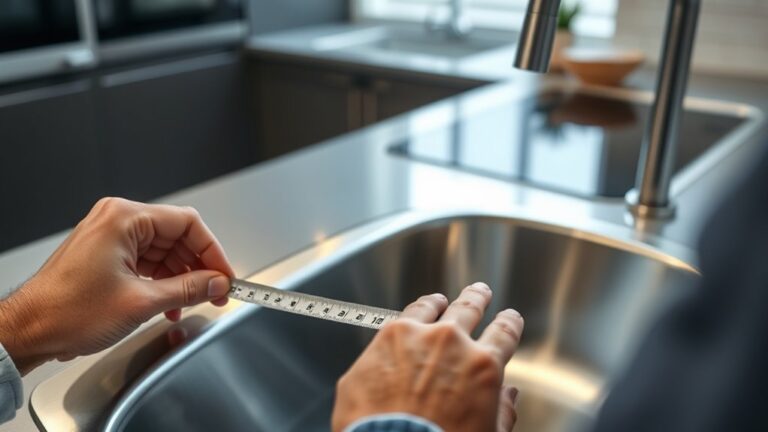
Choosing the right size for your sink is like picking the perfect canvas for your culinary artistry. Measure your countertop’s available space carefully, leaving room for the faucet and clearance.
Think about your daily routines—if you often wash large pots, go for a deeper or wider sink.
Balance functionality with style to make sure it fits your kitchen’s flow. The right size boosts efficiency and makes your kitchen look great.
Ultimately, the perfect sink size helps turn your kitchen into a warm, welcoming space.
Can I Install a Sink Without Professional Plumbing Skills?
Yes, you can install a sink without professional plumbing skills, but it takes careful planning.
Make sure to follow detailed instructions, gather the right tools, and be patient.
Remember to turn off the water supply before starting.
Measure everything accurately to ensure proper fit.
Connect the plumbing tightly to prevent leaks.
If you run into complex issues or feel unsure, don’t hesitate to check out tutorials or ask a professional for help.
It’s better to be safe than to make costly mistakes.
What Safety Precautions Should I Take During Installation?
You should wear safety goggles and gloves to protect your eyes and hands from debris and sharp edges. Turn off the water supply before starting to prevent leaks or flooding.
Use proper tools and handle them carefully to avoid injuries. Work in a well-ventilated area to avoid inhaling dust or fumes.
Keep your workspace clean and organized to prevent accidents. Always follow manufacturer instructions and safety warnings.
How Long Does a Typical Kitchen Sink Installation Take?
Typically, a kitchen sink installation takes about two to four hours, depending on your experience and the sink’s complexity. You might finish faster if you know plumbing or have someone helping you.
But if you run into issues like leaks or misaligned fittings, it could take longer. Planning for a few extra hours helps ensure you don’t feel rushed or frustrated.
That way, the process stays smoother and more manageable, even if surprises come up.
Conclusion
Replacing your kitchen sink might feel challenging, but with the right steps, it becomes manageable—like putting together a puzzle piece by piece. Once installed, you’ll enjoy a fresh, functional centerpiece for your kitchen that’s as reliable as an old friend.
Regular maintenance keeps it shining and leak-free, making sure your kitchen stays welcoming and efficient. So, roll up your sleeves and tackle the project. You’ll be proud of your handiwork every time you use your new sink and enjoy its long-lasting performance.