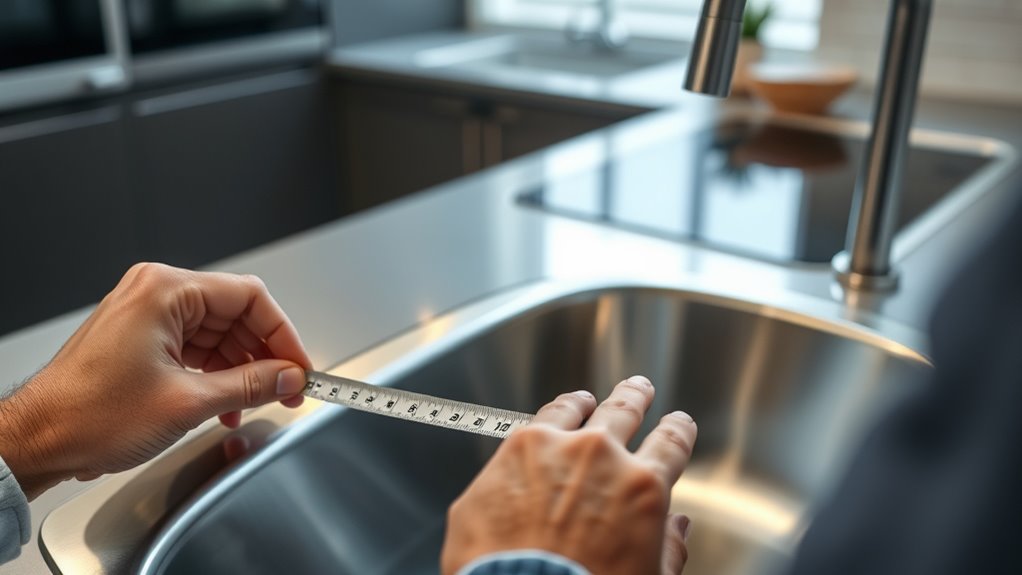
8 Simple Steps to Accurately Measure Your Kitchen Sink
Many homeowners find measuring their kitchen sink to be more confusing than it needs to be. It’s a common pain point, especially when planning repairs or upgrades. If you’ve ever felt unsure about getting accurate measurements, you’re not alone.
To accurately measure your kitchen sink in 8 simple steps, gather essential tools like a flexible tape, ruler, and notepad. Measure the length, width, and depth, making sure to record the largest dimensions.
Check faucet and drain openings carefully, noting their sizes and placements. Double-check your measurements to avoid mistakes, like confusing width with length.
Troubleshoot any issues you encounter and use your precise measurements for repairs or upgrades. Keep going to learn more detailed tips and tricks.
Key Takeaways
- Use a flexible measuring tape to measure the length, width, and depth of your sink. Do this at multiple points to get the most accurate reading.
- Record your measurements immediately. Make sure to include clear labels and note down fractions or decimals if needed.
- Don’t forget to measure the faucet hole diameters and drain openings too. This way, you’ll know if your fixtures will fit properly.
- Double-check your measurements by re-measuring. This is especially important on uneven surfaces or if the space is cluttered.
- Before purchasing or repairing, cross-check your measurements with the sink specifications. It’s always better to be sure!
Gather the Right Tools to Measure Your Kitchen Sink
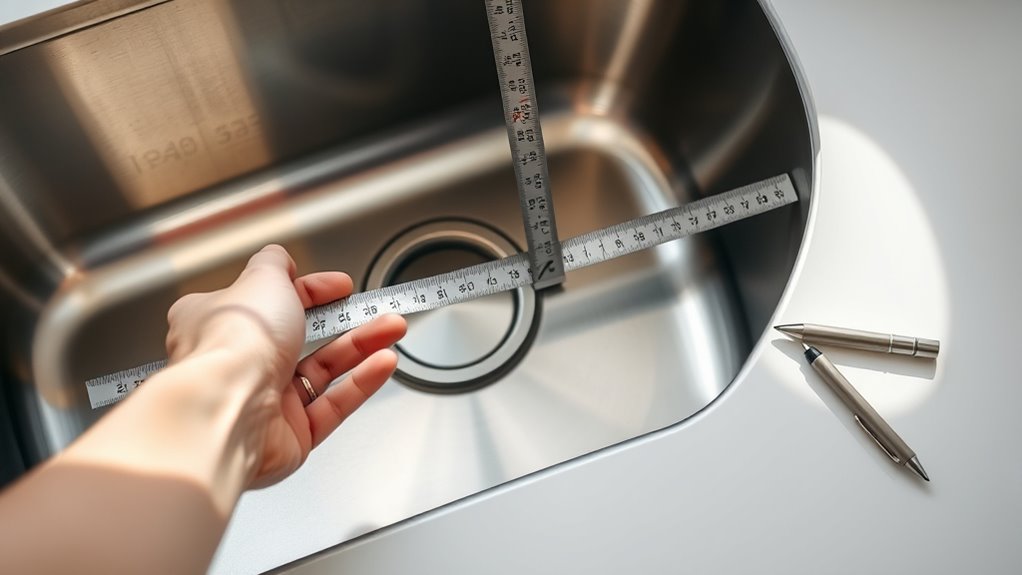
Gather the right tools before you start measuring your kitchen sink to make the process smooth and accurate. You’ll need a flexible measuring tape, preferably one that’s metal or cloth, so it easily wraps around curves.
Gather your measuring tape and tools first for quick, accurate kitchen sink measurements.
A ruler or a straight-edged tool can help with shorter measurements or checking the tape’s accuracy. Keep a notepad and pen nearby to jot down your measurements quickly.
If you want extra precision, have a level on hand to ensure your sink is even, which can affect measurements. Make sure the measuring tape is clean and in good condition, with no kinks or twists.
Collecting these tools beforehand saves time and keeps you focused, making sure your measurements are precise and reliable.
How to Measure the Length, Width, and Depth of Your Sink
To accurately measure the length, width, and depth of your sink, start by placing the measuring tape at one edge and extending it smoothly across the surface. Make sure it follows the contours without sagging.
For length, measure from the front to the back of the basin. For width, measure from one side to the other at the widest point.
To find the depth, place the tape at the bottom of the sink and extend it vertically to the top edge. Keep the tape straight and taut for precise readings.
Record each measurement carefully. If your sink has curves or irregular shapes, take measurements at multiple points and note the largest dimensions.
Accurate measurements guarantee you select the right fixtures and replacements, fitting your sink perfectly.
Measuring Your Sink’s Faucet and Drain Openings
To make sure your faucet and drain fit properly, you need to measure their openings accurately.
Start by checking the diameter of the faucet holes and the size of the drain opening.
Make sure these measurements match your fixtures to avoid any fitting issues.
Measuring Faucet Hole Diameter
Measuring the faucet hole diameter is simple and ensures your new faucet fits perfectly. First, find the center of the existing faucet hole.
Use a ruler or caliper to measure across the diameter of the hole from edge to edge. Make sure you’re measuring straight across the widest part of the opening.
If you’re replacing an old faucet, double-check that the measurement matches the specs for your new fixture. Keep your measurement precise by holding the ruler or caliper steady and looking directly from above.
Write down the measurement so you can compare it with the faucet specifications. This helps you avoid buying a faucet that’s too small or too large, ensuring a perfect, leak-free fit.
Determining Drain Opening Size
Determine the size of your sink’s drain opening by carefully measuring the diameter of the drain and any existing faucet holes. Use a tape measure or a ruler to get an accurate reading.
For the drain, measure across the widest part of the opening. If there are faucet holes, measure their diameter as well. To visualize:
- Place the tape measure across the center of the drain to find the full diameter.
- For faucet holes, measure from one edge to the opposite edge, noting their size.
- Record your measurements to guarantee proper fitting of replacement parts or accessories.
This process helps you identify the right size for replacement strainers, baskets, or faucet components. It avoids guesswork and guarantees a snug fit. Accurate measurements save you time and prevent purchasing mismatched parts.
Confirming Proper Fitting
Once you have your measurements, the next step is to verify that your faucet and drain fittings will actually fit your sink’s openings. Measure the diameter of each opening carefully using a ruler or tape measure, noting the exact size.
Check the specifications of your faucet and drain components to guarantee they match these measurements. If your sink has multiple holes, confirm that each one lines up with the parts you plan to install.
It’s also helpful to double-check the type of fittings needed, whether they’re standard or specialty sizes. Proper fitting is essential to prevent leaks or installation issues.
Taking these extra steps ensures your new fixtures will fit seamlessly, saving you time and effort during installation.
How to Record Your Sink Measurements Correctly
To record your sink measurements accurately, start by writing down each dimension right after measuring. This way, you avoid confusion later and keep the data fresh in your mind.
To make sure everything is clear, follow these simple steps:
- Write the length, width, and depth of your sink on a clean notebook or digital note for easy reference.
- Be precise—include fractions or decimals if needed to get exact measurements.
- Label each measurement clearly, like “Inner Length,” “Outer Width,” or “Depth,” so you know exactly what each number represents.
Double-Check Your Measurements Before Buying or Installing
Before purchasing or installing, double-check your measurements to verify accuracy.
Re-measure and confirm the fit using templates or paper outlines, paying close attention to dimensions.
Taking these extra steps helps prevent costly mistakes and guarantees the sink fits perfectly.
Re-Measure for Accuracy
Double-check your measurements to verify accuracy before making any purchases or starting installation. Re-measuring helps catch mistakes before they cause problems.
Start by measuring the width, height, and depth of your sink area. For example:
- Measure the width across the widest part of the space to avoid undersizing.
- Check the height from the countertop surface to any obstructions like cabinets or fixtures.
- Confirm the depth from the countertop down to the base or plumbing.
Use the same measuring tape and method as before, but take your time. Compare these new measurements with your initial ones and make sure they match closely. Small differences can cause issues later, so accuracy is important.
Re-measuring keeps your project on track and helps prevent costly mistakes.
Confirm Fit With Templates
Once you’ve re-measured your space, the next step is to check if your sink will fit perfectly. Using a template is the easiest way to do this.
Many sink manufacturers offer paper or cardboard templates that match the sink’s cutout dimensions. Place the template inside your cabinet or countertop opening, making sure it lines up with your measurements.
Check that the edges fit snugly without gaps or overlaps. If you’re making your own template, cut it from cardboard using your measurements for accuracy.
This step helps you see how the sink will fit and catch any issues early. Confirm that the template’s dimensions match your measurements exactly.
Doing this helps you avoid costly mistakes and ensures your new sink will fit seamlessly.
Double-Check Dimensions
Even after measuring and creating a template, it’s essential to double-check all your dimensions carefully before making a purchase or starting installation. Confirm that your measurements match the sink’s specifications, checking for accuracy in every detail.
To guarantee precision, verify these key points:
- Measure the length, width, and depth of your current opening.
- Cross-check your measurements against the sink’s specifications, including mounting lip and basin size.
- Re-measure multiple times, especially if the space is tight or irregular, to catch any inconsistencies.
Taking these steps helps prevent costly mistakes. Accurate measurements guarantee your new sink fits perfectly, avoiding surprises during installation. Double-checking saves time, effort, and potential rework, making your project smoother and more successful.
Common Mistakes When Measuring Your Kitchen Sink and How to Avoid Them
Measuring your kitchen sink accurately is really important, but there are some common mistakes that can cause problems with fitting or functionality.
One mistake is not using the right tools. Relying on a flexible tape measure instead of a sturdy one can lead to inaccurate readings.
Using a sturdy tape measure ensures accurate sink measurements and a perfect fit.
Another error is only measuring the outside dimensions without considering the depth or interior space, which affects the size of the basin.
Failing to record measurements carefully, like mixing up length and width, also causes issues.
Rushing through the process or measuring in a cluttered space can lead to mistakes too.
To avoid these problems, double-check your measurements and use a solid tape measure.
Measure multiple points to ensure accuracy, and take your time. This way, your sink will fit perfectly and work as it should.
Troubleshooting Measurement Issues and What to Do Next
When you run into measurement issues, the first step is to identify the problem quickly and figure out what’s causing it.
Start by checking if your measuring tools are accurate—use a reliable ruler or tape measure.
Next, re-measure carefully, making sure you’re reading the measurements correctly and at eye level.
Double-check that you’re measuring the right parts of the sink: the width, depth, and length, without skipping any steps.
If things still seem off, think about possible errors like uneven surfaces or misaligned tools.
Fix these by recalibrating your tools or re-measuring on a flat surface.
Following these steps helps you find the problem fast and ensures your measurements are precise, saving you time and hassle.
Using Your Measurements for Sink Repairs and Upgrades
Once you have your accurate measurements, you can confidently choose the right sink repairs or upgrades. Use your measurements to compare with product specs, ensuring the new sink or fixture fits perfectly.
If you’re replacing an old sink, measure the width, depth, and height to find compatible models. For upgrades, think about features like deeper bowls or built-in accessories, but double-check they match your space.
Accurate measurements help you avoid costly mistakes and make installation smooth. Don’t forget to note drain locations and faucet placements, as these are key for compatibility.
Frequently Asked Questions
What Tools Are Best for Measuring Irregularly Shaped Sinks?
To measure irregularly shaped sinks, grab a flexible measuring tape. It molds easily around curves and edges, making it perfect for tricky shapes.
A ruler or yardstick can help for straight sections, but the tape is your best bet for capturing complex contours. For more precision, you might also use a piece of string to trace curves.
Then, measure the string length with your tape. These tools help you get accurate measurements for custom fittings or replacements.
How Do I Measure for Custom Sink Accessories?
Think of your custom sink accessories as the keys to your culinary castle. To measure, first determine the width, length, and depth needed for each item by gently fitting a flexible tape measure around the space.
Do this just as you’d gently hold a gemstone to its setting. Record these dimensions precisely, accounting for any curves or edges.
Your measurements will guarantee your accessories fit perfectly and transform your kitchen into a harmonious retreat.
Can I Use a Standard Tape Measure for Deep Sinks?
Yes, you can definitely use a standard tape measure for deep sinks. Just make sure it’s long enough to reach the bottom and sides comfortably.
Keep the tape straight and steady to get accurate measurements. For deeper sinks, a flexible or retractable tape can make things easier.
This way, you’ll get precise measurements without any hassle.
How Do I Measure for Under-Mount Sink Installations?
Did you know that improper measurements can lead to costly installation errors? To measure for under-mount sink installations, start by measuring the cabinet opening’s width and depth.
Next, measure the existing cutout or the sink template you plan to use. Make sure these measurements match the sink’s specifications.
Use a tape measure to record your dimensions and double-check for accuracy. This way, you’ll ensure the sink fits perfectly and avoid any installation problems.
What Should I Do if My Measurements Don’T Match Manufacturer Specifications?
If your measurements don’t match manufacturer specifications, double-check them carefully. Measure again to make sure your numbers are accurate, paying attention to the width, length, and depth.
If the differences still exist, reach out to the manufacturer for clarification or guidance. Sometimes, small discrepancies are okay, but big mismatches might mean you need a different sink size or model.
Always prioritize precise measurements to avoid installation problems or having to make modifications later.
Conclusion
Now that you’ve mastered these simple steps, you can confidently measure your kitchen sink like a seasoned craftsman. No need to call upon the spirits of old carpenters — your careful measurements will guide you through repairs or upgrades with ease.
Remember, even in an age of modern tools, patience and precision remain your best allies. With your newfound skills, you’re ready to tackle your sink project, ensuring it fits perfectly and functions flawlessly, just like a true artisan.
By accurately measuring your kitchen sink, you set yourself up for success in any repair or upgrade. Your careful approach guarantees that everything will fit seamlessly, saving you time and headaches.
So go ahead and put your skills to the test. Measuring your sink with confidence ensures you’ll get the results you want and deserve.