10 Essential Steps to Clean Kitchen Tiles Effectively
Many homeowners know the struggle of keeping kitchen tiles spotless. Between cooking splatters and everyday grime, it’s easy for tiles to look dull and dirty. If this sounds familiar, you’re not alone — maintaining shiny, clean tiles can feel like a never-ending task.
To clean your kitchen tiles effectively, start by removing loose debris with a broom or vacuum.
Use suitable cleaning solutions, such as mild detergent or vinegar water, and scrub gently, focusing on grout lines and stubborn spots. Rinse thoroughly, then dry with a microfiber cloth or squeegee to prevent water spots and mold.
Regular upkeep, like daily wipe-downs and weekly grout cleaning, keeps your tiles looking fresh.
Keep going to uncover all the essential steps for sparkling, spotless tiles.
Key Takeaways
- Sweep or vacuum the tiles to get rid of loose dirt and debris before you start cleaning.
- Use the right cleaning solutions, like a mild detergent or a vinegar-water spray. These are great for removing stains effectively.
- Remember to wear safety gear, such as gloves and goggles. They help protect you from any splashes or harsh chemicals.
- Rinse the tiles thoroughly with clean water to wash away soap and residue.
- Finally, dry the tiles using a microfiber cloth or a squeegee. This helps prevent water spots and mold from forming.
Why Proper Cleaning Keeps Your Kitchen Tiles Looking New
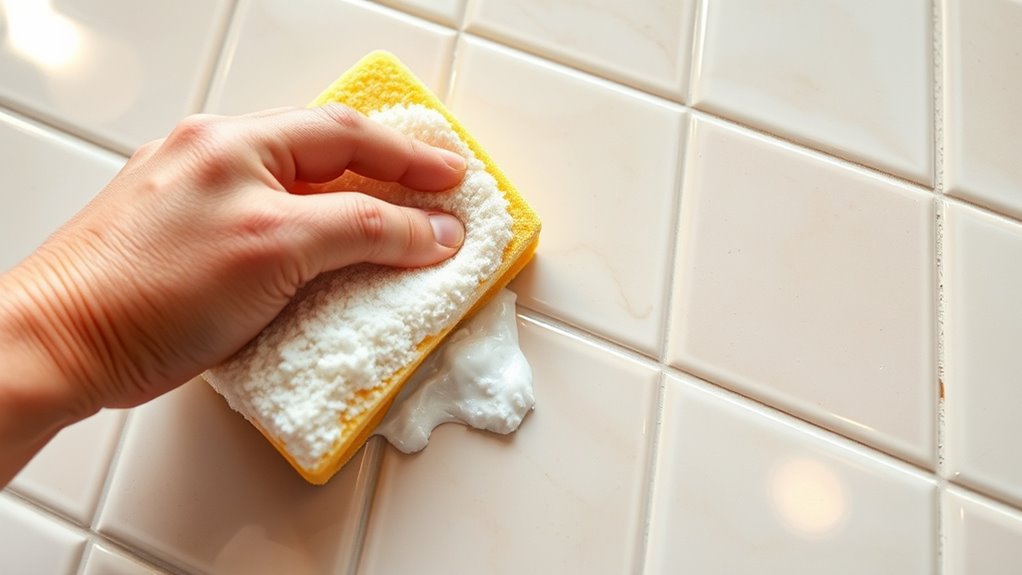
Proper cleaning is essential to maintaining the appearance of your kitchen tiles. When you clean your tiles regularly, you prevent dirt, grease, and grime from building up, which can cause stains and discoloration.
Consistent cleaning helps preserve the tiles’ shine and keeps the grout lines looking fresh. If you neglect proper cleaning, your tiles may become dull and stained over time, making your kitchen look older and less inviting.
Regular maintenance also protects your investment, preventing costly repairs or replacements later. By staying diligent with your cleaning routine, you guarantee your tiles stay vibrant and new-looking longer.
In short, proper cleaning not only keeps your kitchen looking attractive but also extends the lifespan of your tiles and grout.
Gather the Right Tools and Supplies for Tile Cleaning
To clean your kitchen tiles effectively, you’ll want to gather the right tools and supplies. Make sure you have a scrub brush, cleaning solutions, and microfiber cloths on hand.
Don’t forget safety gear like gloves and goggles to protect yourself during the cleaning process. Having the right equipment makes all the difference!
Essential Cleaning Supplies
Having the right cleaning supplies on hand makes tile cleaning much easier and more effective. Start with a soft-bristled brush or a microfiber cloth for scrubbing and wiping surfaces without scratching tiles.
A bucket filled with warm water and a mild detergent or tile cleaner is essential for loosening dirt and grime. Keep a spray bottle with a vinegar-water solution for natural cleaning power and to cut through grease.
You’ll also need a sponge or scrub pad for stubborn spots. A squeegee can help remove excess water and prevent streaks.
Don’t forget a clean, dry towel for drying tiles and wiping up excess moisture. Gathering these supplies beforehand guarantees you can clean efficiently, leaving your kitchen tiles spotless and fresh.
Proper Safety Equipment
Before you start cleaning your kitchen tiles, it’s important to gather the right safety equipment to protect yourself and ensure a safe cleaning process.
Wear gloves to shield your skin from harsh chemicals and dirt. Safety goggles are essential to prevent splashes from cleaning solutions from irritating your eyes.
If you’re using strong or abrasive cleaners, consider a mask to avoid inhaling fumes or dust. Confirm your workspace is well-ventilated to disperse any fumes safely.
Keep a pair of non-slip shoes nearby to prevent slips on wet surfaces. Having these safety tools ready before you begin helps prevent accidents and keeps you safe throughout the cleaning process.
This way, you can focus on getting your tiles spotless without worry.
Remove Debris and Loose Dirt Before Deep Cleaning
Start by sweeping or vacuuming the kitchen tiles to remove any loose debris, crumbs, and dirt that have settled on the surface. This step prevents scratches during deep cleaning and ensures your cleaner works efficiently. Use a broom with soft bristles or a handheld vacuum designed for hard surfaces.
Pay attention to grout lines and corners, where dirt often builds up. Removing loose debris also helps prevent spreading grime when you scrub. After sweeping, check for stubborn particles and pick them up manually if needed.
This simple step prepares your tiles for a more thorough clean, making it easier to remove stains and grime later. Taking a few minutes now will save you time and effort during the deep cleaning process.
Choose the Best Cleaning Solutions for Your Tile Type
To choose the right cleaning solution, you need to know your tile material first. Different tiles require different agents to avoid damage or dullness.
Once you identify your tile type, picking an effective, safe cleaner becomes much easier. Knowing your tile helps you avoid using products that could harm or discolor it.
Identify Tile Material Type
Determining your tile material is essential because different types require specific cleaning methods to avoid damage. Start by examining the surface closely. Porcelain tiles often look similar to ceramic but are more durable, while natural stone like marble or granite has a distinct texture and veining.
Check for any labels or packaging if available, as manufacturers often specify the material. If you’re unsure, do a simple test in an inconspicuous area with mild soap and water to see how it reacts.
Recognizing the tile type helps you choose the right cleaning approach, preventing etching, discoloration, or cracking. Proper identification guarantees you use appropriate techniques, keeping your kitchen tiles looking pristine without risking damage.
Select Appropriate Cleaning Agents
Choosing the right cleaning agents depends on your tile material, as using the wrong solutions can cause damage or discoloration. For ceramic tiles, a mild detergent mixed with warm water works well and is gentle yet effective.
If you have porcelain tiles, stick to pH-neutral cleaners to prevent etching. For natural stone tiles like marble or travertine, avoid acidic or alkaline cleaners and opt for specially formulated stone cleaners instead.
For grout lines, a baking soda paste or a commercial grout cleaner can lift stains without damaging surrounding tiles. Always check manufacturer recommendations before applying any product.
Testing a small, hidden area first helps prevent surprises. Using the correct cleaning agents guarantees your tiles stay beautiful and durable over time.
Scrub Grout Lines to Remove Stains and Mold
Scrubbing grout lines is essential for removing stubborn stains and mold that can build up over time. Use a stiff-bristled brush or an old toothbrush to target the grout specifically.
Apply a mixture of baking soda and water or a commercial grout cleaner directly to the lines. Let it sit for a few minutes to loosen dirt and mold.
Apply baking soda and water or a grout cleaner, then let sit to loosen dirt and mold.
Then, scrub vigorously, focusing on areas with visible stains or mold growth. Be thorough but gentle enough to avoid damaging the grout.
Rinse the area with clean water frequently to wash away loosened dirt. For tough stains or mold, repeat the process or try a vinegar solution for added disinfecting power.
Proper scrubbing keeps your grout fresh, clean, and free of harmful mold buildup.
Rinse and Wipe Down Tiles for a Spotless Finish
To get a spotless finish, it’s important to master rinsing techniques that remove any leftover cleaning residue.
Using effective wiping methods with the right cleaning cloth ensures your tiles are streak-free and shiny.
Choosing the right cloth, like microfiber, really makes a difference in getting your tiles perfectly clean.
Proper Rinsing Techniques
After you’ve scrubbed the tiles with your cleaner, it’s essential to rinse them thoroughly to remove any residue. Use clean, warm water and a soft sponge or cloth to wipe over the tiles, making sure all soap or cleaning solution gets lifted.
Pay attention to grout lines, gently rinsing away any lingering dirt or cleaner buildup. Avoid using too much force, which could damage the surface.
Change the rinse water if it becomes dirty to prevent spreading grime. Rinse in sections, working systematically across the entire tiled area.
Once you’ve rinsed thoroughly, double-check that no cleaning residue remains. Leftover soap can cause streaks or attract dirt.
Proper rinsing guarantees a fresh, spotless finish and prepares your tiles for the final wipe-down.
Effective Wiping Methods
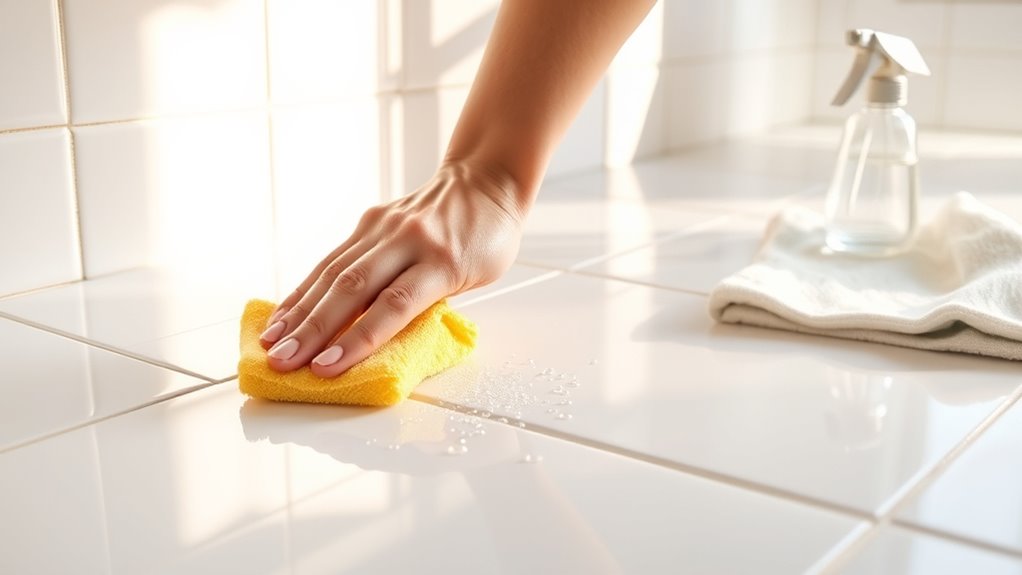
Once you’ve rinsed the tiles, it’s important to wipe them down properly for a spotless, streak-free finish. Use a clean, absorbent cloth or microfiber towel for the best results.
Start from the top and work your way down, making sure to remove all water and residue. Use gentle pressure and avoid rubbing too hard, which could damage the surface.
Keep your cloth dry and switch to a fresh section as needed. This helps prevent spreading dirt and keeps your cleaning effective.
Here are four simple steps:
- Use a lint-free cloth to avoid streaks.
- Wipe with smooth, consistent strokes for even coverage.
- Work from the highest point downward.
- Rinse or change the cloth regularly to stay clean.
Choosing Right Cleaning Cloth
Choosing the right cleaning cloth is essential for a spotless, streak-free finish on your kitchen tiles. You want a cloth that’s soft but durable enough to pick up dirt without scratching the surface.
Microfiber cloths are ideal because they trap dust and grime effectively while remaining gentle. Avoid rough or abrasive materials that can damage tiles or leave scratches.
Make sure your cloth is clean before use. A dirty cloth can spread dirt and cause streaks. For best results, dampen the cloth with warm water or your preferred cleaning solution, then wipe down the tiles thoroughly.
Afterward, use a dry microfiber cloth to buff the surface. This helps ensure no water spots or streaks remain. The right cloth makes all the difference in achieving a pristine finish.
Tackle Stubborn Grease and Stains Safely
Stubborn grease and stains on your kitchen tiles can be tough to remove, but it’s important to do it safely to avoid damage and health risks. Using harsh chemicals or abrasive tools can harm your tiles or leave behind harmful residues. Instead, try gentle but effective methods.
Here’s how you can do it:
- Apply a degreasing cleaner: Choose a mild, pH-balanced cleaner to loosen up the grease.
- Let it sit: Give the cleaner a few minutes to penetrate the stains.
- Scrub gently: Use a soft-bristled brush or sponge to lift the stains without scratching the tiles.
- Rinse thoroughly: Make sure to rinse with clean water to remove all residues and prevent buildup.
Following these simple steps will help you remove stains safely and effectively without risking damage or health concerns.
Dry Tiles Properly to Prevent Water Spots and Mold
After cleaning your kitchen tiles, make sure to dry them thoroughly to prevent water spots and mold growth. Use a clean, dry microfiber cloth or towel to wipe down the surface, reaching all corners and grout lines.
Excess moisture can cause unsightly spots and create a damp environment that encourages mold. Pay extra attention to areas around sinks and backsplashes where water tends to collect.
If you prefer, you can also use a squeegee to quickly remove standing water. Proper drying keeps your tiles shiny and clean, reduces how often you need to re-clean, and helps preserve the grout’s integrity.
Taking these simple steps will keep your kitchen looking fresh and mold-free for longer.
Maintain Your Clean Tiles With Regular Upkeep
To keep your kitchen tiles looking their best, it’s important to set up a regular maintenance routine. This helps prevent dirt, stains, and grime from settling in. Consistency is key: stick to simple tasks that keep your tiles clean and vibrant.
Here are four essential upkeep tips:
- Wipe down tiles daily to clear away splashes and crumbs.
- Clean grout lines weekly with a gentle brush and mild cleaner.
- Use a squeegee or microfiber cloth after cooking or washing dishes to prevent water spots.
- Deep clean once a month with a tile-safe disinfectant to keep everything fresh and shiny.
Following these steps will help your tiles stay beautiful, durable, and easy to care for. Plus, it saves you time and effort in the long run.
Solve Common Problems When Cleaning Kitchen Tiles
Even with a consistent maintenance routine, you might run into common problems when cleaning your kitchen tiles. For example, stubborn stains or grout discoloration can stick around despite your efforts.
To tackle stains, try a mixture of baking soda and water. Apply it directly to the stain and gently scrub with a brush. For grout discoloration, use a grout cleaner or a paste made from baking soda and hydrogen peroxide.
If your tiles look dull, check that you’re not using harsh chemicals that could damage the surface. Instead, choose pH-neutral cleaners for a gentle clean. Also, avoid using too much water, as it can seep into the grout and cause mold.
After cleaning, rinse the tiles well and dry them thoroughly. Addressing these issues early helps keep your tiles looking fresh and prevents long-term damage.
Frequently Asked Questions
How Often Should I Deep Clean My Kitchen Tiles?
You should deep clean your kitchen tiles every 3 to 6 months, depending on how much you cook and how dirty they get. Regular cleaning helps prevent grime buildup and keeps your kitchen looking fresh.
If you notice stains, mold, or grime that daily wiping can’t remove, it’s time for a thorough deep clean. Consistent deep cleaning helps maintain the tiles’ durability and keeps your kitchen healthy and spotless.
Can Natural Remedies Effectively Clean Tile Grout?
Yes, natural remedies can effectively clean tile grout. You can make a paste with baking soda and water, then apply it to the grout lines.
Let it sit for a few minutes before scrubbing with a brush or an old toothbrush. For extra power, spray a mixture of vinegar and water onto the grout.
These natural solutions break down dirt and stains without harsh chemicals, leaving your tiles fresh and clean.
What Are the Best Methods to Prevent Tile Staining?
To prevent tile staining, make sure to seal your tiles regularly. This creates a protective barrier against spills and dirt.
Wipe up spills immediately to avoid permanent marks. Using mats or rugs in high-traffic areas can help reduce dirt buildup.
Clean your tiles consistently with mild solutions and avoid harsh chemicals that might damage the surface. These simple habits will keep your tiles looking fresh and stain-free over time.
How Do I Remove Hard Water Deposits From Tiles?
Ah, the enchanting world of hard water deposits—nature’s own glittering gift. To get rid of these mineral stains, mix equal parts vinegar and water, then spray it generously on the tiles.
Let it sit for a few minutes, then scrub gently with a soft brush. Rinse everything off with warm water, and suddenly your tiles are free from those stubborn deposits.
They’ll look shiny and new, like they’ve just been revealed. Who knew cleaning could be so straightforward and even a little satisfying?
Is It Safe to Use Bleach on Kitchen Tiles?
Yes, you can use bleach on kitchen tiles, but you need to be careful. Always dilute the bleach with water, usually one part bleach to ten parts water, and try it on a small, hidden area first.
Make sure your space is well-ventilated and wear gloves to protect your skin. Avoid mixing bleach with other cleaners, especially ammonia, to prevent dangerous fumes.
Use a soft brush or cloth to clean the tiles, then rinse thoroughly afterward.
Conclusion
Think of your kitchen tiles as the canvas of your home’s story. With each careful clean, you’re restoring its shine and protecting its future chapters.
When you maintain and nurture this surface, it’s like tending a garden—each effort blooms into a space that welcomes and uplifts.
Keep up with your routine, and your kitchen will always be a shining masterpiece. It will reflect your care and love with every gleam, especially when you follow the essential steps to clean kitchen tiles effectively.