8 Simple Steps to Do Kitchen Cabinets Like a Pro
Many homeowners dream of transforming their kitchens but feel overwhelmed by the idea of tackling kitchen cabinets on their own. You’re not alone—refinishing or updating cabinets can seem daunting, but with a few simple steps, you can achieve professional-looking results.
To upgrade your kitchen cabinets like a pro, start by clearing and cleaning all surfaces. Then lightly sand to improve paint adhesion. Choose the right tools and a durable finish, and apply paint or stain smoothly in thin layers.
Seal the cabinets with a protective finish, and install stylish hardware for a polished look. Finish by maintaining them regularly to keep them looking fresh. Keep going to uncover even more tips for a flawless cabinet makeover.
Key Takeaways
- Prepare your cabinets by removing doors, hardware, and giving the surfaces a good clean. Sand everything down to create a smooth base for painting or staining.
- Use high-quality tools, primer, and the right paint or stain. This will help you get a finish that looks professional and lasts longer.
- When applying paint or stain, do it in thin, even layers. Make sure to let each coat dry completely before adding the next one.
- Seal your cabinets with a durable protective finish like polyurethane or varnish. This step is key for making your work last over time.
- Carefully install the hardware, making sure everything is aligned perfectly. Add any final decorative touches to give your cabinets a polished look.
Preparing Your Kitchen Cabinets for Painting
Before you start painting your kitchen cabinets, it’s essential to prepare them properly. First, clear everything from your cabinets and remove the doors and hardware.
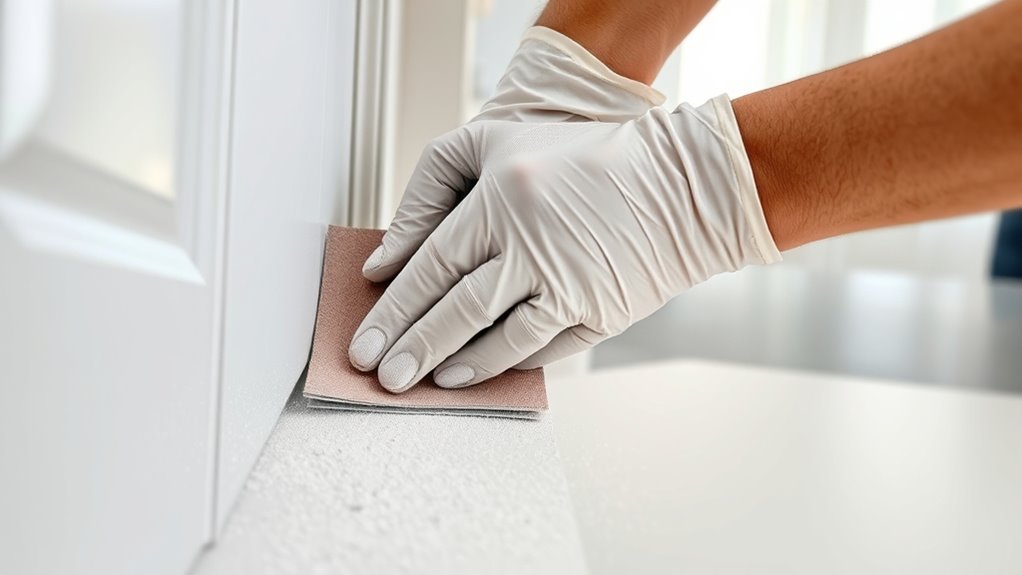
Clean the surfaces thoroughly with a degreasing cleaner to remove grease, dust, and dirt. Sand the cabinets lightly with fine-grit sandpaper to create a smooth, textured surface that helps the paint stick better. Wipe away any dust with a damp cloth afterward.
If there are any stains or damaged areas, fill them with wood filler and sand smooth once dry. Protect your countertops and floors with painter’s tape or drop cloths.
Proper preparation guarantees your paint will go on smoothly and last longer, giving you a professional-looking finish.
Choosing the Right Tools and Materials
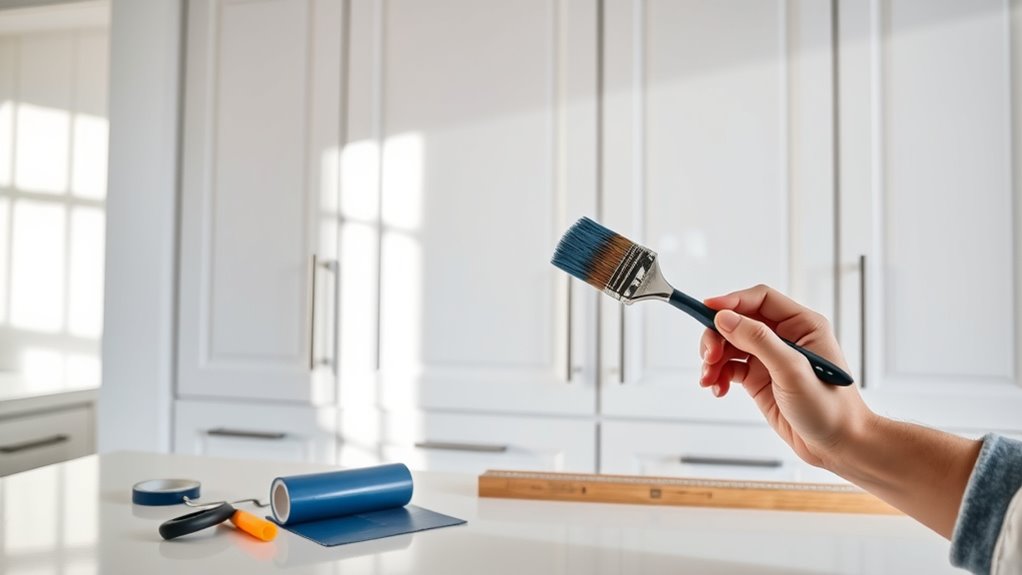
Once your cabinets are prepped and ready for painting, choosing the right tools and materials is key to getting a professional look. High-quality brushes and rollers, like synthetic bristles for latex paints, make all the difference.
Use painter’s tape to protect edges and hardware for clean lines. Pick a primer suited to your cabinet material to help the paint stick better and last longer.
For the paint, go for a durable finish like semi-gloss or satin that’s easy to clean. If you want a flawless, even coat, consider using a paint sprayer, but rollers and brushes work great for DIY projects.
Keep your supplies organized and ready before you start. Double-check that everything is compatible to avoid surprises along the way.
Cleaning and Sanding Cabinets Properly
To get a smooth, professional finish on your cabinets, cleaning and sanding the surfaces thoroughly is a must. Start by removing all hardware and wiping down the cabinets with a damp cloth to get rid of dust, grease, and grime.
Next, follow these steps:
- Use a gentle cleaner or degreaser to make sure all residues are gone.
- Rinse with clean water and dry completely.
- Lightly sand the surfaces with fine-grit sandpaper to create a smooth base.
- Wipe away dust with a tack cloth to ensure no debris is left behind.
Proper cleaning helps prevent paint from peeling, and sanding improves adhesion. Take your time to prepare the surface well—this step is key to a flawless finish.
Picking the Best Paint or Finish for Your Cabinets
Choosing the right paint or finish can really change the look of your cabinets and make sure they last. First, think about the material—wood, laminate, or MDF—as each reacts differently to various finishes.
Selecting the right finish enhances your cabinets’ appearance and durability.
For a classic look, go with high-quality latex or oil-based paints. They’re durable and give a smooth finish. If you want a more natural appearance, stains or clear finishes like polyurethane or varnish are great options to highlight the wood grain.
Matte finishes are good at hiding imperfections, while semi-gloss or gloss finishes are easier to clean and give a more polished look. Also, consider the environment—low-VOC and eco-friendly options are safer for indoor air quality.
Picking the right product ensures your cabinets look stunning and can handle daily use.
Applying Paint or Stain for a Flawless Look
To get a flawless finish, start with proper surface preparation. Clean, sand, and smooth the cabinets to make sure the paint or stain goes on evenly.
Choose a finish that matches your desired look and durability needs. This helps you get the right style and longevity for your project.
As you apply the paint or stain, use even coats and smooth strokes. This will give you a professional-looking result without streaks or uneven spots.
Surface Preparation Techniques
Achieving a flawless finish on your kitchen cabinets starts with proper surface preparation. First, clean the surfaces thoroughly to remove grease, dust, and grime.
Next, sand the cabinets smoothly to create a good base for the paint or stain. Then, fill any dents or holes with wood filler, and sand again to ensure an even surface.
Finally, wipe everything down with a tack cloth to remove dust and debris. This step-by-step process helps your paint or stain stick properly and gives you a sleek, professional look.
Skipping any of these steps can lead to uneven coverage or peeling later on, so take your time and prep carefully. Proper surface prep is the foundation for a stunning, durable finish.
Choosing the Right Finish
After preparing your cabinet surfaces, choosing the right finish can really make a difference in getting a professional look. Decide whether you want a painted, stained, or glazed finish based on your style.
Paint gives a smooth, modern look and hides imperfections, while stain highlights the wood’s natural grain for a warm, classic feel. If you prefer a more textured or rustic look, stain might be your best bet.
Think about durability and how easy it is to maintain. Paint tends to be more resistant to moisture and stains. Also, consider the color and sheen; gloss finishes reflect more light and look sleek, while matte finishes give a softer, understated vibe.
The right finish not only makes your cabinets look better but also helps them last longer.
Applying Even Coats
Getting an even coat of paint or stain is essential for a professional finish, and it starts with proper preparation. To do this, follow these steps:
- Use a high-quality brush or roller to ensure smooth application.
- Work in manageable sections to prevent overlaps and uneven drying.
- Keep a consistent speed and pressure to avoid streaks.
- Watch for drips and runs, gently smoothing them out before drying.
Keep a steady hand and avoid pressing too hard. Thin coats are better than thick ones because they dry evenly and reduce drips. Always follow the manufacturer’s drying times before adding more coats. With patience and attention to detail, you’ll create a flawless, professional-looking finish.
Sealing and Protecting Your Cabinet Makeover
Sealing and protecting your cabinet makeover is key to making sure it lasts. Choosing the right sealer is crucial to protect your finish and keep it looking great over time.
Once you’ve picked the perfect product, applying several coats will seal in your work and help prevent damage.
Choosing the Right Sealer
Have you picked the perfect paint or stain for your cabinets? Now, it’s time to choose the right sealer to protect your work. The sealer acts as a barrier, shielding your cabinets from moisture, stains, and daily wear.
To find the best one, consider these options:
- Polyurethane is great for durability and gives a clear, glossy finish.
- Polycrylic provides water-based protection and is easy to clean up.
- Varnish offers a tough, protective coating with a traditional look.
- Shellac gives a natural finish, dries quickly, but isn’t as resistant to moisture.
Pick a sealer that works with your paint or stain and matches your desired sheen and level of protection. This step helps keep your cabinets looking beautiful longer.
Applying Protective Coats
Applying protective coats is an essential step to ensure your cabinet makeover lasts. It shields your work from moisture, stains, and daily wear.
Use a high-quality clear sealant or topcoat that’s suitable for your finish. Apply it evenly with a brush or roller for the best results.
Be sure to follow the manufacturer’s instructions for drying times and the number of coats needed. Lightly sand between coats to get a smoother finish.
Proper application helps secure durability without sacrificing your cabinet’s appearance. Here’s a quick reference:
| Step | Tip |
|---|---|
| Choose the right coat | Use a clear, durable sealant suitable for your paint or stain |
| Apply evenly | Work in thin, consistent layers to prevent drips and streaks |
| Dry thoroughly | Wait the recommended time between coats |
| Final inspection | Check for missed spots and touch up as needed |
Installing Hardware and Final Details
Once your cabinets are properly aligned and secured, it’s time to focus on installing the hardware and adding those final finishing touches that make your kitchen pop. Start by choosing handles, knobs, or pulls that match your style.
Next, measure and mark where each piece will go to ensure consistent spacing. Then, carefully drill holes using a drill bit suited for your hardware.
Attach the hardware with screws, tightening securely but not over-tightening. Afterward, check each piece to make sure they’re straight and evenly aligned.
Finally, step back and add any decorative touches like label tags or trim to finish the look. These small details really make a big difference!
Maintaining Your Cabinets for Long-Lasting Beauty
To keep your cabinets looking their best over time, regular maintenance is essential. Start by wiping down surfaces weekly with a soft cloth and mild soap to remove dust and grease. Avoid harsh chemicals that can damage the finish; instead, use a gentle cleaner suitable for your cabinet material.
Check hinges and handles periodically, tightening screws as needed to prevent loosening. For stubborn stains or spots, use a non-abrasive sponge or soft cloth. Protect your cabinets from excess moisture and direct sunlight, which can cause warping or fading.
Applying a furniture polish or wax once or twice a year helps preserve the finish and adds a layer of protection. Regular upkeep keeps your cabinets beautiful and extends their lifespan.
Frequently Asked Questions
How Long Does a Typical Cabinet Painting Project Take?
A typical cabinet painting project usually takes about 3 to 5 days.
You’ll spend the first day cleaning and prepping the surfaces, then applying primer and paint over the next couple of days. Drying times and curing can extend the process slightly.
If you work efficiently and avoid interruptions, you might finish closer to three days. But it’s wise to allow up to five days to ensure a professional, long-lasting finish.
Can I Paint Over Stained or Varnished Cabinets Directly?
You can’t paint directly over stained or varnished cabinets without some prep work. First, give the surface a good clean to remove grease and dirt.
Next, lightly sand the cabinets to create a rough surface that helps the paint stick. After sanding, wipe away all the dust.
Then, apply a primer that’s designed for glossy or stained surfaces. Once the primer dries, you can go ahead and paint your cabinets for a smooth, professional finish.
What Are Common Mistakes to Avoid During Cabinet Painting?
You might think you’re a pro, but skipping primer is a classic mistake.
Avoid rushing the prep work. Failing to clean, sand, or prime can lead to uneven paint and peeling.
Don’t forget to tape edges and hardware. It’s tempting to skip, but it’ll save you headaches later.
Finally, resist the urge to rush drying times. Patience isn’t just a virtue here, it’s the secret to a flawless, professional-looking finish.
How Do I Choose the Best Color Scheme for My Cabinets?
To choose the best color scheme for your cabinets, start by thinking about your overall kitchen style and existing colors. You want shades that work well with your countertops, backsplash, and flooring.
Test out paint samples in your space to see how they look in different lighting. Keep in mind, lighter colors can make your kitchen feel more open, while darker shades add a touch of elegance.
Trust your gut and pick a scheme that feels right for you. After all, your kitchen should make you feel at home.
Is It Necessary to Remove Cabinets From the Wall Before Painting?
No, it’s not necessary to remove cabinets from the wall before painting, but many people recommend doing so for a cleaner, more professional look.
If you decide to leave them in place, make sure to protect your countertops and nearby areas with painter’s tape and drop cloths.
Removing the cabinets can make it easier to reach all surfaces and help prevent drips or splatters, especially on the back and underside.
Conclusion
With these simple steps, you’ll transform your cabinets from tired to dazzling, like turning a dull canvas into a vibrant masterpiece.
Think of your kitchen as a blank slate waiting for your personal touch. With patience and a little elbow grease, you’ll create a stunning centerpiece that reflects your style.
Soon enough, your cabinets will shine like stars, bringing warmth and beauty to your home for years to come.
By following these easy steps, you’ll do kitchen cabinets like a pro and enjoy a fresh, updated look you’ll love.