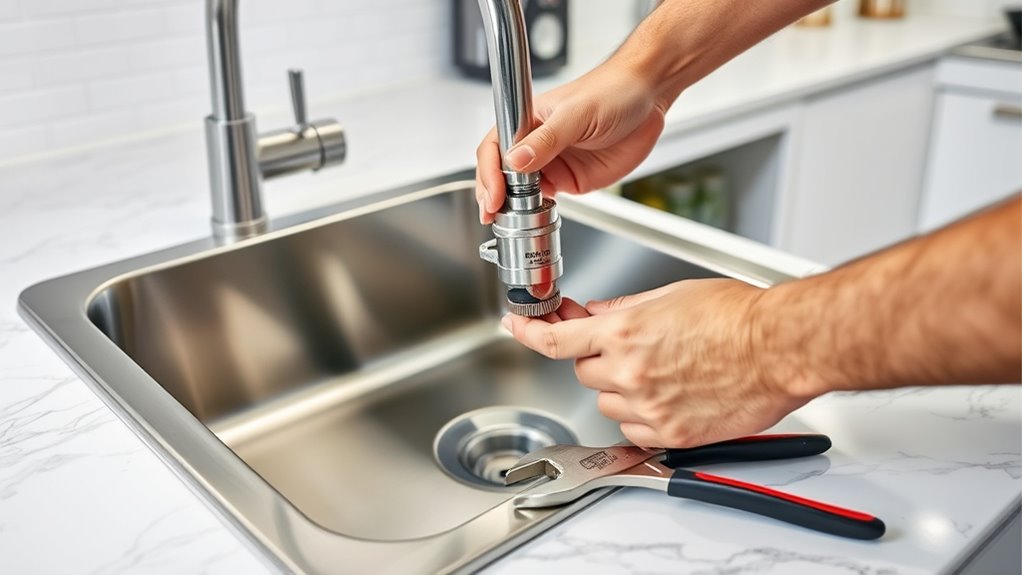
8 Simple Steps to Install a Kitchen Sink
Are you tired of dealing with leaky, outdated kitchen sinks and unsure where to start with an upgrade? You’re not alone—many people find installing a new sink a bit daunting.
But don’t worry, with a little guidance, you can do it yourself and save money.
To install a kitchen sink, start by clearing and preparing your workspace, turning off the water supply, and gathering your tools.
Remove the old sink carefully, disconnecting plumbing and removing mounting hardware.
Fit the new sink, connect plumbing securely, and seal edges with caulk for a professional look.
Finally, test for leaks and make adjustments as needed.
For detailed tips and troubleshooting advice, keep exploring how to make your installation smooth and leak-free.
Key Takeaways
- Turn off the water supply, disconnect the plumbing, and carefully remove the old sink.
- Measure and prepare the opening on your countertop for the new sink.
- Install the sink, making sure it’s positioned correctly and securely mounted.
- Connect the plumbing fittings, and check for tightness and leaks.
- Seal the edges with caulk, then test everything to make sure there are no leaks.
- Clean up your workspace and enjoy your new sink!
Preparing Your Kitchen and Tools for Sink Installation
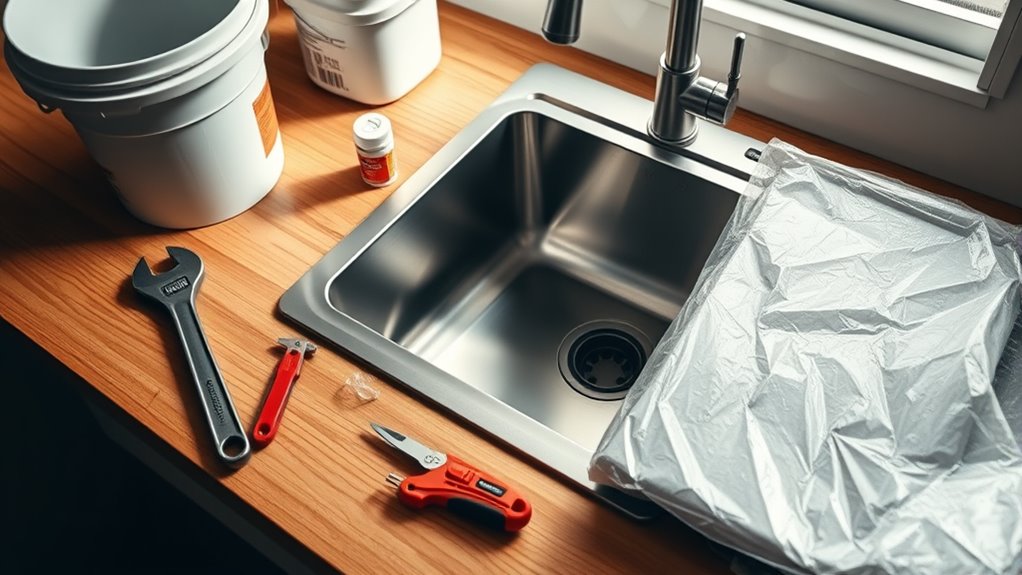
Before you start installing your sink, it’s important to prepare your kitchen and gather the right tools. Clear out the space under your sink and remove any items that could get in the way.
Next, turn off the water supply to prevent leaks during the installation. Gather essential tools like a wrench, screwdriver, plumber’s tape, and a bucket to catch any water that might spill.
Turn off the water supply and gather tools like a wrench, screwdriver, plumber’s tape, and a bucket to catch spills.
Make sure you have a new sink, sealant, and mounting hardware ready to go. Check your existing plumbing to see if it’s compatible or if any repairs are needed.
It’s also a good idea to lay down a towel or drop cloth to protect your countertop. Proper preparation saves you time and helps make the installation smoother and more efficient.
Choosing the Right Kitchen Sink and Accessories
Choosing the right kitchen sink and accessories is key to making sure your setup is functional, durable, and matches your style. Think about your workspace and how you cook—this will help you decide what works best.
If you often wash large pots or bakeware, go for a deep, single-basin sink. For multitasking, a double basin gives you more flexibility. Material choice is important too—stainless steel is tough and easy to clean, while composite or fireclay can add a stylish touch.
Accessories like a cutting board, drying rack, or soap dispenser can boost usability and organization. Be sure to measure your countertop space carefully so everything fits comfortably. Also, check that your new sink is compatible with your plumbing and accessories.
Choosing the right sink and accessories now will make installation smoother and ensure you’ll be happy with your setup in the long run.
Removing the Old Sink Safely and Efficiently
Start by turning off the water supply and disconnecting the plumbing beneath the sink to prevent leaks. Use a wrench to loosen and remove the water supply lines and the drain pipe.
Place a bucket under the drain to catch any residual water. Carefully loosen any mounting clips or brackets holding the sink in place, which may require a screwdriver or pliers.
Once these are removed, gently lift the sink out of the countertop. If it’s glued or sealed with caulk, use a putty knife or utility blade to cut through the seal.
Be patient and work slowly to avoid damaging the countertop or surrounding materials. With the old sink free, clean the area thoroughly before moving on to the installation.
Installing Your New Kitchen Sink Step-by-Step
Now that your old sink is out, it’s time to prepare the area and set up your new sink. Make sure the countertop opening is clean and properly sized. Gather all the necessary plumbing components so you’re ready to go.
Next, you’ll connect the plumbing to ensure everything fits securely. Double-check that all connections are tight and that the sink functions properly before finishing up.
Preparing the Sink Area
Before installing your new kitchen sink, you need to prepare the sink area thoroughly. Clear out everything from the countertop and clean the surface to remove dust, grease, or debris.
Check the size and shape of your new sink against the opening to confirm it fits properly. If needed, measure and mark the area for accurate cutting or adjustments.
Remove any old sealant or remnants from the previous sink to create a smooth, clean surface. Make sure the surrounding cabinetry is sturdy and level, as this will support the weight of the new sink.
Gather all necessary tools and supplies nearby for quick access. Proper preparation helps the installation go smoothly and prevents issues down the line.
Connecting Plumbing Components
Connecting the plumbing components is a key step to make sure your new sink works properly and doesn’t leak. First, attach the drain pipe to the sink’s drain outlet using a slip nut and gasket, making sure it’s tight.
Next, connect the P-trap to the drain pipe, lining it up correctly and securing it with slip nuts. Then, attach the horizontal drain pipe to the P-trap, ensuring all connections are snug but not overly tight.
For the water supply lines, connect the hot and cold lines to the matching faucet valves. Tighten the fittings with a wrench, but be careful not to overtighten and cause damage.
Finally, check all the connections for leaks. Turn on the water supply and run water through the sink. Tighten any fittings that are leaking or feel loose.
Connecting Plumbing and Sealing for a Leak-Free Fit
Now it’s time to connect your drain pipes and make sure everything is sealed properly.
You want tight joints to prevent leaks and water damage. Carefully fit and tighten the connections, making sure they’re snug.
Then, seal any gaps using plumber’s tape or putty to ensure a secure, leak-free fit.
Properly Connect Drain Pipes
Making sure your drain pipes are leak-free is key to a properly working kitchen sink. First, align the tailpiece with the drain outlet, then tighten the slip nuts by hand.
Use a wrench if needed, but don’t overtighten, as this can crack fittings. To prevent leaks, apply a small amount of plumber’s putty or Teflon tape on threaded connections.
Check your connections for tightness and proper alignment. Here’s a quick reference:
| Connection Step | Material Needed | Tip |
|---|---|---|
| Attach tailpiece | Slip nut, gasket | Hand-tight, then snug |
| Secure drain flange | Plumber’s putty | Seal around the flange |
| Connect to P-trap | Teflon tape, slip nuts | Tighten firmly but gently |
This ensures your drain pipes stay leak-free and secure.
Seal Joints Effectively
Sealing joints properly is essential to prevent leaks and keep everything connected securely. First, make sure all threads and surfaces are clean and dry.
Apply a suitable plumber’s tape or pipe dope to threaded connections, wrapping the tape clockwise so it doesn’t unravel. For slip joints, tighten fittings snugly but avoid overtightening, which can damage the seals.
Use silicone-based or plumber’s putty around sink drains and mounting surfaces to create a watertight seal. When connecting flexible hoses, tighten fittings securely but don’t over-tighten, as this can cause cracks or leaks.
Once everything is in place, run water to check for leaks. Re-tighten any fittings as needed to ensure a leak-free, long-lasting seal.
Testing for Leaks and Ensuring Everything Fits Properly
Before you fully secure the sink and connect the plumbing, it’s essential to test for leaks and confirm everything fits correctly. Turn on the water supply slowly, checking all connections for drips or moisture. Use a dry cloth to wipe around joints and fittings to spot any leaks immediately.
Run both hot and cold water to verify the faucet functions properly and the connections hold. Check the alignment of the sink to make sure it sits evenly on the countertop. If you notice any leaks, tighten fittings slightly, but avoid over-tightening, which could damage components.
Make sure the sink is stable and seated properly without wobbling. Once you’re confident there are no leaks and everything fits well, you can proceed to secure the sink permanently.
Tips for a Seamless and Professional-Looking Finish
Once you’ve confirmed your sink fits well and there are no leaks, it’s time to focus on getting a sleek, professional look. Make sure all edges are sealed properly with a good-quality caulk, and smooth it out for a clean finish.
Use a damp cloth to wipe away any excess caulk for a polished appearance.
Pay attention to alignment; a level surface helps prevent water pooling and looks better too.
Consider adding a splash guard or trim to create a seamless transition between the sink and countertop.
Here’s a quick guide:
| Step | Tip | Result |
|---|---|---|
| Seal edges | Apply an even bead of caulk | Clean, waterproof finish |
| Check alignment | Use a level | Uniform, professional look |
| Final touches | Wipe excess caulk and smooth | Neat, polished appearance |
Common Kitchen Sink Installation Troubleshooting Tips
Even with careful planning, you might run into common issues during kitchen sink installation that can throw off your project. Leaks are pretty common and often happen because of improper sealing or loose fittings.
To fix leaks, double-check your connections and make sure the plumber’s putty or silicone sealant is applied correctly. If your sink wobbles, it might be unbalanced or not properly supported.
Tighten the mounting clips and verify that the countertop cutout is accurate. Clogged drains can also pop up if the pipes aren’t lined up correctly or if debris gets trapped.
Regularly inspect all connections and tighten fittings as needed. Always turn off the water supply before making adjustments, and don’t rush through the process.
Addressing these common issues quickly helps keep your installation on track and prevents bigger problems down the road.
Frequently Asked Questions
Can I Install a Kitchen Sink Without Professional Help?
Yes, you can install a kitchen sink without professional help if you’re comfortable with basic plumbing tasks.
You’ll need to gather the right tools, turn off the water supply, and carefully follow step-by-step instructions.
Take your time to measure, fit the fittings properly, and make sure everything is sealed tightly to prevent leaks.
With patience and attention to detail, you can successfully complete the installation yourself.
What Tools Are Essential for Sink Installation?
Did you know that over 60% of DIY projects fail because of missing tools? When installing a kitchen sink, having the right tools makes all the difference.
You’ll need essential items like a wrench, screwdriver, pliers, a utility knife, and a bucket. A putty knife helps seal the sink properly, and plumber’s tape ensures leak-proof connections.
Having these tools ready will make the installation smoother and faster. It also helps you avoid costly mistakes and saves you time.
How Long Does a Typical Sink Installation Take?
A typical sink installation takes about 2 to 4 hours, depending on your experience and the complexity of the setup. If you’re familiar with plumbing, it might go faster—around 2 hours.
If you’re new to this, it could take closer to 4 hours. Make sure you have all your tools ready and follow each step carefully to avoid delays.
Patience and preparation are key to ensuring a smooth installation process.
What Materials Are Best for Sealing Connections?
You should use plumber’s putty or silicone caulk to seal connections effectively. Plumber’s putty is flexible and easy to work with, making it great for sealing around the sink drain and faucet.
Silicone caulk provides a waterproof, durable seal, especially around the edges of the sink and countertop. Both materials help prevent leaks and water damage.
Choose based on your specific needs and preferences for ease of application and longevity.
Is It Necessary to Shut off the Water Supply Before Starting?
Yes, you should shut off the water supply before starting. This helps prevent water from spraying or leaking while you disconnect the old sink or work on the plumbing.
Locate the shut-off valves under your sink, turn them clockwise to close, and open a faucet to drain any remaining water.
Taking this step keeps you safe from messes and water damage, making your installation smoother and less stressful.
Conclusion
With these eight simple steps, you’re not just installing a sink—you’re transforming your kitchen’s heart. Think of it as carving out a space where family gathers and memories flow, much like water itself.
As you finish, keep in mind that patience and precision are your best tools. Welcome the journey, because in every tight seal and secure connection, you’re creating more than a functional space—you’re crafting a welcoming home.
And remember, installing a kitchen sink is a rewarding project that adds both beauty and practicality to your kitchen. Enjoy the process, knowing you’ve taken a big step toward making your kitchen truly your own.