How Do You Bake Sourdough Bread in a Loaf Pan?
Baking sourdough bread in a loaf pan sounds simple, but many home bakers struggle to get that perfect rise and crust. You’re not alone—finding the right method can be tricky, especially when aiming for a consistent, bakery-quality loaf.
Luckily, with a few easy steps, you can master baking sourdough in a loaf pan every time.
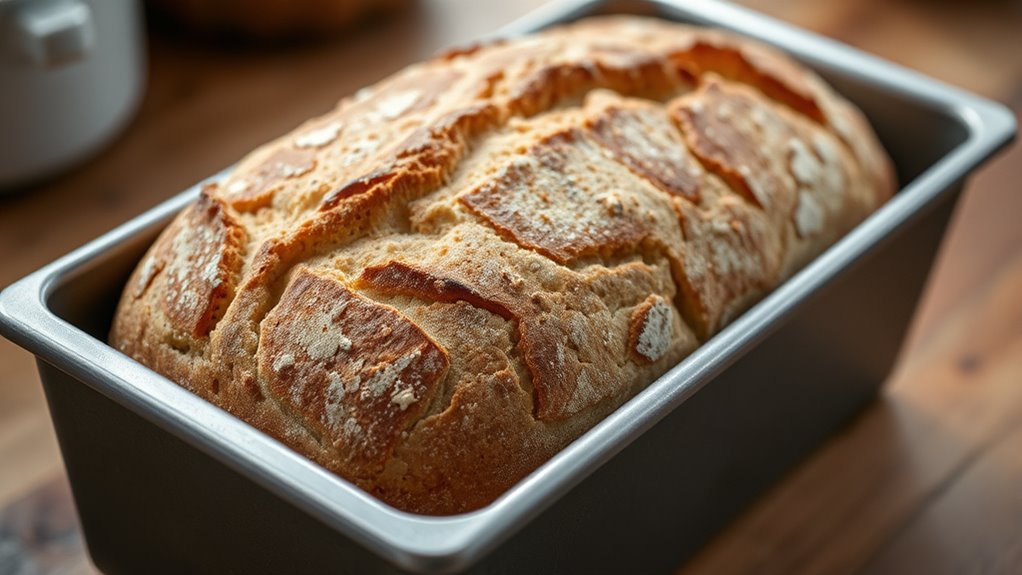
To bake sourdough in a loaf pan, start by shaping your dough into a smooth, tight loaf that fits the pan, tucking edges underneath. Preheat your oven and pan to guarantee a good rise and crust.
Place the dough in the pan, add steam during the first part of baking for a crispy crust, and bake for about 30-35 minutes until golden brown.
Let it cool completely before slicing.
Keep going, and you’ll uncover how to perfect your sourdough every time.
Key Takeaways
- Shape the dough into a tight, smooth loaf that fits the loaf pan. Tuck the edges underneath to create surface tension.
- Preheat your oven along with the greased or parchment-lined loaf pan. This helps ensure good heat transfer right from the start.
- During the initial baking phase, add steam by placing a water pan in the oven or spritzing the loaf with water. This step helps you get that crispy, golden crust.
- Lightly score the top of the dough before baking. It controls how the bread expands and adds to the crust’s appearance.
- Once baked, let the bread cool completely on a wire rack. This keeps the crumb tender and prevents it from becoming soggy.
Why Bake Sourdough in a Loaf Pan?
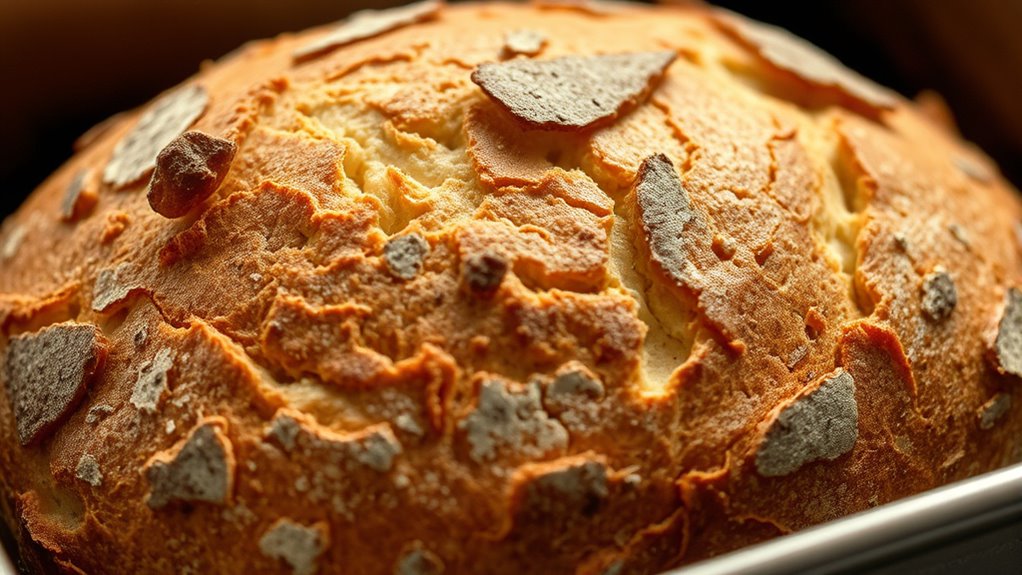
Baking sourdough in a loaf pan gives your bread a nice, uniform shape and a clean, professional look. Using a pan helps shape the dough evenly so your slices come out consistent every time.
It’s especially handy if you like a traditional sandwich loaf or want that predictable rectangular shape. Plus, a loaf pan keeps the dough’s rise in check, stopping it from spreading out too much on a baking sheet.
This helps you get a dense, even crumb, which is great for sandwiches or toast. A pan also makes it easier to handle and transfer the dough, reducing the risk of deflation or damage while baking.
Preparing Your Sourdough Dough for Pan Baking
Before placing your dough into the loaf pan, make sure it’s properly shaped and ready for its final rise. Gently form it into a tight, smooth loaf that matches the size of your pan.
Use your hands to tuck the edges underneath, creating surface tension on top for a neat look. Check that it isn’t over-proofed; it should be slightly puffy but still feel firm when pressed.
Lightly flour the surface if needed to prevent sticking, but don’t overdo it. If your dough has a tight crumb, consider scoring the top lightly to help it expand evenly during baking.
This prep helps the dough rise uniformly in the pan and results in a well-structured, even loaf.
Step-by-Step: Baking Sourdough in a Loaf Pan
To bake sourdough in a loaf pan, you need to start by properly preparing your dough, making sure it’s well-shaped and proofed. This helps ensure an even rise and good texture.
As you bake, pay attention to the oven temperature and steam, which influence the crust and crumb. Controlling these factors will give you that perfect crust and soft inside.
Once out of the oven, cool the bread correctly to preserve its texture and flavor. Let it cool completely before slicing to avoid squishing the crumb.
Preparing the Dough Properly
Since using a loaf pan can give you a more uniform shape, it’s important to prepare your dough properly to ensure it rises well and has a good texture. Start by confirming your dough has doubled in size and feels airy.
Gently shape the dough into a loaf, being careful not to overwork it so you keep its lightness. A gentle fold helps create surface tension, which helps it hold its shape during baking.
Consider giving it a final proof—let the dough rise until it’s slightly domed and passes the poke test. Proper hydration is key; your dough should be moist but not sticky.
Use quality ingredients and measure carefully to keep things consistent. Handle the dough gently throughout to preserve air pockets and get the best results.
Baking and Cooling Techniques
Once your dough has fully risen and is ready for baking, preheat your oven to around 450°F (230°C). Lightly grease your loaf pan or line it with parchment paper.
Place the dough into the pan, smoothing the top with a spatula if needed. To get a crispy crust, add steam by placing a pan of hot water on the lower rack or spritzing the dough with water before baking.
Bake for about 30-35 minutes until the crust is deep golden brown and the loaf sounds hollow when tapped. Once it’s done, remove the bread from the oven and transfer it to a wire rack.
Let it cool completely before slicing. This helps the crumb set and prevents the bread from becoming gummy.
How to Achieve a Crispy Crust and Tender Crumb
Achieving a crispy crust and tender crumb starts with handling your dough and baking the right way. To get that perfect balance, focus on a hot oven, steam, and good dough prep. Preheat your oven and loaf pan thoroughly to ensure instant heat transfer.
Create steam during the first part of baking by placing a pan of water in the oven or spritzing the dough. Using a high hydration dough helps keep the inside moist and tender. Score the top of your loaf to allow for controlled expansion and better crust formation.
Finally, let your bread cool completely before slicing. This step helps maintain that soft, tender crumb you’re after.
Troubleshooting Common Problems When Baking in a Loaf Pan
When baking in a loaf pan, you might notice uneven crusts, sticking dough, or a loaf that doesn’t rise enough. These problems are common but usually easy to fix with a few simple techniques.
Let’s look at some solutions for these typical issues so you can get perfect sourdough loaves every time.
Uneven Crust Formation
Uneven crust formation often happens because the heat isn’t distributed evenly during baking, especially in a loaf pan. This can cause parts of your bread to develop a darker, thicker crust while others stay pale or softer.
To fix this, try rotating your loaf halfway through baking to promote even browning. Using an oven thermometer can help ensure your oven stays at the right temperature.
Placing a baking stone or steel underneath the loaf improves heat conduction, which helps with even baking. If the crust browns too quickly, covering the bread loosely with foil can prevent over-browning.
Dough Sticking Issues
Dough sticking to the loaf pan is a common issue that can throw off your baking plans. To avoid this, make sure to properly grease the pan with butter, oil, or non-stick spray.
You can also lightly dust it with flour or cornstarch for extra help with release. When shaping your dough, try not to over-flour, as too much can cause sticking.
Here’s a quick visual:
| Greasing Method | Effect |
|---|---|
| Butter/Oil | Creates a smooth barrier |
| Flour/Cornstarch | Absorbs moisture and prevents sticking |
| Parchment Paper | Makes for easy release |
Insufficient Rise Tips
If your loaf isn’t rising enough, it might be because of issues with your dough’s fermentation. Make sure you give your dough enough time to ferment at the right temperature.
Warmer environments help the yeast activate fully, so proof your dough in a warm, draft-free spot. Overhandling or overkneading can deflate the dough, so handle it gently.
Using a fresh, active sourdough starter is key for a good rise. During cooler weather, allow more time for bulk fermentation.
Keep the dough in a warm place during proofing to encourage proper rising. Use a lively, well-fed starter to ensure active fermentation.
Finally, avoid overworking the dough to help retain gas pockets that give your bread its rise.
Storing and Slicing Your Sourdough Loaf for Freshness
To keep your sourdough bread fresh for as long as possible, proper storage is key. Once cooled, store your loaf in a paper bag or bread box to keep the crust crisp and prevent mold.
Store cooled sourdough in a paper bag or bread box to maintain crust crispness and prevent mold.
Avoid plastic bags because they trap moisture and make the crust soft. If you’re planning to eat the bread in a day or two, keep it at room temperature. For longer storage, freezing is your best bet.
Before slicing, let the bread fully cool so it doesn’t turn gummy. When slicing, use a sharp serrated knife to avoid crushing the crumb. Only slice what you need because pre-sliced bread tends to dry out faster.
For the freshest leftovers, rewrap slices in a paper towel inside a plastic bag or airtight container. Try to consume them within a few days for the best taste and texture.
Frequently Asked Questions
Can I Use Any Type of Loaf Pan for Baking Sourdough?
Yes, you can use most standard loaf pans for baking sourdough. It’s best to pick a metal or glass pan with straight sides to get an even bake and a nice crust.
Avoid non-stick pans, as they can sometimes affect the crust’s texture. Make sure your pan is well-greased or lined to prevent sticking.
If your pan is much larger or smaller than usual, you might need to adjust the baking time. That way, your bread will turn out just right.
How Long Should I Proof the Dough Before Baking in a Loaf Pan?
Proof the dough until it’s puffy and passes the poke test, which usually takes about 1.5 to 2 hours depending on your room temperature.
You want the dough to feel light and airy, with bubbles forming on the surface. Don’t rush this step—patience is key for perfect proofing.
When you gently press the dough, it should slowly spring back. Proper proofing ensures your sourdough bakes beautifully in the loaf pan with a tender, tangy crumb.
Is It Necessary to Score the Sourdough Before Baking in a Pan?
It’s not necessary to score the sourdough before baking in a loaf pan, but doing so can be helpful.
Scoring lets steam escape, which helps prevent cracks and allows the bread to expand evenly.
If you decide not to score, the bread might develop a crusty top with some cracks.
Can I Bake Sourdough Directly From the Refrigerator?
A stitch in time saves nine, so it’s best to let your sourdough come to room temperature before baking. Yes, you can bake it straight from the fridge, but the cold dough might not rise as well and could result in a denser loaf.
For the best results, give it about an hour to warm up. Shape it gently and let it become slightly puffy before baking.
How Do I Prevent the Bread From Sticking to the Loaf Pan?
To prevent your sourdough bread from sticking, start by generously greasing your loaf pan with butter or oil.
You can also dust it lightly with flour or line it with parchment paper.
Before pouring in the dough, make sure the pan is well-coated.
For extra assurance, sprinkle some cornmeal or oats inside.
These steps create a barrier, making it easy to remove your bread once it’s baked.
Conclusion
So, next time you’re craving that perfect loaf, skip the crusty bakery look and reach for the loaf pan. Baking your sourdough in a pan can actually give you a softer crust and a more uniform crumb.
It might not have that rustic, artisanal charm, but it’s definitely more “homey.” Plus, the shape is just so much easier to slice and serve.
Enjoy your loaf, and remember: sometimes, the best bread is the one that looks the least like it’s been through a bakery. Baking sourdough in a loaf pan is a simple way to get a delicious, perfectly shaped bread every time.