How You Can Bake Sourdough in Aluminum Pans Step by Step
Baking sourdough at home can be incredibly rewarding, but many people struggle with finding the right tools to get that perfect crust and even bake.
If you don’t have a traditional Dutch oven or prefer using what you already have, aluminum pans can be a great alternative. You’re not alone in this — many bakers find themselves looking for simple ways to achieve bakery-quality bread with everyday kitchen items.
To bake sourdough in aluminum pans, start by choosing a 9-10 inch pan with about 1.5mm thickness for even heat.
Prep the pan by cleaning, lightly greasing, and dusting with flour or cornmeal, or use parchment paper. Transfer your shaped dough into the preheated pan, cover it to trap steam, and bake at 450°F for 20 minutes.
Remove the cover and finish baking until golden. Continue with these steps to master a perfect loaf.
Key Takeaways
- Choose a 9-10 inch aluminum pan with a sturdy handle and 1.5mm thickness. This helps ensure even heat distribution while baking.
- Prepare the pan by cleaning it thoroughly. Grease it lightly, then dust with flour or cornmeal to prevent sticking.
Preheat the pan in the oven before adding your dough. This step helps create a good crust on your sourdough.
– Shape your sourdough dough, then carefully transfer it seam side down into the preheated pan.
Make sure it fits comfortably. Handling it gently will keep the shape intact.
– Cover the pan with a lid or foil. Bake at 450°F for about 20 minutes.
After that, uncover the pan and continue baking until the bread turns a beautiful golden brown.
– Once baked, take the bread out of the pan and let it cool on a wire rack.
Cooling is important for proper crumb development and crust texture.
Wait a bit before slicing to enjoy the best flavor and texture of your sourdough.
Why Bake Sourdough in Aluminum Pans Instead of Traditional Dutch Ovens?
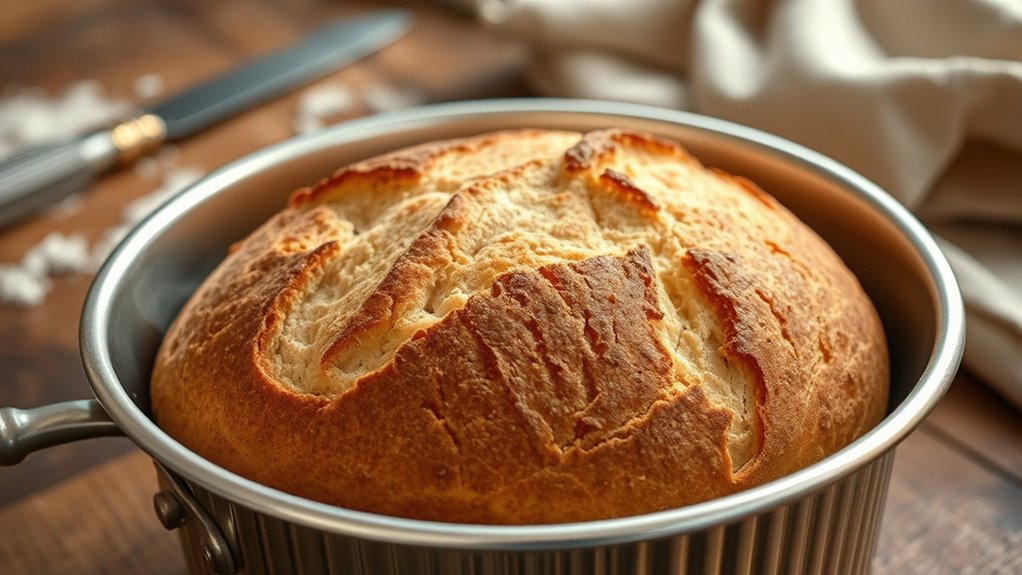
Have you ever wondered why some bakers prefer aluminum pans over traditional Dutch ovens for baking sourdough? The main reason is heat conductivity. Aluminum heats evenly and quickly, giving your bread a consistent crust and rise.
Aluminum pans heat evenly and quickly, ensuring a consistent crust and perfect rise for your sourdough bread.
Unlike Dutch ovens, which can be heavy and cumbersome, aluminum pans are lightweight and easier to handle. They also heat up faster, reducing baking time and energy use.
Furthermore, aluminum pans come in various shapes and sizes, allowing more flexibility in your baking. They’re often more affordable than Dutch ovens, making them a practical choice for home bakers.
While Dutch ovens trap steam for a perfect crust, aluminum pans can still produce excellent results with proper steaming techniques. Overall, aluminum pans offer convenience, efficiency, and versatility in sourdough baking.
How to Choose the Best Aluminum Pan for Sourdough Baking
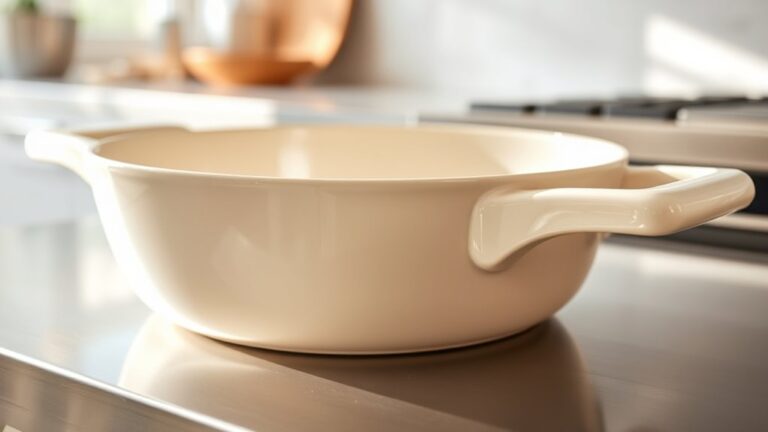
Choosing the right aluminum pan for sourdough baking means thinking about a few important factors to get that perfect loaf. First up, consider the pan’s size—aim for 9 to 10 inches in diameter for a standard loaf.
Next, check the thickness. A heavier gauge, around 1.5mm, helps ensure even heat distribution and a nice crust. The shape also matters—rectangular or oval pans work well for different loaf styles.
Durability is key. Anodized aluminum resists corrosion and warping, so your pan lasts longer. And don’t forget handles—they should be sturdy and heat-resistant for easy, safe handling.
Here’s a quick comparison:
| Factor | What to Look For | Why It Matters |
|---|---|---|
| Size | 9-10 inches in diameter | Perfect loaf size |
| Thickness | Heavy gauge (around 1.5mm) | Even heating and crust formation |
| Shape | Rectangular or oval | Fits your preferred loaf style |
| Durability | Anodized aluminum | Long-lasting and resistant to corrosion |
| Handles | Sturdy, heat-resistant handles | Safe and easy handling |
Preparing Your Aluminum Pan for a Perfect Crust and Rise
To achieve a crisp crust and a strong rise, proper preparation of your aluminum pan is essential. Begin by thoroughly cleaning the pan to remove any residue or oils that could affect the crust.
Next, lightly grease the surface with butter or oil to prevent sticking and help with browning. For an even crust, consider dusting the bottom with flour or cornmeal, which also adds texture.
If you want extra heat reflection, place a sheet of parchment paper or a baking mat inside. This creates a barrier that promotes even baking and prevents the dough from sticking.
Finally, preheat your oven with the aluminum pan inside. A hot, well-prepared pan guarantees the sourdough gets the ideal rise and develops that desirable, crispy crust.
Step-by-Step Guide to Baking Sourdough in Aluminum Pans
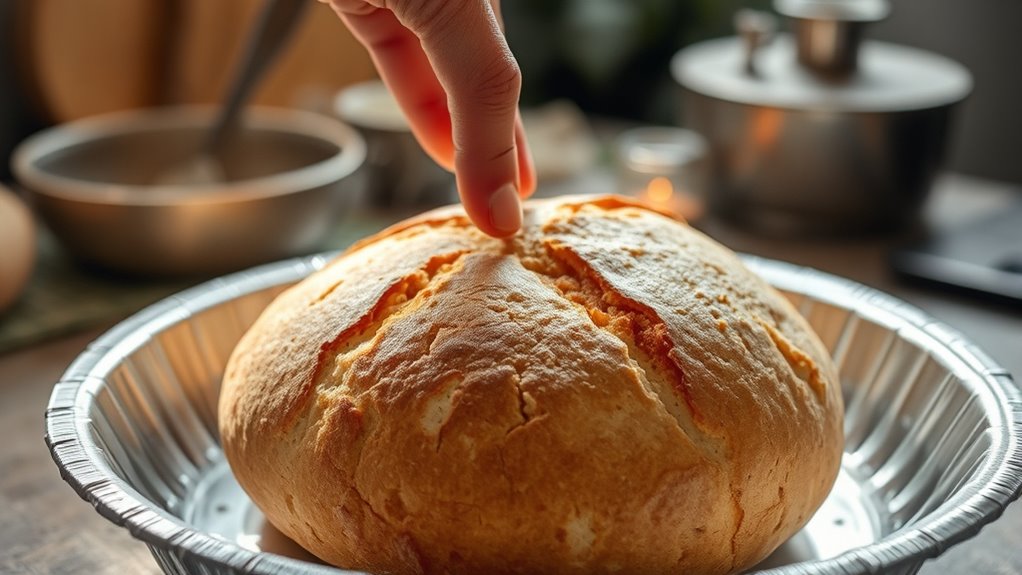
Once your aluminum pan is properly prepared and preheated, it’s time to transfer your shaped sourdough dough into the pan. Gently place the dough, seam side down, making sure it’s centered.
To get the best results, follow these steps:
- Cover the pan with a lid or aluminum foil to trap steam.
- Bake at around 450°F (232°C) for the first 20 minutes.
- Remove the cover and bake for another 15-20 minutes until the crust turns golden.
Keep an eye on the crust color so you don’t over-bake. Use oven mitts to handle the hot pan safely. Once it’s baked, let the bread cool before slicing to let the crumb set properly.
Tips for Achieving a Crispy Crust and Light Interior
To get a crispy crust and light interior, focus on proper dough hydration. Using just the right amount of water helps achieve that balance.
Make sure your oven hits the correct temperature to develop a perfect crust. Consider steaming the bread during baking to boost crispiness.
These steps will give your sourdough the ideal mix of crunch and fluff.
Proper Dough Hydration
Achieving the perfect crust and light interior starts with proper dough hydration. The amount of water you add influences the dough’s texture and how well it bakes.
To improve hydration, use the right water-to-flour ratio, typically between 70-80%. Higher hydration creates a more open crumb and crispy crust.
Gradually add water, mixing until fully incorporated, avoiding overly sticky dough. Adjust hydration based on flour type; some absorb more water, so tweak accordingly.
Keep in mind, higher hydration dough can be stickier and more challenging to handle, but it results in better oven spring and a crisper crust. Proper hydration is key to achieving that light, airy interior and satisfying crunch.
Correct Oven Temperature
Getting the oven temperature right is key for a crisp crust and a light, airy interior. Preheat your oven to a high temperature, usually between 450°F and 500°F, so your sourdough bakes evenly.
Use an oven thermometer for accuracy since many ovens run hotter or cooler than what the dial shows. Place your aluminum pan on the middle rack to let heat circulate properly.
Avoid opening the oven door during the first 15-20 minutes because sudden temperature drops can stop crust development. Once the sourdough is in, keep the high heat to encourage a good oven spring.
This helps create a lighter crumb. Proper heat makes the crust golden and crispy while keeping the inside moist and tender.
Steaming for Crispiness
Steaming the dough during the early part of baking is key for getting a crispy crust and a tender inside. It traps moisture, creating steam that helps the crust expand and turn golden.
To do this, you can place a heatproof dish with water at the bottom of your oven before baking. Alternatively, spray water into the oven during the first 10 minutes of baking.
You can also cover your pan with a lid or aluminum foil at the start, then remove it to crisp up the crust. These steps create a moist environment early on, which helps the bread rise and develop a beautiful, crunchy exterior.
Proper steaming balances the crunch of the crust with the soft inside, taking your sourdough baking to the next level.
Troubleshooting Common Sourdough Baking Problems
When baking sourdough, running into common problems is normal, but knowing what causes them helps you fix things faster. Here are some typical issues and how to solve them.
| Problem | Cause & Solution |
|---|---|
| Dense loaf | It’s probably underproofed. Give the dough more time to rise. |
| Cracked crust | This can happen if you overbake or change the oven temperature suddenly. Try reducing the oven heat gradually. |
| Flat bread | Weak gluten structure might be the cause. Strengthen your dough with proper kneading. |
| Pale crust | Not enough oven heat or steam during baking can cause this. Increase the temperature or add steam. |
| Large holes | Your dough might be overproofed. Shorten the proofing time for a better structure. |
Identify what’s going wrong, adjust your process, and with each bake, you’ll get better at making sourdough.
Frequently Asked Questions
Can Aluminum Pans Affect the Flavor of Sourdough Bread?
Aluminum pans generally don’t affect the flavor of your sourdough bread much. However, if your aluminum is reactive, it might give a slight metallic taste, especially when working with acidic ingredients.
To avoid that, go for an uncoated or anodized aluminum pan. Keep in mind, aluminum heats quickly and evenly, which helps your bread bake uniformly. Just keep an eye out for any metallic flavor, especially on your first few bakes.
Are Aluminum Pans Safe for High-Temperature Baking?
You’re right to ask—when it comes to high-temperature baking, aluminum pans are generally safe.
As the saying goes, “Better safe than sorry,” and aluminum heats evenly, making it great for bread baking.
Just make sure your pan is oven-safe and avoid exposing it to extreme heat for too long.
With proper use, aluminum pans won’t pose health risks and can help you get that perfect crust on your sourdough.
How Does Aluminum Compare to Other Materials in Heat Retention?
Aluminum heats up quickly and conducts heat efficiently, making it great for even baking and heat retention.
Compared to materials like cast iron or ceramic, aluminum responds faster to temperature changes. This helps you get a crisp crust and evenly baked bread.
However, it doesn’t hold onto heat as long as cast iron, so you might need to adjust your baking times a bit.
Can Aluminum Pans Be Used for Other Types of Bread?
Aluminum pans are versatile, like a Swiss Army knife for baking. You can definitely use them for other breads, from crusty baguettes to soft sandwich loaves.
They heat quickly and evenly, giving your bread a nice crust and consistent crumb. Just remember to adjust baking times if needed, as aluminum conducts heat fast.
With a little experimentation, you’ll find aluminum pans become your go-to tool for all kinds of bread baking adventures.
Will Aluminum Pans Cause Uneven Baking or Hot Spots?
Aluminum pans can cause uneven baking or hot spots because they conduct heat quickly and unevenly. You might notice some parts of your bread browning faster than others.
To prevent this, try using a baking stone or place the aluminum pan on a preheated baking sheet. Rotating the pan halfway through baking also helps ensure more even heat distribution.
This way, you’ll get a more uniformly baked loaf without those pesky hot spots.
Conclusion
So, there you have it—your foolproof guide to baking sourdough in aluminum pans. Who knew that sticking to tradition could be so overrated?
Now, with a little prep and a dash of daring, you’re all set to impress friends or at least yourself with a crust so crispy it’ll make bakery pros jealous.
Just don’t forget: practice makes perfect, and burnt bread is just a misunderstood culinary masterpiece in disguise.
Happy baking with your sourdough in aluminum pans!