8 Simple Steps to Degrease Kitchen Cabinets
Many people struggle with greasy kitchen cabinets that seem impossible to clean. If you’re tired of stubborn stains and want a spotless finish, you’re not alone. Keeping cabinets grease-free can feel like an ongoing battle, but with the right steps, it’s doable.
To degrease your kitchen cabinets, start by clearing off shelves and dusting surfaces. Choose a gentle cleaner like vinegar or dish soap, or test a commercial degreaser in a hidden spot.
Spray the degreaser on greasy areas and let it sit briefly. Wipe with a damp cloth, tackling stubborn stains with baking soda paste if needed. Dry thoroughly and consider applying a protective coat.
To keep grease at bay, follow these steps for a spotless finish—more tips await if you continue.
Key Takeaways
- Clear and dust the cabinet surfaces before you start using any cleaning products.
- It’s a good idea to test the degreaser on a hidden spot first. This helps make sure it won’t damage the finish.
- Spray or apply the degreaser evenly on the greasy areas. Let it sit for a few minutes so it can break down the grease.
- After that, wipe everything down thoroughly with a damp cloth or sponge. This will remove the grease and any leftover residue.
- Finally, dry the cabinets completely. Make sure your space is well-ventilated during and after cleaning.
Getting Your Cabinets Ready for a Deep Clean
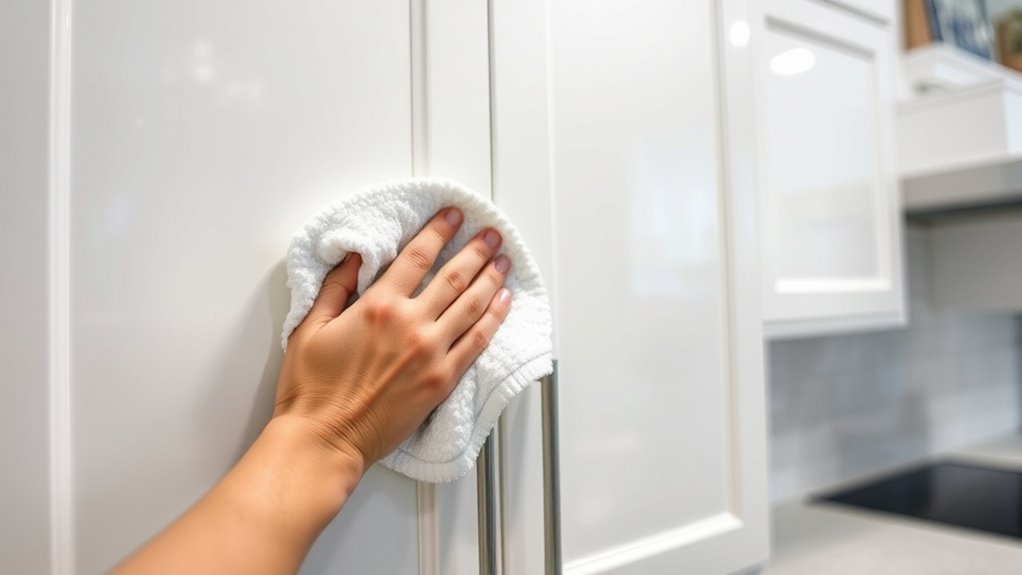
Before you start deep cleaning your cabinets, it’s a good idea to prepare them first. Clear everything off the shelves—dishes, utensils, decorations—so you have easy access and nothing gets in the way.
Next, give the surfaces a light dusting to remove loose dirt and debris. Wipe both the inside and outside of the cabinets with a damp cloth to loosen grime.
If you notice any loose hinges or handles, tighten or remove them now to make cleaning easier. Protect your countertops and floors with a cloth or plastic sheets to catch drips or debris.
Taking these simple steps will help you do a thorough clean and prevent damage during the process.
Choosing the Best Degreaser for Kitchen Cabinets
Are you wondering which degreaser will effectively cut through the grease and grime on your kitchen cabinets? The key is choosing the right product.
First, consider mild solutions like dish soap or vinegar for light buildup—they’re gentle and safe.
Second, opt for commercial degreasers if your cabinets are heavily greasy; these often contain stronger chemicals designed for tough grime.
Third, look for eco-friendly options if you’re concerned about fumes or environmental impact—they work well and are safer for your household.
Always read labels to confirm compatibility with your cabinet finish.
Keep in mind, the best degreaser suits your cleaning needs, budget, and safety preferences. Picking the right product makes the cleaning process easier and more effective.
How to Apply Degreaser Effectively
To apply degreaser effectively, start by removing any loose dust or debris from your cabinets with a soft cloth or vacuum. This helps the degreaser work directly on greasy surfaces without interference.
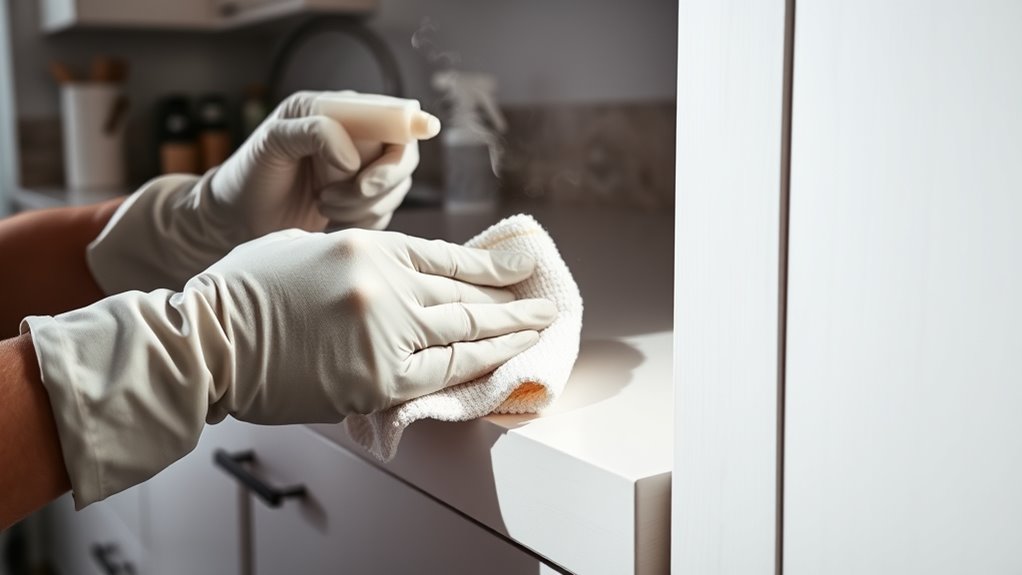
Next, put on gloves and, if needed, a mask to protect your skin and lungs from fumes. Spray the degreaser evenly onto the cabinet surfaces, focusing on heavily greasy areas.
Let it sit for a few minutes to break down the grease. Use a clean, damp cloth or sponge to wipe the surfaces thoroughly, making sure you lift away all the loosened grime.
For best results, follow the manufacturer’s instructions regarding dwell time. Avoid over-saturating the surfaces, as excess liquid can cause streaks or damage.
Tackling Stubborn Grease Stains
Stubborn grease stains can be tough to get rid of, but with the right steps, you can do it effectively. First, make a paste with baking soda and water. Apply it right on the stain and let it sit for 10-15 minutes.
Apply a baking soda and water paste, then let it sit for 10-15 minutes to tackle grease stains effectively.
Then, gently scrub the area with a soft cloth or sponge to lift the grease. Rinse with a damp cloth to remove any leftover residue. For really stubborn stains, you can also try a few other tricks:
Use a mix of equal parts vinegar and water to help break down the grease. You can also apply a commercial degreasing cleaner, just follow the instructions on the label. If needed, repeat the process, especially on areas with heavy buildup.
Patience and the right technique are key to making your cabinets look clean again.
Rinsing and Wiping Down for a Spotless Finish
After you’ve applied your cleaning solutions and scrubbed away the grease, it’s essential to rinse the cabinets thoroughly to remove any residue. Use a clean, damp cloth or sponge with plain water to wipe down the surfaces.
Be sure to go over every area to eliminate leftover cleaning product, which can attract more dirt if left behind. Rinsing helps prevent streaks and ensures a smooth, clean surface.
Pay attention to corners and crevices where grime might hide. Once you’ve rinsed, use a dry cloth to gently remove excess moisture.
This step prepares your cabinets for the final drying process and helps maintain their finish. Proper rinsing guarantees your cabinets look spotless and feel fresh.
How to Dry and Protect Your Cabinets After Cleaning
Once you’ve cleaned your cabinets, make sure to dry them thoroughly with a soft cloth. This helps prevent water spots and any potential damage.
After drying, think about applying a protective coating. It can help guard against future grease buildup and stains.
Following these steps will keep your cabinets looking fresh and help them last longer.
Proper Drying Techniques
To guarantee your kitchen cabinets stay looking their best after cleaning, it’s essential to dry them thoroughly and protect their finish. Proper drying prevents water spots and streaks, helping them look their best.
First, use a clean, soft microfiber cloth to gently wipe down all surfaces, absorbing excess moisture. Second, leave the doors open or ajar for a few minutes to allow air to circulate and help everything dry completely.
Avoid using heat sources like hair dryers, which can damage the finish or cause warping. If needed, gently pat dry any remaining damp spots.
Consistent, careful drying helps preserve the cabinet’s appearance and longevity. Following these simple steps keeps your cabinets clean, shiny, and protected after every cleaning.
Applying Protective Coatings
Applying a protective coating is an essential step to keep your cabinets looking their best and extend their lifespan. After cleaning and drying, choose a finish like a polyurethane or sealant to shield the surface from grease, stains, and moisture.
Apply the coating evenly using a brush or cloth, following the wood grain. Work in a well-ventilated area and wear gloves for safety.
Allow the coating to dry completely before using the cabinets again, which usually takes several hours or as the product instructions suggest. This extra layer acts as a barrier, helping preserve the appearance and integrity of your cabinets.
It also makes future cleaning easier and keeps your cabinets looking great longer.
Preventing Future Damage
After cleaning your cabinets, make sure to dry them thoroughly to prevent moisture from seeping in and causing damage over time. This helps keep their look and structure in good shape.
Use a soft, lint-free cloth to wipe down all surfaces and remove any excess water. Leaving the doors slightly open will allow airflow and help everything dry faster.
If needed, apply a protective finish or sealant to create a moisture barrier and keep your cabinets protected.
Common Mistakes to Avoid When Degreasing Cabinets
Avoid using harsh cleaners that can damage your cabinets, and always test a small area first to prevent unwanted results.
Don’t forget to ensure proper ventilation to avoid inhaling fumes and to help the cleaning process.
Skipping these steps can lead to costly mistakes and less effective cleaning.
Using Harsh Cleaners
Using harsh cleaners might seem like a quick fix for stubborn grease, but it can do more harm than good. These strong chemicals can damage your cabinet’s finish, stripping away protective layers and causing discoloration. To avoid this, steer clear of products with bleach, ammonia, or abrasive abrasives. Instead, opt for gentler solutions that effectively cut grease without risking damage.
Here are three key points to remember:
- Never use bleach or ammonia-based cleaners on wood or painted cabinets.
- Avoid abrasive scrubs that scratch or dull the surface.
- Read labels carefully to verify cleaners are safe for your cabinet finish.
Choosing mild, appropriate cleaners helps preserve the look and longevity of your cabinets.
Skipping Patch Tests
Skipping patch tests before applying a cleaner is a common mistake that can cause unexpected damage. Without testing, you might end up with discoloration, warping, or finish removal.
Always start by testing on a small, hidden area—like the inside of a cabinet door—to see how your cleaner reacts. This simple step can save you a lot of trouble later.
Here’s a quick reference:
| Step | What to Test | Expected Result |
|---|---|---|
| Choose spot | Hidden corner or inside panel | No discoloration or damage |
| Apply cleaner | Small amount on test area | No adverse reaction |
| Wait 10-15 min | Observe for changes | No fading or warping |
| Assess results | Check for color or finish change | Safe to proceed |
| Make decision | Proceed or try a different product | Protects your cabinets |
Always test first to avoid costly mistakes.
Overlooking Ventilation
Overlooking proper ventilation while degreasing kitchen cabinets can cause fumes and chemical odors to stick around long after cleaning. Without fresh air, you might breathe in harmful vapors and feel headaches or dizziness.
To avoid this, open windows and doors to create cross-ventilation, letting fumes escape easily. Turn on exhaust fans or range hoods during and after cleaning to pull out airborne chemicals. Using fans to circulate air can also speed up the venting process, especially in enclosed spaces.
Ignoring ventilation not only puts your health at risk but also makes cleaning less effective. Good airflow ensures fumes don’t settle on surfaces or stay in your kitchen, making the process safer and more efficient. Always prioritize ventilation when degreasing your cabinets.
Tips to Keep Your Cabinets Grease-Free for Good
To keep your kitchen cabinets grease-free for good, establishing a regular cleaning routine is essential. Wipe down your cabinets at least once a week with a mild soapy solution or a mixture of vinegar and water. This helps prevent grease buildup from becoming stubborn.
Keep a microfiber cloth or soft sponge handy for quick cleanups after cooking. Avoid abrasive scrubbers that can damage the finish of your cabinets. Plus, consider installing grease filters or range hoods with effective exhaust fans to cut down on airborne grease.
Make sure to keep your kitchen vents clean so airflow remains unobstructed. Regularly inspecting and wiping down your cabinets helps catch grease early, saving you time and effort later. Remember, consistency is key to maintaining spotless, grease-free cabinets.
Frequently Asked Questions
Can I Use Natural Ingredients to Degrease My Kitchen Cabinets?
Yes, you can definitely use natural ingredients to degrease your kitchen cabinets. Mix equal parts of white vinegar and water, then add a few drops of dish soap for extra cleaning power.
Spray the solution onto the greasy surfaces and wipe with a soft cloth. Baking soda paste also works well—apply it to stubborn spots, let it sit, then scrub gently.
Natural options are safe and effective for cleaning.
How Often Should I Deep Clean My Kitchen Cabinets?
Think of your kitchen cabinets as the face of your culinary castle. Cleaning them regularly keeps your kingdom shining.
You should deep clean your cabinets every three to six months, depending on how often you cook and how greasy your kitchen gets.
This routine helps prevent grime from building up like stubborn weeds, keeping your cabinets bright and inviting.
Regular care also keeps your space fresh, functional, and beautifully maintained.
Are There Any Cabinets Materials That Shouldn’t Be Degreased?
Some cabinet materials, like unsealed wood or delicate painted surfaces, shouldn’t be heavily degreased to avoid damage. It’s best to be gentle with these to prevent any harm.
You should also avoid harsh chemical cleaners on laminate or veneer finishes because they can cause discoloration or deterioration. Instead, opt for a mild soap and water solution for cleaning.
Always test a small, hidden area first to make sure the cleaner doesn’t harm the material. This simple step can save you from trouble later.
What Safety Precautions Should I Take During Cleaning?
Think of cleaning as a dance with delicate steps—you don’t want to trip! Always wear gloves and eye protection to shield yourself from harsh cleaners.
Guarantee good ventilation to avoid inhaling fumes, and test a small area first to prevent damage. Keep cleaners away from children and pets.
How Can I Prevent Future Grease Buildup on Cabinets?
To prevent future grease buildup on your cabinets, make a habit of wiping them down with a damp cloth regularly, especially after cooking. It’s a simple step that can really make a difference.
Use a gentle, non-abrasive cleaner to break down grease before it has a chance to build up. This helps keep your cabinets looking fresh and clean.
Keep your kitchen well-ventilated by turning on exhaust fans or opening windows while you cook. Good airflow can help reduce grease from settling on surfaces.
You might also consider applying a protective sealant or polish designed for cabinets. It creates a barrier that makes cleaning easier and keeps grease from sticking so much over time.
Conclusion
With these eight simple steps, you’re well on your way to restoring your kitchen cabinets to their former glory. Just remember, patience and consistency are key—don’t expect magic overnight. Keep up with regular cleaning, and you’ll find grease won’t stand a chance.
It’s better to nip the problem in the bud than let it snowball. Stick to your routine, and you’ll have cabinets that shine and stay pristine. Because a clean kitchen is a happy kitchen, especially when you maintain your cabinet degreasing routine.