7 Simple Steps to Install Your Kitchen Backsplash
Thinking about upgrading your kitchen with a new backsplash? Many people struggle with figuring out where to start or worry about making mistakes. Don’t worry—you’re not alone!
Installing a backsplash might seem tricky at first, but with the right steps, you can do it yourself and get professional-looking results.
To install your kitchen backsplash, start by choosing materials and planning your design, including tools and measurements.
Next, clear and prep the wall surface, repairing and cleaning it thoroughly.
Then, measure and layout your tiles or panels, cutting them precisely to fit.
Apply adhesive, carefully install the tiles, and make sure they’re level.
Finish by sealing edges, grouting, and cleaning the surface.
If you keep going, you’ll uncover all the expert tips to make your project a success.
Key Takeaways
– Plan your design, choose your materials, and measure the wall area carefully before you get started.
It’s all about laying a good foundation.
– Next, prepare the wall by cleaning it thoroughly, fixing any damages, and smoothing the surface.
This ensures your tiles will stick properly.
– When cutting and arranging your tiles, do it carefully.
Start from the center to keep everything symmetrical.
– Apply the adhesive evenly, then set the tiles using spacers.
Make sure the gaps are consistent for a clean look.
– Once the tiles are in place, grout them.
Seal the surface and give it a good clean to finish up with a polished, professional appearance.
Plan Your Kitchen Backsplash: Materials, Tools, and Design
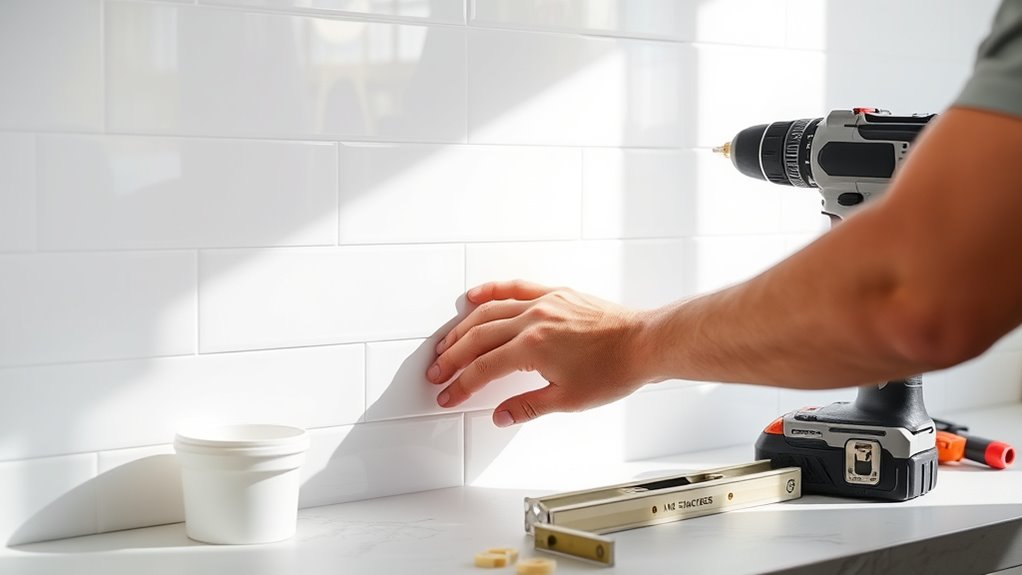
Before you start installing your kitchen backsplash, it’s really important to plan ahead. Choose materials that match your style and budget—popular options include ceramic, glass, or subway tiles.
Think about the pattern and layout you want, whether it’s a simple straight stack or a more intricate herringbone design.
Decide on a pattern—simple straight or intricate herringbone—to create your perfect backsplash design.
Gather all the tools you’ll need—tile cutters, spacers, adhesive, and a level—to make the process easier.
Measure your wall area carefully to figure out how many tiles you’ll need, and buy a little extra for cuts and possible breakage.
Keep your design in harmony with your cabinets and countertops for a cohesive look.
Good planning helps you avoid surprises and sets a solid foundation for a smooth installation.
Prepare Your Walls for Backsplash Installation
Before installing your backsplash, make sure to clear the wall area. This helps you see exactly what you’re working with and makes the prep easier.
Next, repair any surface imperfections like holes or cracks. A smooth wall will give you a better, more professional look.
Finally, clean the surface thoroughly to remove dust, grease, and dirt. A clean, dry surface ensures your backsplash sticks well and looks great.
Clear the Wall Area
To ensure your backsplash installation goes smoothly, start by clearing the wall area completely. Remove all items hanging on the wall, like hooks, shelves, or appliances.
Clear off any loose papers, magnets, or decorations that could get in the way. Use a utility or putty knife to gently pry off any adhesive or leftover hardware.
Wipe the wall with a damp cloth to remove dust, grease, or grime that could affect the adhesive. Make sure the wall is smooth and free of debris.
If needed, vacuum or sweep the area to get rid of dust. A clean, clutter-free surface helps your backsplash stick properly and looks professional.
Taking this step now saves time and prevents issues later in the installation process.
Repair Surface Imperfections
Fifty percent of a successful backsplash installation depends on properly repairing surface imperfections. You need a smooth, even wall to ensure your backsplash sticks well and looks professional.
Start by filling holes, cracks, or dents with joint compound or spackle, then sand the area until it’s smooth. For stubborn imperfections, applying a primer or bonding agent can help improve adhesion.
Always check for uneven spots that might cause tiles to sit unevenly. Remember, ignoring this step can lead to tiles cracking or falling off later.
Here’s a quick guide to common imperfections and how to fix them:
| Imperfection | Repair Method | Result |
|---|---|---|
| Cracks | Fill with spackle | Creates a seamless surface |
| Holes | Patch and sand | Ensures stability |
| Uneven surface | Sand smooth | Provides a level base |
| Peeling paint | Scrape and prime | Prepares for proper adhesion |
Clean and Dry Surface
Once you’ve repaired surface imperfections and achieved a smooth wall, the next step is to thoroughly clean the area. Use a mild detergent mixed with water to remove dust, grease, and dirt. Wipe the surface with a sponge or soft cloth, making sure to reach every corner.
Rinse with clean water to eliminate any soap residue. After cleaning, dry the wall completely with a clean towel or let it air dry. Properly cleaning and drying the surface guarantees good adhesion for your backsplash.
Avoid using harsh chemicals or abrasive tools that could damage the wall or leave residues. A clean, dry surface is essential for a smooth installation and long-lasting results.
Skipping this step can lead to tiles or adhesive peeling over time. Taking the time to clean and dry thoroughly ensures your project turns out great and lasts longer.
Measure and Layout Your Kitchen Backsplash
Before you start cutting tiles or applying adhesive, it’s important to accurately measure and plan your backsplash layout. Begin by measuring the width and height of the area, noting any outlets or fixtures.
Use these measurements to figure out how many tiles or panels you’ll need, adding a little extra for cuts and adjustments. To create a balanced layout, mark the center point of your wall to make sure everything lines up symmetrically.
Use a level and pencil to draw reference lines as guides. Also, plan for any pattern or design considerations like grout lines or decorative features.
Taking these steps helps prevent misalignment and wasted materials. A well-thought-out plan makes your backsplash installation smooth and professional-looking.
Cut and Arrange Your Tiles or Panels
Before cutting your tiles or panels, take your time to measure and mark where you need to make your cuts carefully. Getting this right is key to a professional-looking finish.
Use precise cutting techniques to make sure each piece fits perfectly. Rushing through this step can lead to mistakes and extra work later.
Taking your time here will make the whole installation process smoother and give you a polished, clean result.
Measuring and Marking
Start by carefully measuring the area where you’ll install the backsplash. Use a tape measure to find the width and height, then note down the exact measurements. Lightly mark these on your wall or behind the tiles with a pencil for reference.
Double-check your measurements before moving forward to ensure accuracy. Remember to mark the start and end points for your tiles, especially around outlets or switches.
Use a level to draw straight guideline lines that your tiles will follow. Plan for grout lines and tile spacing, adjusting your measurements as needed.
Getting your measurements right helps prevent misaligned tiles and wasted materials. Take your time to verify each mark since this step sets the foundation for a smooth installation.
Proper preparation makes the rest of the project much easier.
Precise Cutting Techniques
Careful cutting is key to making sure your tiles or panels fit perfectly and look seamless. Start by measuring and marking your cuts accurately with a pencil and a straight edge or tile ruler. Always double-check your measurements before you start cutting.
Use a wet saw or tile cutter for straight, clean cuts, and a tile nipper for small or detailed pieces. When using a wet saw, keep the blade wet and steady, applying gentle pressure. For curves or irregular shapes, score the tile carefully with a glass cutter before snapping it along the scored line.
Take your time and don’t rush. Precise cuts will help your tiles line up properly, giving your project a professional and polished look.
Apply Adhesive and Install Your Backsplash
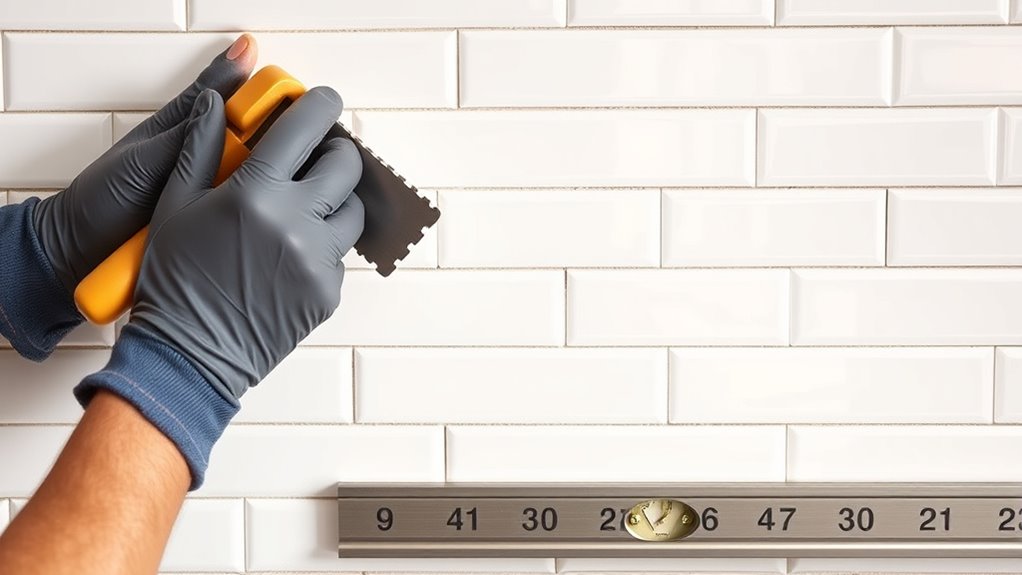
Applying adhesive correctly is key to making sure your backsplash stays put. Start by spreading the adhesive evenly on the back of each tile or directly on the wall with a notched trowel.
Work in small sections so the adhesive doesn’t dry out before you can place the tiles. Press each tile firmly onto the wall, applying steady pressure to remove air bubbles and get full contact.
Use spacers to keep even gaps between tiles for a neat, professional look. Make sure to spread adhesive in manageable sections, press tiles securely, and use spacers for consistent grout lines.
This method helps you achieve a secure, level, and attractive backsplash that will last. Proper application also makes grouting easier and prevents future issues.
Seal Edges and Grout for a Professional Finish
Once you’ve installed your backsplash and the grout has dried, the next step is to seal the edges and grout for a professional, long-lasting finish. Start by applying a high-quality grout sealer with a small brush or applicator bottle, making sure you cover all grout lines thoroughly.
Be careful around edges and corners to prevent gaps. Let the sealer soak in for the recommended time, then wipe away any excess with a clean cloth. Sealing the edges helps prevent moisture from seeping in, which can cause damage over time.
Make sure to also seal along the edges where the backsplash meets the countertop or wall. This step boosts durability and keeps your backsplash looking fresh and clean for years to come.
Clean Up and Final Inspection Tips
After sealing the grout and edges, it’s time to clean up and inspect your work to make sure everything looks good and functions properly. Start by wiping down the backsplash with a damp cloth to remove any excess adhesive, grout haze, or dust.
Check all tiles for cracks, chips, or uneven spacing, and make corrections if needed. Make sure all grout lines are fully sealed and that no residue remains behind.
Finally, give the area a detailed visual inspection to catch missed spots or imperfections. Use a soft cloth or sponge to clean surfaces thoroughly, and verify that all edges are sealed and secure.
Frequently Asked Questions
How Do I Choose the Best Backsplash Material for My Kitchen Style?
You should choose a backsplash material that complements your kitchen’s style and meets your practical needs. For a modern look, go for sleek subway tiles or glass. For a rustic vibe, consider natural stone or ceramic.
Think about durability, maintenance, and how the color coordinates with your cabinets and countertops. Visiting showrooms or browsing online can help you see how different materials look in real settings.
This will help you make a confident decision and find the perfect backsplash for your kitchen.
What Safety Precautions Should I Take During Installation?
You should wear safety goggles and gloves, like armor protecting you from flying debris and sharp edges, during installation. Keep your workspace tidy to prevent slips from fallen tools or tiles.
Use a stable ladder or step stool to avoid falls. Turn off electrical power if you’re working near outlets, and handle tools carefully. These precautions keep you safe, so you can focus on transforming your kitchen without accidents crashing your project.
Can I Install a Backsplash Over Existing Tiles?
Yes, you can install a backsplash over existing tiles, but make sure the old tiles are in good shape—firmly attached, clean, and free of grease or grout residue.
Clean the surface thoroughly, then lightly sand or prime it to help the new backsplash stick better.
Use a high-quality adhesive that’s suitable for attaching tiles to tiles.
Taking these steps will help your new backsplash stay put and look great for years to come.
How Do I Remove and Replace a Damaged Backsplash?
To remove and replace a damaged backsplash, start by turning off the power and covering nearby surfaces to protect them.
Use a utility knife to score the grout lines, then carefully pry off the tiles with a chisel and hammer.
Remove any leftover adhesive, clean the wall thoroughly, and then apply a primer if needed.
Finally, follow the installation steps for your new backsplash, making sure it’s level and securely attached.
What Are the Best Ways to Maintain and Clean My Backsplash?
Think of your backsplash as a mirror reflecting your kitchen’s soul; keep it shining.
Regularly wipe it with a soft cloth and mild detergent to remove grease and stains.
For stubborn spots, try a baking soda paste or a gentle scrubber.
Avoid harsh chemicals that can dull its surface.
Proper maintenance keeps it looking beautiful, making your kitchen feel fresh and inviting every day.
Conclusion
Don’t worry if you’re new to DIY projects. These steps are simple and easy to follow. Taking your time with measurements and prep really makes a difference.
It helps prevent mistakes and saves you effort later on. Even if it feels a bit intimidating, your patience and attention to detail will pay off.
You’ll end up with a beautiful, professional-looking backsplash that transforms your kitchen. So, jump in confidently—you’ve got this, and you’ll be proud of your stylish new kitchen upgrade!