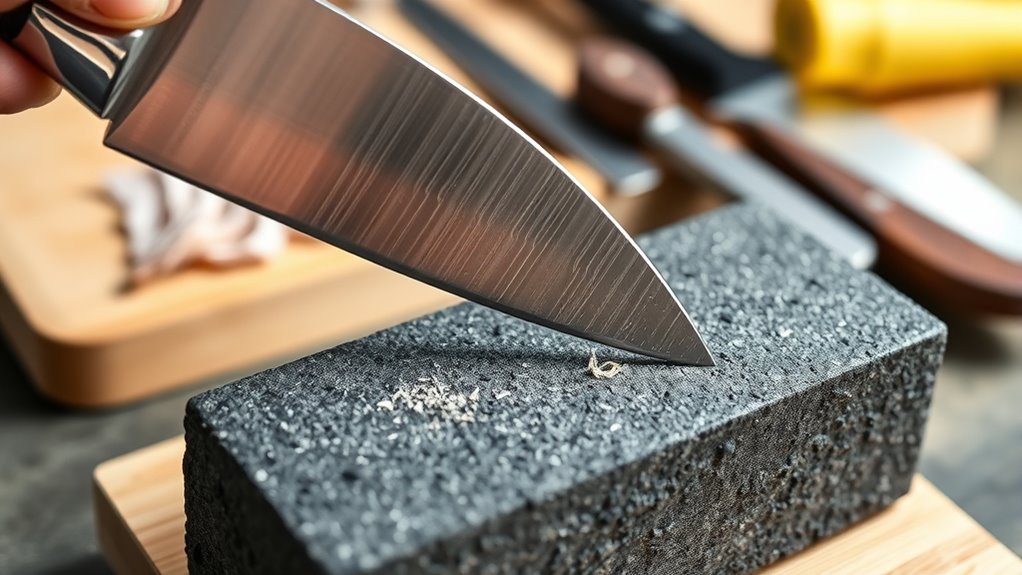
7 Simple Steps to Sharpen Kitchen Knives
Cooking becomes so much easier and more enjoyable when your kitchen knives are sharp. If you’ve ever struggled to cut through vegetables or meats, you’re not alone—many people find their knives dull and frustrating to use.
Luckily, sharpening your knives is easier than you think, and with a little practice, you’ll have razor-sharp blades in no time.
To sharpen your kitchen knives, start by cleaning and drying them thoroughly. Next, soak your whetstone in water for 10-15 minutes.
Hold the knife at a 15-20 degree angle and make smooth, controlled strokes on each side of the stone. After sharpening, use a honing rod to realign the blade’s edge.
Test sharpness with simple cuts like paper or tomatoes. Keep practicing these steps, and you’ll improve your technique and achieve perfect results.
Key Takeaways
- Clean and dry the knife thoroughly before sharpening.
- Soak the whetstone in water for 10-15 minutes.
- Hold the knife at a 15-20 degree angle and slide it across the whetstone with controlled strokes.
- Alternate sides, performing 10-15 strokes per side for even sharpening.
- Test the sharpness with the paper or tomato test to make sure the edge is sharp enough.
Why Keeping Your Knives Sharp Makes Cooking Safer and Easier
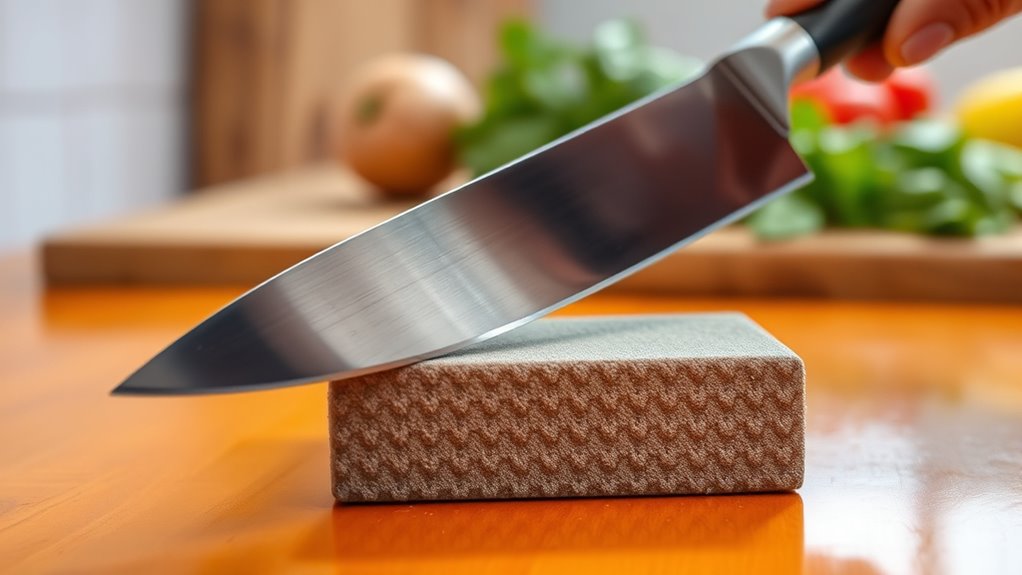
Keeping your knives sharp is essential because dull blades can be dangerous and hard to use. When a knife isn’t sharp, you need to apply more force, which increases the risk of slipping and causing injuries.
A sharp knife gives you better control, making slicing, dicing, and chopping safer and more precise. Plus, sharp blades help you work faster, saving you time and effort in the kitchen.
When your knives are well-maintained and sharp, you avoid crushing or tearing delicate foods like herbs or tomatoes. This helps preserve their texture and appearance.
How to Prepare Your Knife for Sharpening
Before sharpening, make sure your knife is clean to get rid of any dirt or grease that might mess up the process.
Then, stabilize your workspace so you don’t slip and stay safe.
With a steady surface and a clean blade, you’re all set to sharpen effectively.
Clean Your Knife Properly
To guarantee your knife sharpens effectively, start by thoroughly cleaning it. Remove any food residue, grease, or dirt with warm water and mild dish soap.
Use a soft sponge or cloth to wipe the blade, paying attention to the edge and handle. Avoid abrasive scrubbing that could damage the blade’s surface.
Rinse the knife well to make sure no soap or debris remains. Dry it immediately with a clean towel to prevent rust or corrosion.
A clean knife is essential because dirt or grease can interfere with the sharpening process, causing uneven edges or dull spots. Proper cleaning not only helps you get a sharper edge but also extends the life of your knife.
Make sure your knife is spotless before moving on to sharpening.
Stabilize Your Workspace
Once your knife is spotless and dry, the next step is to set up your workspace for stability during sharpening. Find a flat, non-slip surface like a damp towel or rubber mat to work on.
Secure the sharpening stone or whetstone so it doesn’t shift as you sharpen. If possible, clamp the stone or use a sturdy base to keep everything steady.
Clear the area of clutter to prevent accidental slips or distractions. Make sure your hands are dry and free of grease for a good grip on the knife and tools.
A stable workspace helps prevent accidents and ensures you get a consistent, precise edge. Taking these precautions creates a safe environment with better control and sharper knives.
Step-By-Step Guide to Sharpening With a Whetstone
To get started, you’ll want to properly prepare your whetstone by soaking it in water until the bubbles stop. This helps ensure the stone is properly saturated for effective sharpening.
Next, hold your knife at the correct angle and move it smoothly across the stone, applying consistent pressure. Focus on maintaining that angle throughout the process.
Preparing the Whetstone
Before you start sharpening your knife, it’s important to prepare your whetstone properly. Begin by soaking the stone in water for about 10-15 minutes until bubbles stop forming. This keeps the stone moist during sharpening, which helps with effective honing and prevents scratches.
If your whetstone has two sides with different grit levels, figure out which side you’ll use first. Place the stone on a non-slip surface or a damp towel to keep it steady. Make sure the water level covers the entire surface of the stone.
Proper preparation prevents uneven sharpening and helps your whetstone last longer. Once the stone is soaked and secure, you’re ready to move on to the actual sharpening process.
Correct Sharpening Technique
Start by holding your knife at a consistent angle, usually between 15 to 20 degrees, against the surface of the whetstone. Keep this angle steady during each stroke to ensure an even edge.
Use gentle pressure and smooth, controlled motions. To help visualize, check out this table:
| Stroke Type | Direction | Focus Area |
|---|---|---|
| Forward stroke | From heel to tip | Entire length |
| Reverse stroke | From tip to heel | Entire length |
| Number of strokes | 10–15 per side | Even coverage |
| Consistency | Keep steady | Same angle and pressure |
Using a Honing Rod to Keep Your Blade Aligned
Using a honing rod regularly keeps your knife’s edge aligned, so it cuts smoothly and safely. It’s a quick, simple way to maintain your blade between sharpenings.
To hone effectively, hold the rod vertically or at a slight angle. Then, draw the blade down from heel to tip with light pressure. Repeat on each side of the blade several times.
This process straightens the microscopic teeth along the edge, helping prevent dullness. Remember, honing doesn’t sharpen the blade but realigns it, so it’s essential for routine maintenance.
Honing keeps your knife sharp longer, prevents uneven dulling, and improves cutting control. It also helps extend the lifespan of your blade.
Electric vs. Manual Knife Sharpeners: Which Is Right for You?
Are you unsure whether an electric or manual knife sharpener is right for you? Both have benefits depending on your experience and how often you sharpen.
Electric sharpeners are quick, easy, and give consistent results. They’re perfect if you want fast results with minimal effort.
Manual sharpeners give you more control, making them great for fine-tuning and delicate blades. Think about your comfort level and how often you’ll need to sharpen knives.
| Feature | Electric Sharpeners | Manual Sharpeners |
|---|---|---|
| Ease of Use | Very easy, requires minimal effort | Requires some skill and control |
| Speed | Fast, great for multiple knives | Slower, better for occasional use |
| Precision | Consistent but less customizable | Offers more control over angles |
| Cost | Usually more expensive | Generally more affordable |
| Maintenance | Needs cleaning and occasional parts | Low maintenance, simple to clean |
How to Test Your Knife’s Sharpness Safely
After choosing the right sharpening method for your knives, it’s important to test their sharpness safely to make sure they work well. To do this without risking injury, try these simple tests:
Ensure your knives are perfectly sharp with safe, simple tests like slicing paper, pressing into a tomato, or cutting a taut hair.
Paper test: Slice through a piece of paper. A sharp knife will cut cleanly and effortlessly.
Tomato test: Gently press the blade into a tomato skin. A sharp knife will cut without crushing.
Fingertip test: Carefully run the blade lightly along your fingernail or skin (be cautious). A sharp knife will catch and cut with ease.
Hair test: Hold a hair taut and gently try to cut it. A sharp knife will slice through smoothly.
Always prioritize safety—use controlled movements and keep your fingers clear of the blade’s path.
Tips for Regular Knife Maintenance and Care
To keep your knives performing their best, regular maintenance and proper care are essential. Always hand wash your knives with warm, soapy water, then dry them immediately to prevent rust and corrosion.
Avoid putting knives in the dishwasher, as the high heat and harsh detergents can dull blades and damage handles. Store your knives properly in a knife block, magnetic strip, or protective sheaths to prevent dulling and accidents.
Regularly inspect blades for chips or damage, and hone them with a honing steel to realign the edge. Use your knives on appropriate cutting surfaces like wood or plastic; avoid glass or stone.
With consistent care, your knives will stay sharp longer and perform better, making your cooking safer and more efficient.
Frequently Asked Questions
How Often Should I Sharpen My Kitchen Knives?
You should sharpen your kitchen knives every 1 to 2 months, depending on how often you cook and how much you use them.
If your knives start to feel dull or require more force to cut, it’s time to sharpen them. Regular honing with a honing steel can help keep their edge between sharpenings.
Keep an eye on how they perform, and don’t wait too long. Dull knives can be dangerous and can also damage your food.
Can I Sharpen Serrated Knives at Home?
Yes, you can sharpen serrated knives at home, but it’s a bit tricky. First, identify the shape and size of the serrations.
Then, use a specialized serrated knife sharpener or a small, round sharpening stone made for serrations.
Carefully work through each scallop, keeping the original angle.
Be patient—improving the edge takes time, but with care, you’ll revive your serrated blades.
What Are Common Mistakes to Avoid When Sharpening Knives?
You should avoid pressing too hard on the blade, as it can damage the edge or cause uneven sharpening. Don’t rush the process; take your time to maintain control and accuracy.
Using the wrong sharpening tools for your knife type can also lead to poor results or damage. Lastly, avoid sharpening at incorrect angles, which can dull the blade or create an uneven edge.
Proper technique guarantees a sharp, durable knife.
How Do I Choose the Right Sharpening Angle?
You should choose the sharpening angle based on your knife’s purpose and material. For most kitchen knives, a 15-20 degree angle offers a good balance between sharpness and durability.
Many believe that a steeper angle always means a sharper edge, but that’s not the case. Too steep a angle can actually weaken the edge and make it more prone to damage.
Test your chosen angle by keeping your sharpening consistent. Make sure the angle matches what you’ll be using the knife for to get the best results.
Is It Better to Sharpen on a Ceramic or Steel Rod?
You should sharpen on a ceramic rod if your knife is very dull or damaged because it’s gentle yet effective at realigning edges. Use a steel rod for routine maintenance; it’s great for quickly honing and keeping your blade sharp.
Ceramic rods remove less metal and are better for precision work. Steel rods, on the other hand, are more durable and better suited for regular use. Choose between them based on your knife’s condition and how often you sharpen.
Conclusion
Keeping your knives sharp isn’t just about making your prep easier—it’s also about staying safe. Dull knives cause more accidents because they slip and require more force to cut. Regular sharpening and proper care help reduce this risk and make cooking more enjoyable.
By following these simple steps, you’ll keep your knives precise and safe to use. This makes every cut smoother and more controlled. Stay consistent with your sharpening routine, and your knives will serve you well for years.
Properly maintained knives not only make meal prep safer but also more efficient. Remember, sharp kitchen knives are key to a safer and more enjoyable cooking experience.