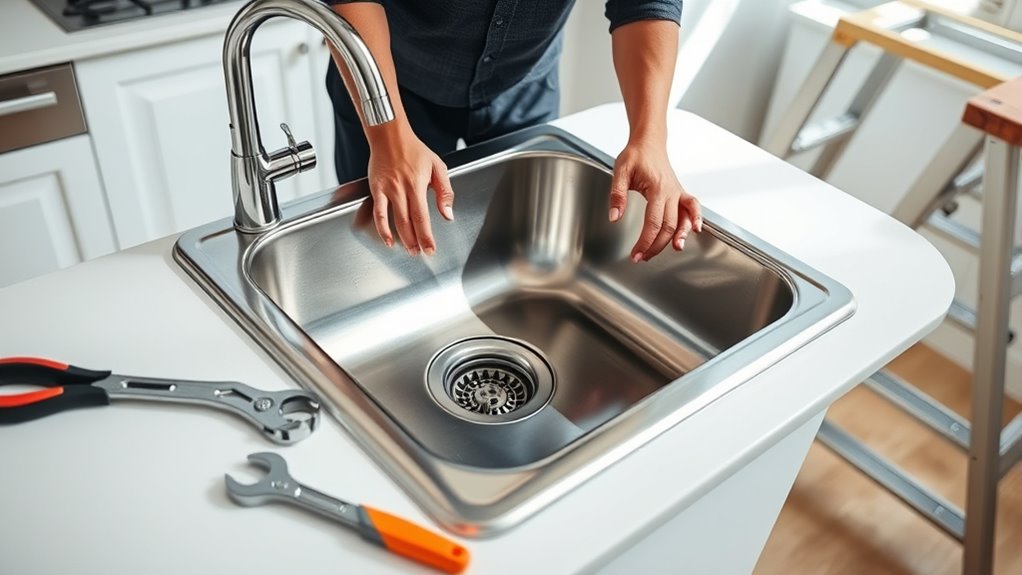
Replace Your Kitchen Sink in 7 Simple Steps
Are you tired of dealing with a leaky or outdated kitchen sink? You’re not alone—many homeowners struggle with this common hassle, but the good news is that replacing your kitchen sink is easier than you think.
With a little guidance, you can upgrade your space and avoid costly professional repairs.
To replace your kitchen sink in 7 simple steps, start by evaluating your current sink for leaks, stains, or damage.
Choose a new sink that fits your space and style, gather your tools, and prepare your workspace.
Turn off the water supply and disconnect plumbing safely.
Remove the old sink, then install the new one, secure it, and connect the plumbing.
Finally, test for leaks and finish your installation—if you want more details, keep exploring the process below.
Key Takeaways
- Turn off the water supply, disconnect the plumbing, and carefully remove the old sink.
- Measure your space and choose a new sink that fits your countertop and meets your needs.
- Place the new sink securely and attach it to the countertop, making sure it fits properly.
- Connect the drain assembly, P-trap, and water supply lines correctly.
- Turn the water back on, then check for leaks. Tighten any fittings if needed.
- Finally, clean the workspace and enjoy your new sink!
Assess Your Current Kitchen Sink and What Needs Fixing
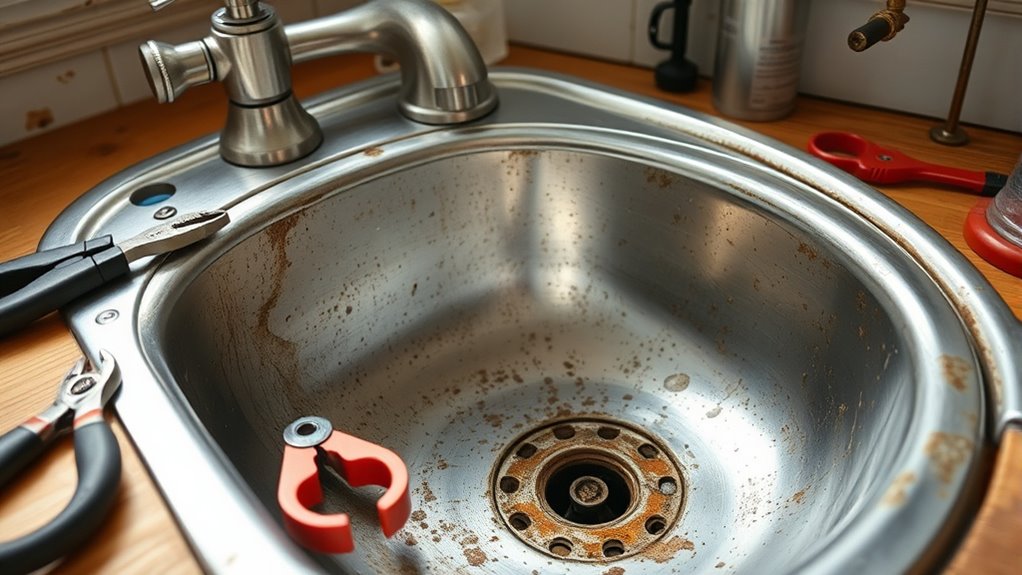
Have you noticed any issues with your current kitchen sink that need attention? Check for leaks around the faucet or pipes. These can cause water waste or damage.
Is there standing water after use? That might mean a clog or drainage problem. Examine the sink’s surface for cracks, chips, or stains that could worsen over time.
Scrutinize the faucet for loose handles or drips, which indicate worn-out parts. If you see mold or grime buildup, it’s a sign you need a thorough clean or replacement.
Consider how well the sink functions daily. Is it spacious enough, or do you find yourself splashing or struggling to wash large pots? Identifying these issues helps you decide whether repairs will suffice or if a replacement is necessary.
Choose the Best Kitchen Sink for Your Space and Style
After evaluating your current sink’s condition, it’s time to think about how the new one will fit your space and match your style. Measure your countertop carefully to find the right size and shape. Consider whether a single or double bowl works best for your cooking habits.
Think about material options like stainless steel, porcelain, or granite. Each offers different durability and looks. Your choice should complement your kitchen’s design, whether it’s modern, rustic, or traditional.
Pay attention to the installation type—drop-in, undermount, or farmhouse—to make sure it fits seamlessly. Also, consider features like built-in drainboards or accessories that can boost functionality.
Choosing a sink that matches your space and style will make your kitchen more efficient and visually appealing.
Gather Your Tools and Prepare Your Workspace
Gather your tools and prepare your workspace.
Before you start, make sure you have all the essential tools ready. Clear your workspace of any clutter. Double-check your safety precautions, like wearing gloves and turning off the water supply.
This preparation helps ensure a smooth and safe sink replacement process.
Essential Tools Checklist
Preparing your workspace and gathering the right tools is the first essential step in replacing your kitchen sink. To do this efficiently, you’ll need a few key tools.
Grab an adjustable wrench to loosen and tighten fittings, and a basin wrench for hard-to-reach nuts. Keep a screwdriver—both flathead and Phillips—handy for removing screws and brackets.
A bucket or container will catch water drips, and rags or towels help clean up spills. A utility knife can cut through caulk or sealant if needed.
Don’t forget safety gear like gloves and eye protection. Having all these tools ready before you start guarantees a smooth process, reduces frustration, and helps you replace your sink with confidence.
Clear Workspace Space
Start by clearing the area around your sink to create a safe, clutter-free workspace. Remove any dishes, soap bottles, or utensils that could get in the way. This not only gives you more room to work but also prevents accidents.
Check your surroundings for unnecessary items that might obstruct your movement or damage your new sink. Once the area is clear, gather all your tools and supplies nearby so you won’t have to search for them later.
A tidy workspace helps you stay organized and focused, making the replacement process smoother. Make sure your work surface is stable and free of debris, giving you enough space to maneuver your tools comfortably.
A clean, organized space sets the foundation for an efficient sink replacement.
Safety Precautions Ready
Gather all your tools and supplies now so you’re ready to work safely and efficiently. Before starting, turn off the water supply to prevent leaks or flooding.
Wear gloves to protect your hands from sharp edges and debris. Use goggles if there’s a risk of splashing or falling debris. Keep a bucket or towels nearby to catch any residual water.
Make sure your workspace is well-ventilated, especially if you’ll be working with chemicals or sealants. Clear the area of unnecessary items to avoid tripping hazards.
Double-check that your tools are in good condition. Dull blades or damaged wrenches can cause accidents. Preparing your workspace and safety gear beforehand helps prevent injuries.
It also makes the sink replacement process smoother. Being prepared means you’re ready to work safely and efficiently from the start.
Turn Off Water and Disconnect Plumbing Safely
Before removing your kitchen sink, turn off the water supply to prevent leaks and water damage. Locate the shut-off valves under the sink, usually one for hot water and one for cold water. Turn these valves clockwise until they stop.
Next, open the faucet to drain any remaining water in the lines. Use a bucket or towel to catch any residual water from the pipes. Then, disconnect the supply lines from the faucet with a wrench.
Be careful, as some fittings might be tight or corroded. Once disconnected, double-check that both valves are fully closed. This ensures no water will flow during removal, making the process safer and mess-free.
Properly turning off and disconnecting the plumbing helps protect your space from water damage.
Remove the Old Sink and Prepare for Installation
With the water turned off and the supply lines disconnected, you can now remove the old sink. Begin by loosening the clips or brackets holding the sink in place, using a screwdriver or wrench.
If your sink is sealed with caulk, carefully cut through it with a utility knife. Once it’s loosened, gently lift the sink from the countertop; it might be heavy, so ask for help if needed.
Carefully cut through the caulk with a utility knife before gently lifting the sink from the countertop.
Check for any remaining adhesive or debris around the opening and clean it thoroughly. Removing the old sink creates a smooth, clean surface ready for the new installation.
Take your time to avoid damaging the countertop or surrounding area. Proper removal ensures a seamless fit when you install your new sink.
Install Your New Kitchen Sink and Connect Plumbing
Now, you’re ready to connect the drain and water lines to your new sink.
Make sure all connections are tight to prevent leaks.
Double-check for any drips once you turn the water back on.
A leak-free setup keeps your sink working well and prevents messes.
Connecting Drain and Water Lines
To connect the drain and water lines properly, start by attaching the sink’s drain assembly to the tailpiece with a slip nut and washer. Make sure it’s tight enough to prevent leaks.
Next, connect the P-trap to the drain outlet, tightening the slip nuts securely but avoid overtightening, which could cause damage. For the water supply lines, screw the flexible hoses onto the shutoff valves and faucet’s water inlet ports, ensuring the connections are snug.
Use a wrench if needed, but don’t over-tighten to avoid stripping threads or cracking fittings. Double-check that all connections are secure and properly aligned. Once everything is connected, turn on the water supply and run water to test for leaks.
Tighten fittings further if needed to prevent any leaks from forming.
Ensuring Leak-Free Setup
After securing all your drain and water line connections, the next step is to verify that your sink setup is leak-free. Turn on the water supply slowly, checking all connections for drips or moisture.
Inspect the drain connections too, making sure they’re tight and sealed properly. Use a paper towel or cloth around joints and fittings to catch any leaks.
If you notice water seeping out, tighten the fittings slightly. Just be careful not to overtighten, as this could damage the fittings. Run water through the sink for a few minutes, checking underneath and around all connections.
Make any adjustments needed until everything stays dry and secure. Once you’re confident there are no leaks, you can finish your installation, knowing your sink will function smoothly.
Test for Leaks and Finish Your Sink Installation
Before you finish installing your sink, it’s important to check for leaks to make sure everything is secure. Turn on the water slowly and watch for drips or puddles.
Run both hot and cold water to confirm all connections hold. If you notice any leaks, gently tighten the fittings but avoid over-tightening.
Use a towel to dry around the connections and keep an eye out for moisture over the next few minutes. This helps you spot leaks early.
Here’s a quick guide to help you:
| Step | What to Do | Why It Matters |
|---|---|---|
| Turn on water | Gradually open faucets | Detect leaks early |
| Inspect connections | Look for drips or moisture | Prevent future water damage |
| Tighten fittings | Use a wrench if needed | Secure connections |
| Dry the area | Wipe with a towel | Spot leaks quickly |
| Final check | Run water again and observe | Confirm leak-free installation |
Frequently Asked Questions
How Long Does a Typical Kitchen Sink Replacement Take?
Replacing your kitchen sink usually takes about 2 to 4 hours, depending on your experience and the complexity of the job.
You’ll need time to disconnect the old sink, install the new one, and make sure all plumbing connections are secure.
If you’re comfortable with basic plumbing, it’ll go faster. But if you run into stuck fittings or leaks, expect some delays.
Planning ahead helps everything go smoothly.
Can I Replace My Sink Myself Without Professional Help?
Absolutely, you can replace your sink yourself! With some basic tools and patience, you’ll feel like a plumbing hero in no time.
Just turn off the water, disconnect the pipes, and carefully remove the old sink. Then, install the new one, reconnect the plumbing, and tighten everything securely.
Follow step-by-step instructions, and you’ll save money and gain a real sense of accomplishment. Plus, your kitchen will look amazing!
What Are Common Mistakes to Avoid During Installation?
You should avoid over-tightening the mounting nuts, as this can crack the sink or damage the countertop. Make sure to properly seal all connections to prevent leaks, and double-check the alignment before tightening everything fully.
Don’t forget to turn off the water supply and disconnect plumbing carefully to avoid water damage. Rushing the process can lead to mistakes, so take your time and follow instructions closely for a successful installation.
How Do I Choose the Right Faucet for My New Sink?
You should consider your sink’s size, style, and your daily needs when choosing a faucet. Look for a faucet that matches your kitchen decor and offers the features you want, like a pull-down sprayer or touchless operation.
Check the compatibility with your sink’s mounting type and verify the water pressure suits the faucet’s requirements. Finally, read reviews to find a durable, reliable option that fits your budget.
What Maintenance Is Required After Installing a New Sink?
After installing your new sink, think of it as nurturing a new plant—you gotta care for it to thrive. Regularly clean the surface with gentle, non-abrasive cleaners, and check for leaks or drips monthly.
Keep the drain clear of debris to prevent clogs, and tighten fixtures if you notice any looseness. These simple steps guarantee your sink stays in top shape, just like a well-loved garden.
Conclusion
Replacing your kitchen sink is a simple project that can save you money and give your space a fresh look.
Did you know that over 70% of homeowners take on DIY home improvements each year? It’s a great way to boost your skills and boost your confidence.
By following these easy steps, you’ll feel more comfortable tackling your own sink replacement. Just remember to check your plumbing connections and test for leaks before finishing up.
Before you know it, you’ll be proud of your updated, functional kitchen — all thanks to replacing your kitchen sink yourself!