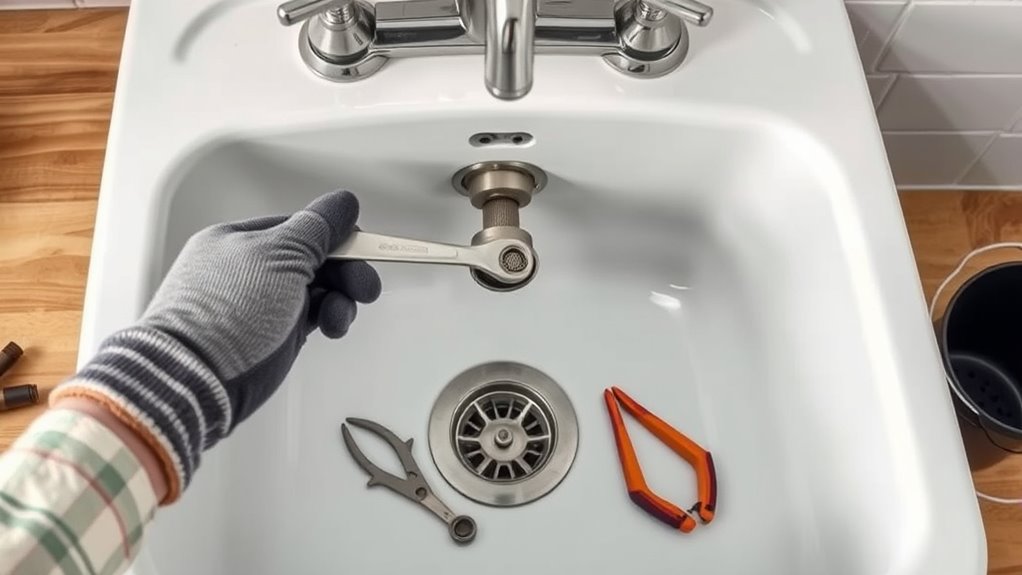
10 Essential Steps to Remove a Kitchen Sink
Are you tired of dealing with a stubborn or outdated kitchen sink and ready for a makeover? You’re not alone—many people struggle with removing and replacing their sinks, feeling overwhelmed by the process.
But don’t worry, with a little guidance, you can do it yourself and save money.
To remove your kitchen sink, start by gathering tools like pliers and a screwdriver. Then turn off the water supply and disconnect the plumbing safely.
Remove fixtures, the drain assembly, and any clips holding the sink in place, using a putty knife if needed. Carefully lift the sink out, clean the area, and consider recycling or disposing of it properly.
Want to know how to handle tricky parts and install your new sink? Keep going.
Key Takeaways
- Turn off the main water supply and disconnect the plumbing, including drain pipes and water lines.
- Remove any fixtures, like the faucet and handles, carefully securing and disconnecting them.
- Use a putty knife to cut through old sealant or caulk around the sink. This will help loosen it from the countertop.
- Support the sink with one hand and lift it straight up.
- Remove it from the countertop or mounting brackets.
- Once the sink is out, clean the area thoroughly.
- Now you’re ready to install a new sink or make any repairs needed.
Why and When to Remove Your Kitchen Sink
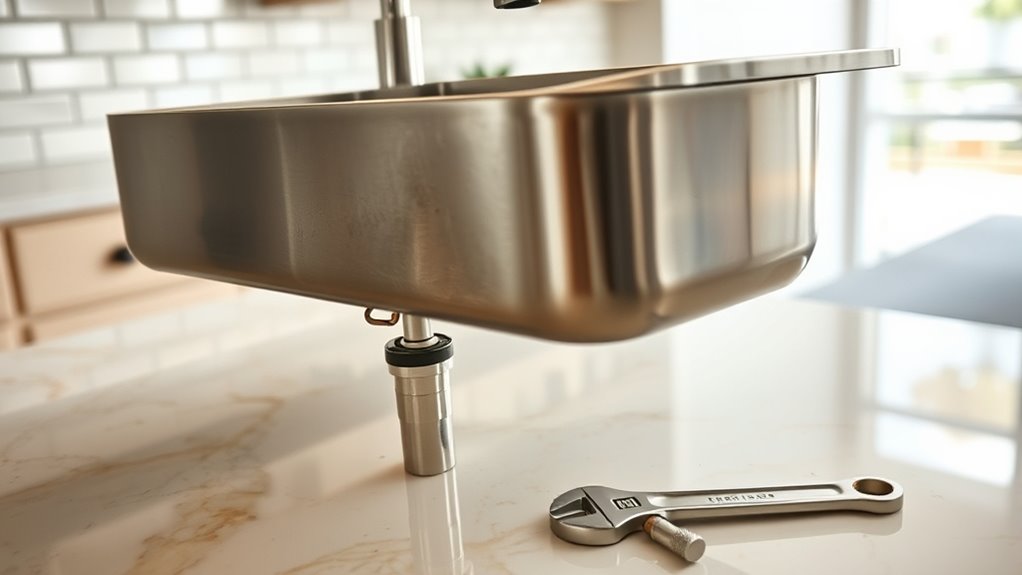
You might need to remove your kitchen sink when it’s leaking, damaged, or outdated beyond repair. Persistent leaks can cause water damage and mold, so removal becomes necessary.
Cracks, corrosion, or rust can weaken the sink’s structure, leading to potential collapse or more damage. If your sink is past its prime, it might not work well or look outdated, affecting your kitchen’s look.
Sometimes, remodeling or upgrading appliances means you need to remove the sink. If plumbing issues keep happening despite repairs, replacing the sink could be the best option. Removing it allows you to check and fix any underlying problems.
Knowing when to remove your sink helps you avoid bigger issues later on. It can save you money and effort in the long run.
Gather Tools and Prepare Your Workspace
Gather all the tools you’ll need and clear your workspace before you start. This will help make the removal process smooth and safe.
You’ll want items like pliers, a screwdriver, a bucket, and maybe a wrench. Keep some rags or towels nearby to catch any water spills.
Clear the area of clutter and obstacles so you have enough room to work comfortably. Remove any items stored under the sink to avoid damage and give yourself clear access.
If your sink has a garbage disposal, turn off the power supply before you begin. Organize your tools within easy reach so you don’t waste time searching mid-project.
Getting your space and tools ready now will make the removal faster and help prevent accidents.
Turn Off Water and Disconnect Plumbing
Start by shutting off the main water valve to stop the flow.
Next, disconnect the drain connections from the sink to free it from the plumbing.
Make sure to have a bucket ready to catch any residual water.
Shut Off Main Valve
To begin disconnecting your kitchen sink, locate the main water shut-off valve. It’s usually found near the water meter, in the basement, or behind a utility panel.
Once you find it, turn the valve clockwise to shut off the water supply. This stops water flow to the entire house, making sure there are no leaks while you work.
Double-check that the water is off by opening a faucet downstream; if no water comes out, you’re good to go. With the main valve shut, you can safely disconnect your sink’s plumbing without risking water damage.
Detach Drain Connections
Begin by turning off the water supply to the sink’s drain to prevent leaks or spills. Once the water’s off, you need to disconnect the drain connections. First, loosen the slip nuts securing the drainpipe, using a wrench if necessary.
Next, remove the P-trap, which is the curved pipe underneath the sink. Finally, check for any remaining connections or clips holding the drain assembly in place. To make the process easier, keep these tips in mind:
- Have a bucket ready to catch any residual water.
- Use adjustable pliers for stubborn fittings.
- Take note of how the parts fit together for easier reassembly.
This approach makes disconnection straightforward, minimizing mess and damage.
Remove Fixtures and Drain Assembly Safely
Before removing the fixtures and drain assembly, make sure you’ve turned off the water supply to prevent leaks.
Carefully detach the fixtures, using a wrench if needed, to avoid damaging them. Once the fixtures are loose, you can move on to removing the drain assembly safely.
Turn Off Water Supply
Turning off the water supply is the essential first step before removing your kitchen sink. This prevents water from spilling and causing damage.
To do this safely, locate the shut-off valves under the sink. Turn each valve clockwise to close them completely.
Open the faucet to drain any remaining water in the pipes. Make sure the valves are fully closed before proceeding.
If they won’t turn or are stuck, you may need pliers or a wrench, but avoid using excessive force.
Confirm water is off by turning the faucet on briefly — no water should come out.
Taking these steps ensures you won’t be caught off guard by water flow, making the removal process smoother and safer.
Detach Fixtures Carefully
With the water supply turned off, you can now safely detach the fixtures and drain assembly from the sink. Start by loosening the mounting nuts securing the faucet and handles with a wrench. Be careful not to apply too much force, which could damage the fixtures.
Next, disconnect the water supply lines from the faucet using pliers, twisting counterclockwise. Place a bucket underneath to catch any residual water. For the drain assembly, loosen the slip nuts connecting it to the tailpiece and the drain pipe.
Carefully remove the drain flange from the sink basin, making sure not to damage the porcelain or acrylic surface. Keep track of all parts and hardware as you go to make reassembly easier later.
Properly detaching these fixtures prevents damage and makes the removal process smoother.
Detach the Sink From the Countertop or Cabinet
To detach the sink from the countertop or cabinet, start by loosening the clips or brackets holding it in place. Carefully slide a putty knife or flat pry bar around the edges to break the seal and loosen the sink.
Next, support the sink with your hands or ask a helper to hold it so it doesn’t fall. Remove any remaining fasteners or clips securing the sink to the countertop or cabinet.
Support the sink securely or ask for help to prevent it from falling during removal.
Then, lift the sink straight up and away from the installation area. Make sure no connections or debris are trapping it. Taking your time during these steps helps prevent damage to the countertop or surrounding cabinetry.
Be cautious and keep a steady grip to safely free the sink.
Remove Old Sealant and Clean the Installation Area
Start by carefully scraping away the old sealant with a utility knife or sealant remover tool.
Next, wipe down the area thoroughly with a damp cloth to remove any residue and dirt.
This step guarantees a clean surface for the new sealant and prevents leaks.
Removing Old Sealant
Begin by carefully loosening the old sealant around the sink’s edges using a utility knife or a sealant remover tool. Gently work your way around, making sure to cut through all the old sealant without damaging the countertop. Once loosened, follow these steps:
- Scrape away the remaining sealant with a putty knife or scraper.
- Wipe the area with a damp cloth to remove any residue.
- Inspect the edges for leftover sealant or debris and remove it thoroughly.
This process guarantees a clean, smooth surface for the new sealant. Taking your time here prevents issues like leaks or mold buildup later. Be thorough to make sure all old sealant is removed before moving on.
Cleaning the Area
After loosening the old sealant, it’s important to thoroughly clean the area to ensure a proper seal for the new installation. Use a scraper or putty knife to remove any remaining sealant or debris.
Then, wipe the surface with a damp cloth to eliminate dust, grease, and residue. For stubborn grime, apply a mild cleaner or vinegar solution and scrub gently.
Verifying a clean, dry surface helps the new sealant adhere properly. Make sure there’s no moisture left before proceeding.
Finally, check for any debris and clear all particles before sealing. This step is key to a long-lasting, effective seal.
Inspect and Prepare the Opening for Your New Sink
Carefully examine the opening in your countertop to make sure it’s clean, level, and free of debris or damage. If you see any uneven edges or chips, smooth or repair them before moving on.
To ensure your new sink fits properly, check the dimensions of the opening.
Verify the opening’s dimensions to ensure your new sink fits perfectly and installs smoothly.
Here are three key steps:
- Measure the width, length, and depth of the opening to confirm it matches your sink.
- Remove any old caulk or sealant around the edges.
- Clean the area thoroughly, removing dust, grease, or debris that could interfere with sealing or installation.
Taking these steps now helps prevent leaks and makes sure your new sink sits securely. This will make the installation smoother and more successful.
Recycling or Disposing of the Old Sink Properly
Before tossing your old sink into the trash, consider recycling it to reduce waste and help the environment. Many sinks contain materials like metal or porcelain that can be repurposed or recycled.
Check with your local recycling centers or scrap yards to see if they accept sinks. If recycling isn’t an option, arrange for proper disposal through your municipality’s waste management services.
Avoid dumping the sink in regular trash to prevent environmental harm. Recycling or responsible disposal helps reduce landfill waste and supports sustainable practices.
Here’s a quick overview of your options:
| Option | Benefit | Consideration |
|---|---|---|
| Recycling | Environmentally friendly | Verify accepted materials |
| Donation | Helps charities or schools | Sink condition matters |
| Landfill | Simple but less eco-friendly | Check local regulations |
| Scrap Yard | Reuse metal parts | May require disassembly |
| Specialized Disposal | Handles hazardous components | Follow local guidelines |
Troubleshooting Common Sink Removal Challenges
Removing a sink can throw some surprises your way, like stubborn fittings or hidden damage that makes the job trickier. You might find nuts that won’t budge or pipes that have corroded over time, making removal more challenging.
To handle these issues, try applying penetrating oil to rusted fittings and let it sit for a bit before attempting to loosen them. Using the right tools, like a basin wrench or pipe wrench, can also make a big difference, especially for hard-to-reach or stubborn connections.
Don’t forget to check for hidden damage, such as cracked countertops or corroded pipes, which might mean extra repairs are needed before you can remove the sink.
Final Checklist Before Installing Your New Sink
Making sure everything is in place before installing your new sink can save you time and prevent headaches later. Check that all parts are present and in good condition, including the sink, faucet, and mounting hardware.
Confirm the plumbing connections fit and are free of leaks. Measure the space to be certain the sink will fit properly. Verify you have the necessary tools, such as wrenches, sealant, and a level.
| Checklist Item | Status |
|---|---|
| All parts accounted for | ✓ / ✗ |
| Plumbing fittings fit | ✓ / ✗ |
| Tools are available | ✓ / ✗ |
| Measurements correct | ✓ / ✗ |
| Sealant or plumber’s putty | ✓ / ✗ |
Frequently Asked Questions
Can I Remove My Kitchen Sink Without Professional Help?
Yes, you can remove your kitchen sink without professional help if you’re comfortable with basic plumbing tasks. Just turn off the water supply, disconnect the plumbing, and carefully loosen the mounting clips.
Be prepared for potential mess and have your tools ready. If you’re unsure or uncomfortable at any point, it’s best to call a professional to avoid damage or leaks.
Safety and proper handling are key.
How Long Does the Sink Removal Process Typically Take?
Removing a kitchen sink usually takes around 1 to 3 hours, depending on your experience and the sink’s complexity. You’ll need time to turn off the water, disconnect pipes, loosen mounting hardware, and carefully lift out the sink.
If you’re familiar with plumbing, it might go faster. But expect some troubleshooting if you run into stubborn fittings or corrosion.
Patience and preparation really help ensure a smoother, quicker removal process.
What Safety Precautions Should I Follow During Sink Removal?
You should wear gloves and safety goggles to protect your hands and eyes from debris. Turn off the water supply and disconnect the plumbing carefully to avoid leaks.
Use a utility knife to cut through caulk or sealant, and be cautious of sharp edges on the sink or pipes. Keep your workspace clean and organized to prevent accidents.
Work slowly to avoid damaging surrounding cabinetry or fixtures. Taking your time makes the process safer and more manageable.
Are Special Tools Needed for Removing Stubborn Sinks?
Yes, you might need special tools for stubborn sinks. A putty knife can help loosen the caulk around the sink.
A sink removal tool or a pry bar can make it easier to pry the sink free if it’s stuck. Sometimes, a hacksaw is needed to cut through any remaining caulk or sealant.
Using these tools carefully is key. It helps prevent damage to your countertop or the area around the sink during removal.
How Do I Prevent Damage to My Countertop During Removal?
To prevent damage to your countertop during removal, start by protecting its surface first. Place painter’s tape around the edges of the sink to act as a barrier.
Next, use a putty knife or a flat pry bar carefully to loosen the sink without scratching. Work slowly and evenly, applying gentle pressure, and avoid using excessive force.
This approach helps minimize the risk of chipping or cracking your countertop.
Conclusion
Removing your kitchen sink might seem intimidating, but with the right steps, you can do it yourself. Did you know that about 70% of homeowners prefer DIY projects to save money?
By following these essential steps, you’ll avoid costly repairs and gain confidence in maintaining your kitchen. Proper disposal and troubleshooting ensure a smooth transition to your new sink.
This process makes your kitchen more functional and enjoyable for years to come. Remember, tackling a sink removal with care can be both rewarding and budget-friendly.