7 Essential Steps to Pack Your Kitchen Like a Pro
Moving your kitchen can feel overwhelming—there’s so much to pack, organize, and keep track of. Many people struggle with making the process smooth and stress-free. But don’t worry—you’re not alone, and with a little planning, you can master it like a pro.
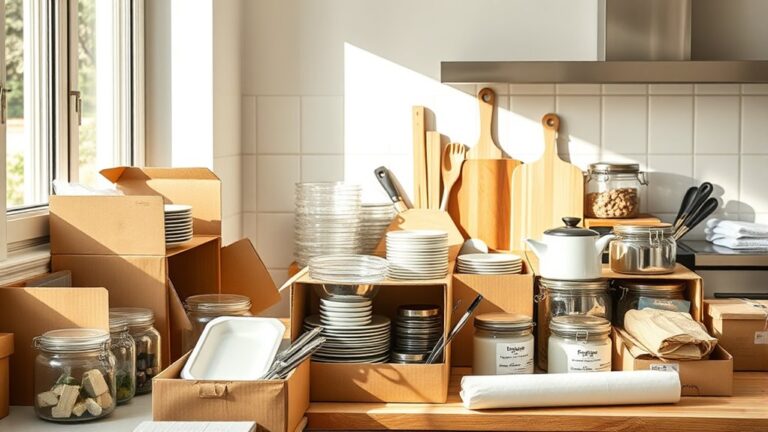
To pack your kitchen like a pro, start by gathering and sorting your items, separating essentials from rarely used tools. Choose sturdy packing materials like bubble wrap and dividers for fragile items to prevent damage.
Wrap dishes and glassware carefully and pack small appliances securely. Label each box clearly and organize space efficiently.
Before moving day, double-check everything and plan your unpacking strategy. Stick with these steps, and you’ll enjoy a smooth, hassle-free kitchen move.
Key Takeaways
– Sort and categorize your kitchen items to make packing easier and prevent damage during the move.
Taking a little time to organize everything by type can save you headaches later on.
Use sturdy boxes with the right cushioning materials for fragile dishes and glassware.
Individually wrap delicate items and use dividers to keep them from moving around.
This way, your dishes stay safe and intact during transit.
Clearly label each box with its contents and the room it belongs in.
That’ll make unpacking much smoother and help you stay organized.
Pack some essential items separately so you can access them quickly when you arrive.
And don’t forget to plan your unpacking strategy ahead of time.
Gather and Sort Your Kitchen Items Before Packing
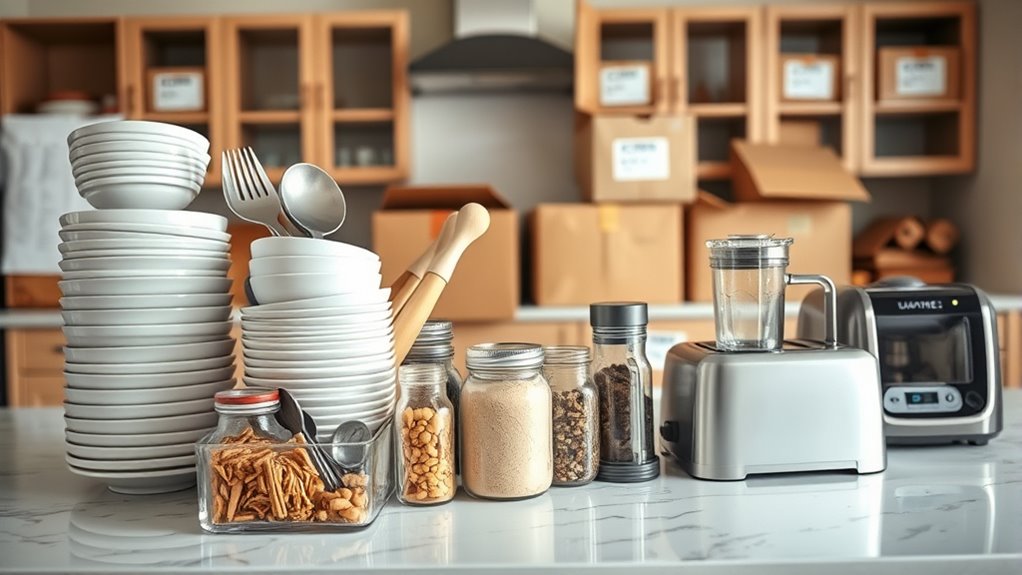
Before you start packing, it’s important to gather and sort all your kitchen items. Empty cabinets, drawers, and shelves and place everything on a clean surface.
As you do, separate items into categories: everyday essentials, rarely used tools, and specialty items. Check for duplicates, broken utensils, or expired products, and set those aside for disposal.
Group similar items together—pots with lids, baking supplies, or utensils—so packing becomes more organized. This helps you see what you truly need to keep and prevents overpacking.
Sorting also speeds up the packing process and makes sure nothing gets overlooked. Taking the time to organize now will make unpacking easier and more efficient once you arrive at your new place.
Choose the Best Packing Materials for Fragile Kitchenware
To protect your fragile kitchenware, you need to choose the right packing supplies, like sturdy boxes and cushioning materials. Properly wrapping each item with bubble wrap or packing paper guarantees they stay safe during transit. Using the best materials prevents damage and gives you peace of mind.
Selecting Suitable Packing Supplies
Choosing the right packing supplies is essential to protect your fragile kitchenware during the move. Start with high-quality packing paper or bubble wrap to cushion delicate items. Corrugated boxes designed for fragile items are ideal because they provide extra strength and protection.
Use dish packs or specialty boxes with dividers to keep plates, glasses, and cups separate, reducing the risk of breakage. Packing peanuts or crumpled packing paper can fill empty spaces in boxes, preventing shifting during transit.
For items like glassware or ceramics, double-layered wrapping offers extra security. Avoid using flimsy or recycled boxes that might weaken under pressure. Investing in sturdy supplies guarantees your valuables stay intact and minimizes the stress of handling fragile kitchenware.
Protecting Fragile Items Properly
Protecting fragile kitchenware starts with choosing the right packing materials that give maximum cushioning and support. You want materials that absorb shocks and stop items from moving around during transit.
Bubble wrap is great for wrapping individual items because it offers excellent protection against impacts. Packing paper or tissue paper can fill gaps and cushion delicate surfaces.
Sturdy boxes with dividers are helpful for keeping items separate and preventing collisions. For extra support, consider foam sheets or packing peanuts to fill empty spaces and reduce shifting.
Always wrap each item thoroughly so no surface is exposed. Secure everything with packing tape to keep the wrap in place. Using the right materials and proper wrapping techniques will help your fragile kitchenware arrive safely at your new home.
How to Pack Dishes and Glassware Safely
To pack dishes and glassware safely, start by choosing proper packing materials like sturdy boxes and packing paper. Wrap each item individually to prevent chips and cracks.
Make sure to label containers as fragile. These steps help guarantee your items stay protected during the move.
Use Proper Packing Materials
Using the right packing materials is key to making sure your dishes and glassware arrive safely at your new home. Start with sturdy boxes designed for moving, as they give your items the support they need.
Use high-quality packing paper or bubble wrap to cushion each item. This helps prevent chips and cracks during transit. Incorporate dividers or inserts to keep dishes separated and minimize movement inside the box.
Don’t forget to label your boxes clearly. This way, you’ll know which ones contain fragile items and handle them with extra care.
- Sturdy, double-walled boxes for extra durability
- Bubble wrap or packing paper for cushioning
- Dividers to keep dishes separated and protected
Wrap Items Individually
When packing dishes and glassware, wrapping each item individually is key to preventing damage during the move. Use packing paper, bubble wrap, or foam sheets to protect fragile surfaces.
Gently wrap each dish, glass, or cup, making sure to cover all sides completely. For extra security, tuck the wrap around edges and corners where cracks often happen.
Avoid stacking items directly on top of each other without wrapping, as this can lead to chips or breaks. Secure the wrapping with tape if needed, but don’t tape directly to the item.
Handle each piece carefully, and make sure there’s enough padding to absorb shocks. These steps help keep your items safe and intact, saving you time and frustration when unpacking.
Label Fragile Containers
Label each fragile container clearly with “Fragile” and “This Side Up” stickers or tape to alert movers and guarantee careful handling. Proper labeling guarantees that delicate dishes and glassware are treated with extra caution during transit. Use bold, legible handwriting or printed labels to avoid confusion.
Place labels on multiple sides of each box so they’re visible from any angle. This helps reduce the risk of accidents and mishandling. Use waterproof markers to prevent smudging and stick labels on sturdy, sealed boxes.
Double-check labels before moving to avoid mistakes. Clear, consistent labeling is key to preventing damage and making sure your fragile items arrive intact. Taking this step saves you time and stress during unpacking.
Pack Small Appliances and Utensils Efficiently
To pack small appliances and utensils efficiently, start by gathering all items and sorting them by size and fragility. Place delicate appliances like blenders or toasters in their original boxes if possible, or wrap them in bubble wrap for extra protection.
Sort small appliances by size and fragility; use original boxes or bubble wrap for added protection.
For smaller utensils, gather similar items together—spoons, spatulas, and whisks—and nest or stack them securely. Use packing paper or dish towels to fill gaps and prevent shifting during transit.
Pack heavy items at the bottom of boxes and lighter ones on top so nothing gets crushed. Keep cords coiled neatly and secure them with rubber bands or twist ties.
Be sure to label the boxes with small appliances separately. That way, you can find them easily when you unpack. Proper packing helps prevent damage and saves you time later.
Label Your Boxes for Easy Unpacking
Creating clear and detailed labels for your boxes makes unpacking much smoother. When you know exactly what’s inside each box, you save time and reduce frustration.
Use a permanent marker or label maker to write on each box, specifying the room and contents. For example, label a box “Kitchen – Utensils and Gadgets” or “Pantry – Canned Goods.” This helps prioritize unpacking and organizing.
List the main items or categories inside each box and include the destination room for easy placement. Using color-coded labels for different areas of the house can also be really helpful.
These simple steps make the whole process more efficient and less overwhelming. You’ll settle into your new space faster and with less stress.
Maximize Space and Protect Your Items During Packing
Maximizing space and protecting your items during packing guarantees everything arrives safely and efficiently. Start by gathering sturdy boxes that fit your items well, avoiding oversized containers that cause shifting. Wrap fragile items individually with bubble wrap or packing paper, then secure them with tape.
Use dish towels or clothing to cushion glasses and breakables, saving space and giving extra protection. Fill gaps in boxes with crumpled paper or packing peanuts to prevent movement. Pack heavier items at the bottom and lighter ones on top to keep things stable.
Label boxes clearly with their contents and destination room to make unpacking easier. By optimizing space and safeguarding your belongings, you’ll make your move smoother and reduce the risk of damage.
Final Checks and Tips Before Moving Day
As the moving day approaches, taking a few final steps can guarantee everything goes smoothly. You should double-check your packed boxes, making sure each one is labeled correctly and securely sealed.
Confirm that fragile items are well-protected and easily accessible. Make a list of essential kitchen items you’ll need immediately after moving, like utensils or a kettle, and keep them separate.
Also, verify your new kitchen’s layout and plan where each box will go to streamline unpacking. Don’t forget to clean countertops and appliances to prevent dirt from spreading during transport.
Finally, confirm your moving schedule with the movers or helpers. Make certain all boxes are labeled clearly and sealed tight.
Pack a “first-night” essentials box for quick access. Confirm your moving arrangements and timing to ensure everything is on track.
Frequently Asked Questions
How Do I Prevent Odors From Lingering in Packed Kitchen Boxes?
To prevent odors from lingering in your packed kitchen boxes, make sure to thoroughly clean and dry all items before packing. This helps eliminate any sources of smells right from the start.
Use odor-absorbing materials like baking soda or activated charcoal inside the boxes. You can also add a few scented sachets to keep things smelling fresh.
Seal food items tightly or double-bag them to prevent smells from escaping. It’s a good idea to air out the boxes before sealing them shut.
Finally, store the boxes in a cool, dry place to help minimize any odor buildup over time.
What’s the Best Way to Pack Oversized Kitchen Appliances?
Protect, pack, and prepare your oversized appliances with care. First, disconnect all power sources and drain any liquids to avoid leaks or electrical issues.
Wrap appliances with thick blankets or bubble wrap to prevent damage during transit. Secure doors and removable parts so they don’t come loose or get lost.
Label everything clearly so you know what’s what when unpacking. Use sturdy boxes or crates to give your appliances extra support and stability.
Finally, pack them tightly to prevent shifting during the move. Proper preparation helps ensure your oversized appliances arrive safely, saving you stress and protecting your investment.
How Can I Organize Items Within Boxes for Easy Unpacking?
You can organize items within boxes for easy unpacking by grouping similar items together, like utensils or spices, and labeling each box clearly.
Use smaller containers or zip-top bags for small items to prevent losing them. Fill gaps with packing paper or towels to keep everything in place.
Keep an inventory list for quick reference, so you know what’s inside each box. Pack heavier items at the bottom to make unpacking safer and more efficient.
Should I Disassemble Appliances Before Packing?
Sure, disassembling appliances before packing might seem like a chore, but it actually makes your life easier.
You’ll prevent damage, save space, and make unpacking a breeze. Remove cords, trays, and detachable parts, then pack them carefully.
Label everything clearly. Ironically, the more you disassemble, the less chaos you’ll face later.
How Do I Handle Leaking or Perishable Food Items?
You should handle leaking or perishable food items carefully by first sealing leaks with plastic wrap or airtight containers to prevent spills.
For perishables, pack them in insulated bags or coolers with ice packs to keep them cold during transit.
Make sure to label these items clearly and prioritize unpacking them first at your new place.
Always dispose of any spoiled food before packing to avoid messes and odors.
Conclusion
By gathering and sorting your items, choosing the right packing materials, and carefully packing each item, you ensure a smooth move. Label your boxes clearly, maximize your space, and double-check everything before moving day.
These steps create order out of chaos, safety out of risk, and confidence out of doubt. Following these essential tips will help you move with ease, unpack with purpose, and settle into your new space with peace of mind.
Using proper packing techniques and quality materials makes all the difference. When you pack your kitchen like a pro, your move becomes less stressful and more efficient.