DIY Guide to Make Kitchen Cabinets Step by Step
Many homeowners dream of customizing their kitchens but feel overwhelmed by the idea of making their own cabinets. You’re not alone—building kitchen cabinets can seem daunting, especially if you’re new to DIY projects.
But with some guidance, you can create beautiful, functional storage solutions yourself.
To make kitchen cabinets yourself, start by measuring your space carefully, noting irregularities, and planning your layout. Choose style and storage options that match your needs and select quality materials and tools.
Build your cabinets step by step, then finish and install them securely.
Be prepared to troubleshoot issues like misalignment, and perform regular maintenance to keep everything looking great.
If you continue, you’ll uncover detailed tips to help you craft professional-looking cabinets with confidence.
Key Takeaways
- Measure your kitchen space carefully, paying attention to any irregularities. Make sure you get precise dimensions so your cabinets fit perfectly.
- Design your cabinets by choosing styles, storage options, and layouts that match your decor and meet your needs. Take your time to plan everything out.
- Pick high-quality materials and gather essential tools like a circular saw, drill, and clamps. These will make your construction process much easier.
- Assemble your cabinets, then finish them with paint or stain. Once done, securely install them, making sure they’re properly aligned and stable.
- Keep an eye out for common issues, and perform regular maintenance to keep everything in good shape. Updating hardware now and then can also help your cabinets stay attractive and long-lasting.
How to Measure Your Kitchen Space Accurately
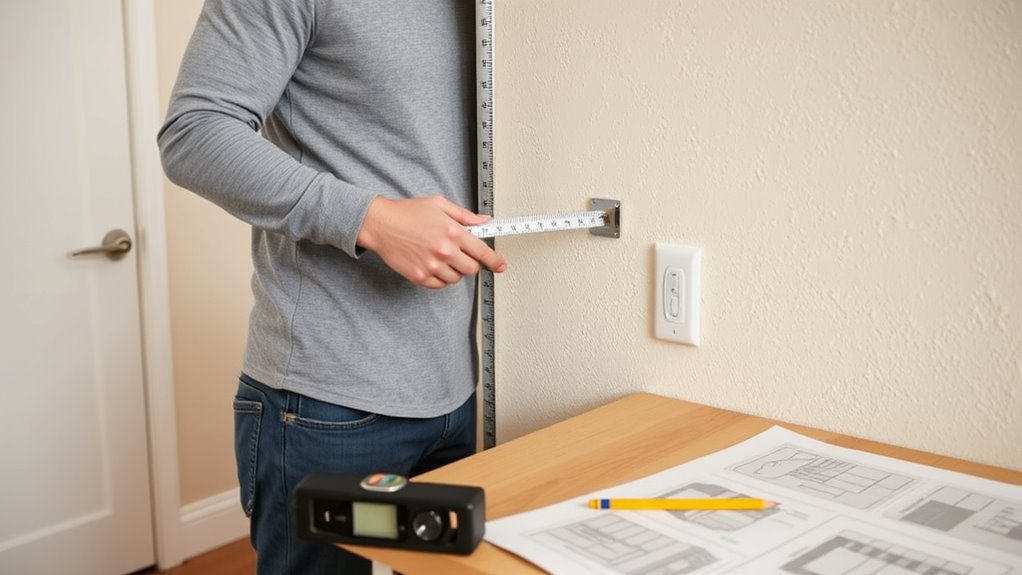
Before you start building your own kitchen cabinets, it’s vital to measure your space accurately. Grab a tape measure, a notepad, and a pencil to get started.
Measure the width, height, and depth of the area where you plan to install the cabinets. Be sure to record each measurement carefully, noting any irregularities like uneven walls or floors.
Measure width, height, and depth accurately, noting irregularities for perfect-fitting kitchen cabinets.
Don’t forget to measure the space between existing structures such as appliances or windows. This will help ensure your cabinets will fit comfortably.
Take multiple measurements at different points to account for any inconsistencies. Always round measurements to the nearest quarter-inch to keep things precise.
Accurate measurements will save you from costly mistakes later. They help your custom cabinets fit perfectly and look seamless in your kitchen.
Designing Your Custom Cabinets: Style, Storage, and Layout Tips
When designing your custom cabinets, pick a style that matches your kitchen’s overall look and your personal taste. It’s all about creating a space you love to be in.
Think about how you can maximize storage by choosing the right cabinet sizes and configurations. This not only keeps things organized but also makes your kitchen more functional.
Choosing Your Style
Are you unsure how to pick a style that perfectly shows off your kitchen’s personality? Start by thinking about your overall decor and color scheme. Do you prefer a modern, sleek look or a cozy, rustic vibe?
Consider the atmosphere you want to create. Here’s a quick guide:
| Style | Features | Best For |
|---|---|---|
| Modern | Clean lines, minimal hardware | Contemporary spaces |
| Classic | Ornate details, raised panels | Traditional, timeless look |
| Rustic | Natural wood, distressed finish | Cozy, country kitchens |
Matching your style to your personality makes your kitchen feel truly yours. Keep it simple and choose what feels right for your space.
Optimizing Storage Space
Once you’ve chosen a style that reflects your personality and complements your decor, it’s time to focus on maximizing your cabinet space. Start by adding adjustable shelves to customize storage for different items.
Use vertical dividers or stacking racks for plates and trays to keep everything accessible. Installing pull-out drawers or baskets in lower cabinets makes items easier to reach and organize.
Incorporate lazy Susans or corner carousels to turn awkward corner spaces into useful storage. Add hooks or rails inside cabinet doors for utensils, pot lids, or cleaning supplies.
Consider narrow pull-outs for spices or small jars. Thoughtfully planning these features will create a more functional kitchen where everything has its place.
Choosing Materials and Tools for DIY Kitchen Cabinets
Choosing the right materials and tools is key to building durable, professional-looking kitchen cabinets. Start with high-quality plywood or MDF for the cabinet boxes—they’re sturdy and easy to work with.
Selecting quality materials like plywood or MDF is essential for durable, professional kitchen cabinets.
For the doors and face frames, solid wood or plywood with a veneer finish work well. Pick a good primer and paint or stain to get a smooth, lasting finish.
As for tools, you’ll need a circular saw, drill, screw gun, clamps, and a tape measure. A square helps ensure precise corners, and sanders are great for a flawless surface.
Invest in sharp blades and quality fasteners to make assembly easier and cleaner. Using the right materials and tools not only improves the final look but also makes the project safer and more enjoyable.
Building Your Cabinets: A Step-by-Step Guide
You’ll start by carefully planning and designing your cabinet layout to make sure everything fits perfectly. It’s a good idea to measure your space and sketch out your design before buying any materials.
Next, assemble the pieces precisely, paying attention to details like aligning edges and securing joints properly. Taking your time here will make a big difference in the final look.
Finish up by sanding, painting, or staining your cabinets. This step gives them a polished, professional appearance and protects the surfaces.
Following these steps keeps your project organized and ensures you end up with beautiful, durable cabinets.
Planning and Design
Before diving into the construction process, it’s essential to plan and design your kitchen cabinets carefully. Start by measuring your space accurately, noting the dimensions of walls, openings, and existing fixtures.
Decide on the style you want—modern, traditional, or rustic—and select materials that fit your budget and aesthetic. Sketch your cabinet layout, including upper and lower cabinets, drawers, and shelves.
Consider functionality, like storage needs and ease of access. Choose hardware, finishes, and colors that complement your kitchen’s overall look. Be mindful of safety and code requirements, especially for electrical and plumbing considerations.
A well-thought-out plan guarantees your cabinets will fit perfectly and look great, reducing surprises during the build process. Planning saves time and helps you stay organized.
Assembling and Finishing
Getting your cabinets assembled and finished is a rewarding step that transforms your plans into tangible pieces. It’s when your hard work truly comes to life.
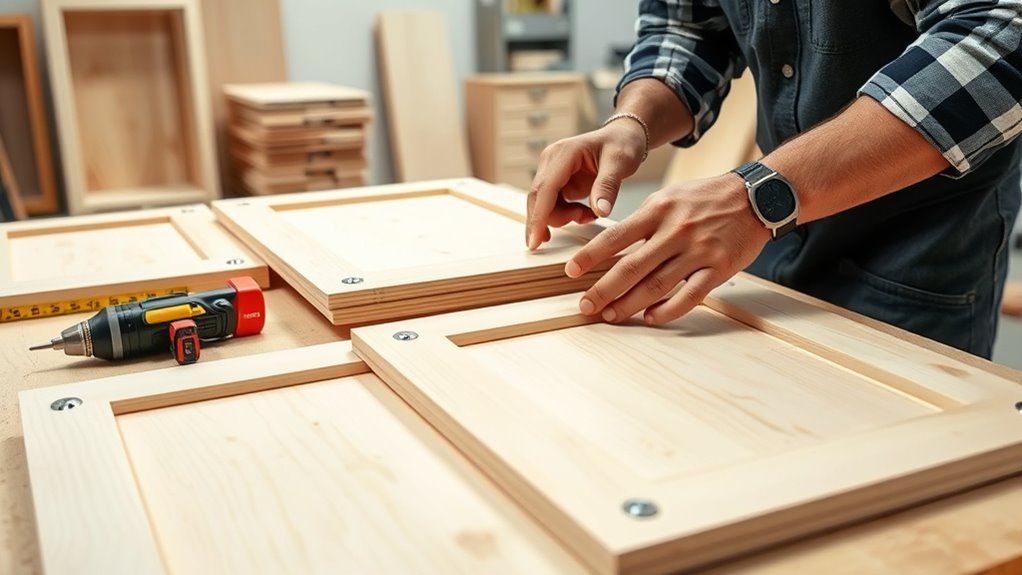
First, carefully align and attach the cabinet sides, making sure everything stays square. Use clamps if needed to hold pieces in place while securing with screws or nails.
Next, sand any rough edges and apply your chosen finish—paint, stain, or sealant—to protect and elevate the wood.
Finally, install hardware like handles and hinges to complete the look. Remember these key points:
- Precision during assembly guarantees stability and a professional finish.
- Proper sanding and finishing protect your cabinets and enhance appearance.
- Thoughtful hardware placement adds functionality and style.
Finishing Your Cabinets for a Professional Look
Achieving a professional finish on your kitchen cabinets is about more than just picking the right paint or stain. It’s all in the prep work and application.
Start by sanding your cabinets smoothly to remove any imperfections and ensure good adhesion. Make sure to clean off all dust and grease thoroughly before applying primer, which helps the paint or stain stick evenly.
When it comes to applying paint or stain, use high-quality brushes or rollers. Work in thin, even coats to avoid drips and streaks. Let each coat dry completely before adding the next, and lightly sand between coats for a smoother finish.
Finish things off with a clear sealant or topcoat. This protects your work and gives your cabinets a polished, durable look. Patience and attention to detail really make all the difference.
How to Install Your DIY Cabinets Safely and Securely
Proper installation is key to making sure your cabinets are both safe and secure. Just follow these simple steps to get it right.
- Use the right tools and hardware: Get a level, drill, and good-quality screws. Using the right tools helps prevent mistakes and ensures everything fits tightly.
- Secure cabinets to wall studs: Find the studs with a stud finder, then attach the cabinets directly to them. This gives you the best support and keeps everything stable.
- Double-check alignment and stability: Keep using the level to make sure the cabinets are straight while you install them. Adjust as needed before you finish up.
Troubleshooting Common Problems During Cabinet Installation
Even with careful planning, you might run into common issues during cabinet installation that can slow you down. One frequent problem is misaligned cabinets, which can happen if your measurements are off or the wall isn’t perfectly straight. Double-check your measurements and use shims to level the cabinets.
If the doors don’t close properly, it might be because the hinges aren’t aligned or adjusted correctly. Just tweak the hinges until the doors hang evenly. Sagging shelves usually happen if screws aren’t tightened enough or if the support isn’t strong enough. Reinforce the shelves and tighten all fasteners.
Finally, if your cabinets wobble or feel unstable, make sure the mounting screws are anchored into wall studs and tighten them securely. Troubleshooting these issues quickly helps ensure your cabinets look professional and work smoothly.
Maintaining and Updating Your Custom Kitchen Cabinets
Once your cabinets are installed and working well, keeping them in top shape becomes your next priority. Regular maintenance helps prevent damage and keeps them looking fresh.
To do this effectively, consider these key steps:
- Clean surfaces regularly with a gentle cleaner to remove grease and dust.
- Check hinges and hardware periodically, tightening or replacing as needed.
- Refinish or repaint surfaces when they start showing wear or fading.
Updating your cabinets can also give your kitchen a fresh look. You might swap out hardware, add a new coat of paint, or install new cabinet doors. These updates are simple, affordable, and can dramatically change your space.
Staying proactive with maintenance and updates keeps your custom cabinets beautiful and functional for years to come.
Frequently Asked Questions
What Are the Costs Involved in DIY Kitchen Cabinet Projects?
The costs for a DIY kitchen cabinet project can vary depending on the materials, tools, and size of your project. You might spend anywhere from $200 to $1,000 on items like plywood or MDF, hinges, and handles.
If you already own tools, your expenses will be lower since you won’t need to buy them. Keep in mind you’ll also need to budget for paint or stain, plus hardware like knobs and pulls.
Investing in quality materials can ensure your cabinets last longer, but it’s important to plan your budget carefully to keep costs manageable. Planning ahead helps prevent unexpected expenses and keeps your project on track.
How Long Does It Typically Take to Complete DIY Cabinets?
It typically takes you around 2 to 4 weeks to complete DIY cabinets, depending on your skill level and project complexity. Think of it like planting a garden—patience and steady effort are key.
I once spent weekends on a cabinet project, feeling both frustrated and proud as each piece came together. Your progress depends on your experience, tools, and how much time you dedicate each day.
But remember, persistence really pays off in the end.
Can I Customize Cabinets for Uneven or Awkward Kitchen Spaces?
Yes, you can customize cabinets to fit uneven or awkward spaces. Measure carefully to ensure a precise fit.
Consider using modular or adjustable components that can be tailored to irregular shapes. These options make it easier to adapt your cabinets to tricky spaces.
You might also opt for custom-cut panels or filler pieces to fill gaps seamlessly. This helps create a clean and polished look.
With some planning and creative solutions, your cabinets will fit perfectly. This maximizes storage and improves your kitchen’s look despite tricky dimensions.
What Safety Precautions Should I Take During Construction and Installation?
Safety isn’t just a priority; it’s your foundation. You should always wear protective gear like goggles, gloves, and a dust mask, especially when cutting or sanding.
Keep your workspace tidy to avoid accidents and guarantee proper ventilation. Use power tools carefully, following manufacturer instructions, and never rush.
How Do I Handle Electrical or Plumbing Obstacles Behind Cabinets?
When dealing with electrical or plumbing obstacles behind cabinets, the first step is to turn off the power or water supply to stay safe. It’s a good idea to double-check that the system is completely shut off before proceeding.
Next, carefully examine the area to locate any wiring or pipes. Using a stud finder or pipe locator can help identify what’s hidden behind the cabinet walls.
If you’re unsure about what you’re seeing, it’s best to call in a professional. They can help prevent damage or accidents that might happen from guesswork.
Once you’ve identified the obstacles, plan your cuts or adjustments carefully. Take your time and proceed with caution to protect both the infrastructure and your safety.
Conclusion
Building your kitchen cabinets is like crafting a sturdy ship. You’re the captain steering it to perfection. With patience, the right tools, and a clear plan, you’ll create beautiful, functional storage that transforms your space.
Every cut and screw brings you closer to a customized masterpiece. So, set sail with confidence and enjoy your DIY journey. Your dream kitchen is just a few steps away from becoming a reality.