DIY Guide to Build Kitchen Cabinets From Scratch
Building your own kitchen cabinets from scratch can feel overwhelming, especially if you’re new to DIY projects. Many people struggle with knowing where to start or how to get that perfect fit and finish.
But don’t worry—you’re not alone, and with a little guidance, you can create custom cabinets that match your style.
To build kitchen cabinets from scratch, start by accurately measuring your space and sketching your design. Choose durable materials like plywood or solid wood, and gather your essential tools and safety gear.
Carefully measure, cut, and assemble each piece, ensuring everything is level and secure. Install your cabinets firmly and finish with paint, stain, or hardware for a polished look.
If you keep these steps in mind, you’ll be on your way to custom cabinets that suit your style—plus, there’s more to learn as you go.
Key Takeaways
- Measure and plan your cabinet layout carefully. Think about your storage needs and match it to your kitchen’s style.
- Choose durable materials like plywood or solid wood. Gather all the tools you’ll need, along with safety gear to keep yourself protected.
- Cut and assemble your cabinet pieces with precision. Secure everything with the right fasteners, and use clamps to keep parts stable while working.
- When installing, make sure your cabinets are securely attached to wall studs. Use a level to get everything perfectly aligned, and pre-drill pilot holes for easier fastening.
- Finish your cabinets with paint or stain to give them a polished look. Don’t forget to regularly check and maintain your hardware and surfaces to keep everything lasting longer.
Plan Your Kitchen Cabinets Before You Build
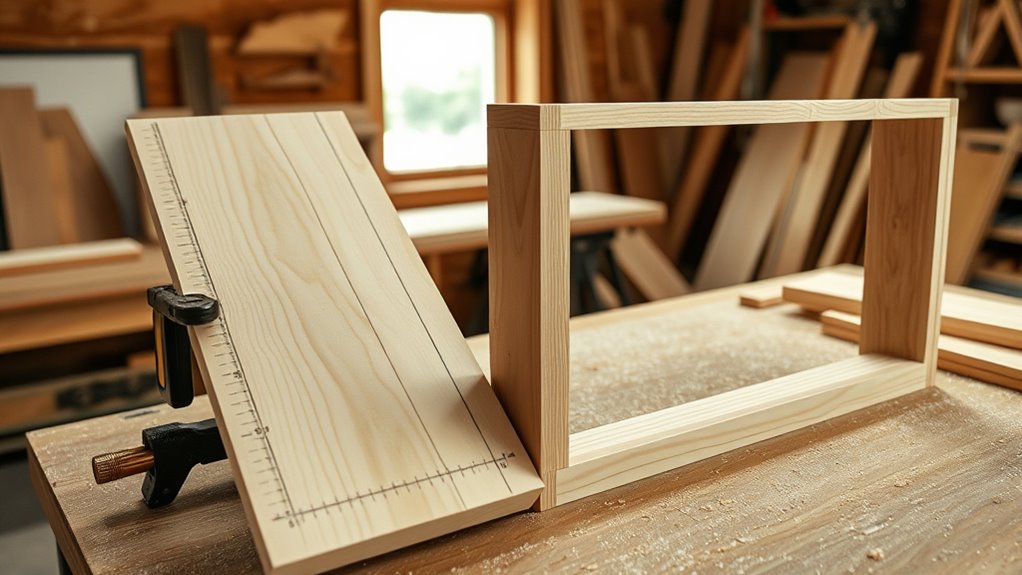
Before you start building your kitchen cabinets, it’s crucial to plan carefully. Begin by measuring your space precisely, including wall height, width, and depth.
Decide what kind of cabinets you want—whether open shelving, traditional, or custom designs—and sketch out your layout.
Think about how much storage you need and where to place each cabinet for convenience. Make a list of the dimensions for each piece to ensure they fit seamlessly into your kitchen.
Assess your storage needs and plan cabinet placement for a seamless, functional kitchen layout.
Consider the overall style and finish you prefer to create a cohesive look. Planning ahead prevents mistakes and saves you time during construction.
Taking these steps guarantees your cabinets will be functional, visually appealing, and tailored perfectly to your space.
Choose Materials and Tools for Your DIY Cabinets
Once you’ve mapped out your design, the next step is choosing the right materials and tools to bring your vision to life. For cabinets, go for quality plywood or solid wood for durability and a polished look.
MDF is a good option if you plan to paint and are working on a budget. For hardware, pick sturdy hinges, handles, and drawer slides that match your style.
As for tools, you’ll need a power drill, saw (hand or circular), screwdriver, measuring tape, square, and clamps. Make sure to invest in sharp blades and bits for clean cuts and secure assembly.
Don’t forget safety gear like goggles and ear protection. Choosing the right materials and tools upfront makes the building process smoother and results in durable, professional-looking cabinets.
Measure and Cut Your Cabinet Pieces Accurately
Measure and cut your cabinet pieces accurately.
Getting your measurements right and making precise cuts are key steps in building cabinets that fit perfectly. Double-check your measurements several times before marking your wood.
Use a reliable tape measure and mark your cuts clearly with a pencil. For straight cuts, a good saw like a circular saw or table saw will give you clean, accurate edges.
Always set your saw blade to the correct height, and use a guide or fence to keep your cuts straight. Remember the rule: measure twice, cut once. It saves you time and material.
Keep your workspace organized and don’t rush. Small mistakes in measurement or cutting can cause misaligned panels and gaps, so take your time to ensure every piece is accurate.
Assemble Your Cabinets Safely and Correctly
When assembling your cabinets, make sure to use the right tools for each task so you avoid accidents or damage.
Secure all pieces firmly with proper fastening techniques to guarantee stability and safety.
Paying attention to these details helps you build sturdy, safe cabinets efficiently.
Proper Tool Usage
Using the right tools correctly is key to assembling your kitchen cabinets safely and efficiently. Before you begin, get familiar with each tool’s purpose and how to handle it properly.
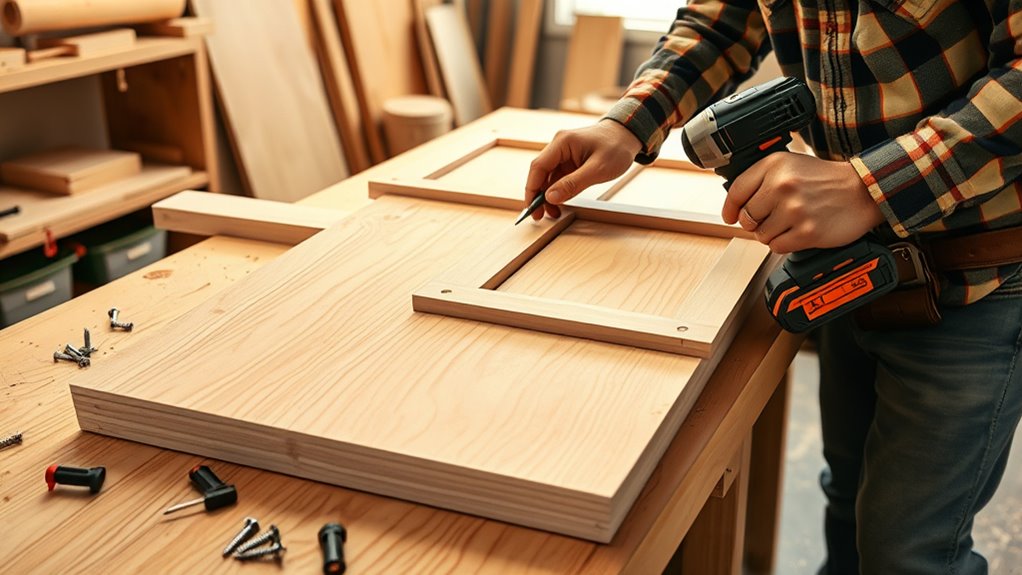
For example, a power drill should be used with steady pressure and at the right speed to prevent stripping screws or damaging your materials. Use clamps to hold pieces in place while drilling or fastening—this makes your work more accurate and safer.
Always wear safety goggles to protect your eyes from flying debris, and keep your workspace tidy to avoid accidents. Regularly check your tools for damage or wear, and replace any that aren’t working properly.
Proper tool use helps you avoid mistakes, saves time, and keeps you safe during your project.
Secure Fastening Techniques
Secure fastening is key to making sure your kitchen cabinets stay sturdy and safe over time. You want each joint to be tight and reliable so the cabinet can handle daily use without wobbling or falling apart.
Use the right screws and fasteners for each material, and pre-drill holes to prevent splitting. When attaching shelves, countersink screws so they sit flush and won’t cause snags.
Clamps can help hold pieces in place while you fasten, making sure everything stays aligned. Be careful not to overtighten, as this can damage the wood or strip screws.
Check your work often and tighten as needed. Using proper fastening techniques guarantees your cabinets will be durable, stable, and safe—giving you peace of mind and a professional finish to your DIY project.
Troubleshoot Common DIY Cabinet Challenges
Even with careful planning, DIY kitchen cabinet projects can bring unexpected challenges. Misaligned doors or drawers are common issues, often caused by uneven framing or wrong measurements. Double-check your measurements and make sure hinges are installed correctly.
If cabinet doors don’t close properly, the hinges might need adjusting or replacing. Warped or damaged wood can also cause problems; sanding or replacing those panels usually fixes it.
Feeling your cabinets are wobbly or unstable? Tighten all screws and fasteners first, then consider adding extra brackets for reinforcement.
Sometimes, paint or finish drips create uneven surfaces. A light sanding and some touch-up work can make everything look smooth again. Troubleshooting these issues early helps prevent bigger problems and keeps your project on track.
Install Your Cabinets for a Secure, Level Fit
To make sure your cabinets are secure and level, start by checking that the wall and floor surfaces are even. Use a level tool to mark out the correct placement. Make any adjustments needed before moving on.
Then, fasten the cabinets firmly, ensuring they stay straight and stable throughout the process. Taking your time now will help you get a professional-looking result.
Ensuring Level Surface
Before hanging your cabinets, it’s important to make sure the surface is perfectly level. If it’s not, the cabinets could wobble or misalign over time. To check, start with a bubble level on the wall. Mark the high and low points so you know where to adjust.
Use shims or packing strips to even out any uneven areas. Be sure to measure multiple points along the wall to get an accurate picture. Double-check your measurements often during installation.
Place a long level or straightedge across the top of the cabinet frame to confirm it’s even. Use shims behind the cabinet for minor adjustments and make sure they are secured tightly so they don’t shift.
After each adjustment, verify with a bubble level. Keep rechecking the level periodically as you work to ensure everything stays aligned. This way, your cabinets will fit smoothly and securely.
Securing Cabinets Properly
Once your cabinets are level and properly positioned, it’s important to secure them firmly so they stay in place over time. Start by attaching the cabinets to the wall studs with screws, making sure you hit the studs for the best support.
Drill pilot holes through the cabinet backs into the studs to prevent splitting. For extra stability, screw the cabinets together through the sides or backs where they meet.
Use clamps if needed to hold pieces in place while you secure them. Make sure each cabinet is flush and level before tightening the screws completely.
Finally, check for stability by gently testing the cabinets. Properly securing them prevents shifting, warping, or falling, ensuring a safe, long-lasting fit.
Finish Your Cabinets With Paint, Stain, and Hardware
Applying the finishing touches to your cabinets with paint, stain, and hardware can completely change their look and feel. Pick a paint color or stain that matches your kitchen’s style, and apply it evenly with brushes or rollers. For a smooth finish, lightly sand between coats.
Hardware like knobs and pulls instantly update your cabinets, adding both style and function. To get a polished look, consider these tips:
- Choose hardware finishes that match your overall decor
- Use painter’s tape to create clean lines and protect nearby surfaces
- Apply multiple coats of paint or stain for durability
- Let each coat dry completely before adding the next
- Attach hardware securely for easy opening and closing
These finishing details help personalize your cabinets and give your kitchen a cohesive, professional appearance.
Maintain and Care for Your Custom Kitchen Cabinets
After finishing your cabinets with paint, stain, and hardware, keeping them looking their best requires regular maintenance. Wipe down surfaces weekly with a soft, damp cloth to remove dust and spills. Avoid harsh chemicals; instead, use mild soap or a gentle cleaner suitable for your cabinet finish.
For stubborn spots, gently scrub with a soft-bristled brush. Check hinges and handles periodically, tightening screws as needed to prevent loosening. If you notice scratches or chips, touch them up promptly with matching paint or stain to prevent further damage.
Keep humidity levels stable to prevent wood warping or swelling. Finally, avoid excessive moisture or heat exposure, which can harm the finish. Proper care guarantees your custom kitchen cabinets stay beautiful and functional for years to come.
Frequently Asked Questions
How Long Does It Typically Take to Build Kitchen Cabinets From Scratch?
Building kitchen cabinets from scratch usually takes about 1 to 2 weeks, depending on your skill level and how complicated the design is.
You’ll spend several days cutting, assembling, and sanding the wood, then more time finishing with paint or stain.
If you’re new to this, expect it to take longer.
Planning and gathering your materials beforehand can help make the process smoother and keep you on track.
What Are the Best Budget-Friendly Materials for DIY Kitchen Cabinets?
You should consider plywood, MDF, or particleboard for budget-friendly DIY kitchen cabinets. Plywood is affordable, durable, and relatively easy to work with, offering good strength.
MDF is smooth, inexpensive, and great for painting, though less sturdy. Particleboard is the cheapest, but be cautious of moisture damage.
Using these materials, you can create functional cabinets without breaking the bank, making your project cost-effective and achievable.
Can I Build Custom Cabinets Without Advanced Woodworking Skills?
Yes, you can build custom cabinets without advanced woodworking skills. Start with simple designs and use user-friendly tools like pre-cut panels and modular components.
Follow detailed tutorials and watch videos to guide you step-by-step. Focus on basic joints and measurements, and don’t rush.
With patience and careful planning, you can achieve great results. You’ll create custom cabinets that fit your space and style, even as a beginner.
How Do I Ensure My Cabinets Are Fire and Water-Resistant?
Ever wonder how to keep your cabinets safe from fire and water damage? You can do this by choosing fire- and water-resistant materials like treated plywood or MDF with a moisture barrier. Seal surfaces with high-quality, heat-resistant, and waterproof finishes.
Are you willing to put in a little extra effort to protect your kitchen treasures? Regular maintenance and prompt repairs help ensure your cabinets stay durable and safe for years to come.
What Safety Precautions Should I Follow During the Entire Building Process?
You should wear safety goggles and a dust mask to protect your eyes and lungs from debris and dust. Always use gloves when handling sharp tools and materials to prevent cuts.
Keep your workspace well-ventilated, especially when working with adhesives or paints. Follow manufacturer instructions for power tools, and unplug them when not in use.
And don’t rush—take your time to guarantee safety at every step.
Conclusion
Building your kitchen cabinets is like nurturing a delicate garden. You need to plan, tend, and refine each step. With patience and precision, you’ll see your vision bloom into a stunning, functional space.
Think of the process as an artful dance of craftsmanship. Each cut and finish adds beauty and strength to your cabinets. It’s all about paying attention to the small details.
In the end, your effort turns raw materials into a harmonious sanctuary. This project is a reflection of your skill and dedication. When you finish, you’ll have created beautiful kitchen cabinets that truly stand out.