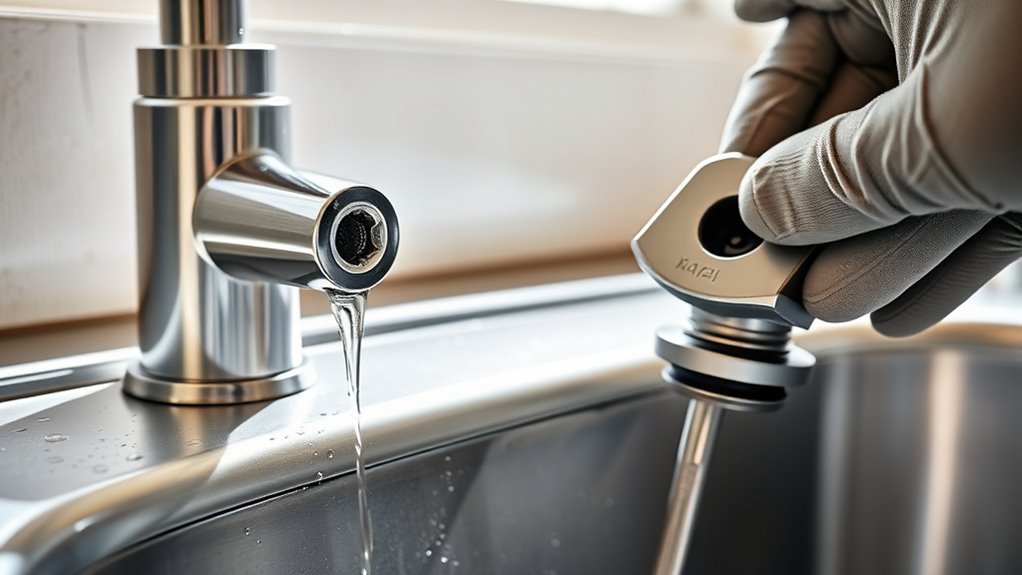
Fix Your Dripping Kitchen Faucet in 8 Easy Steps
Dealing with a dripping kitchen faucet can be super frustrating. You’re not alone—many people struggle with leaks that waste water and increase your utility bill.
To fix your dripping kitchen faucet in 8 easy steps, start by identifying the leak source, like worn O-rings or cartridges.
Turn off the water supply and gather your tools.
Remove the handle, inspect, and replace damaged parts.
Then reassemble, making sure everything’s tight.
Turn the water back on and check for leaks.
If drips persist, you’ll find tips on troubleshooting or when to call a professional as you continue.
Key Takeaways
- Turn off the water supply and drain the lines before you start fixing anything.
- Take a good look at the faucet to find where the leak is coming from. Check the spout, handle, and underneath the sink.
- Remove parts like O-rings and cartridges. Look them over to see if they’re worn out or damaged.
- If you spot any broken or worn parts, replace them. Apply some plumber’s grease to help things slide back together smoothly.
- Put everything back in place carefully, making sure all parts are secured.
- Turn the water back on and watch for leaks. Also, make sure the faucet works smoothly.
Understanding Your Kitchen Faucet Leak
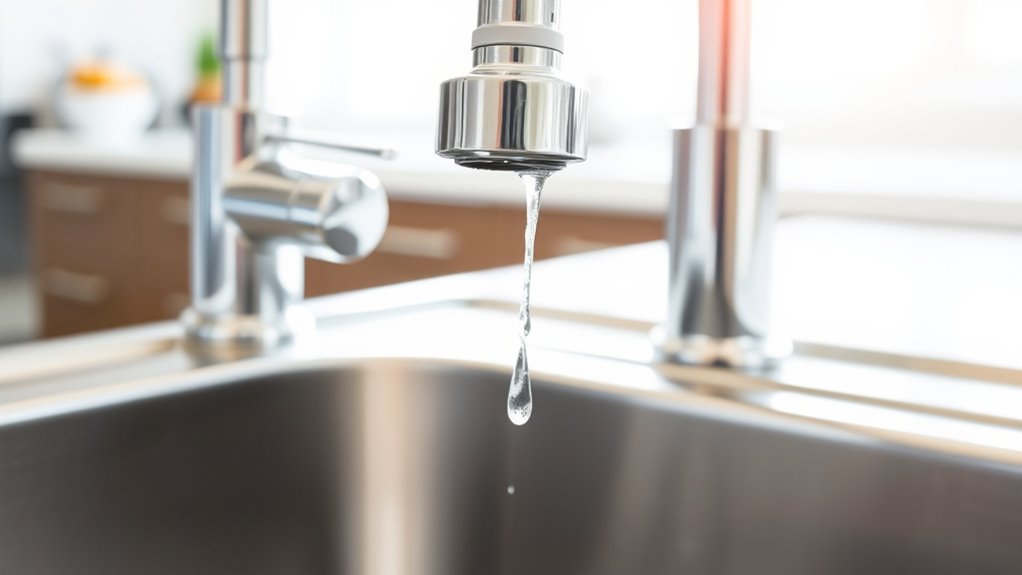
A leaking kitchen faucet can be both annoying and wasteful, so understanding what causes the leak is the first step to fixing it. Usually, leaks happen because of worn-out parts like O-rings, washers, or cartridges.
Over time, water pressure, mineral buildup, and frequent use wear these components down. You might notice constant dripping, higher water bills, or a faucet that’s slow to shut off.
Recognizing these signs helps you figure out that your faucet needs some attention. Leaks can happen at different points, like the spout or handle, but the main cause is often damaged seals or corroded parts.
Knowing how your faucet works makes fixing it much easier and more effective.
Identify the Cause of Your Leak
Start by looking for visible drips or water pooling around your faucet. This can help you identify where the leak might be coming from.
Listen closely for any unusual sounds like hissing or squeaking. These noises could point to internal issues with your plumbing.
Also, check beneath the sink for signs of water damage or moisture. This can help you pinpoint the exact spot where the leak is starting.
Check for Visible Drips
Before diving into repairs, you should visually inspect your faucet for any obvious signs of dripping. Look closely at the spout, handles, and underneath the sink.
If water is pooling or forming a steady drip, identify where it’s coming from. Check for water droplets hanging from the spout or running down the sides.
Sometimes, the leak is easy to spot, like a continuous drip from the aerator or a leak around the handle.
If you notice water accumulating or dripping from the base or handle, these are clear signs of a problem.
Seeing a visible leak helps you pinpoint the source, making it easier to determine whether the issue is with the cartridge, O-rings, or seals.
This simple step saves you time and guides your repair process.
Listen for Unusual Sounds
Listening carefully to the sounds your faucet makes can help identify the source of a leak that isn’t immediately visible. Unusual noises often point to underlying issues, so it’s worth paying attention.
Constant hissing or whistling could mean a worn valve seat or a faulty washer. Banging or knocking might indicate a loose or damaged pipe or valve.
Gurgling sounds often suggest partial blockages or air trapped in the lines. High-pitched squeals when turning on the tap are usually caused by loose or corroded parts.
Dripping or drip-like sounds may mean a small internal leak or a damaged cartridge. Being aware of these sounds can help you catch problems early and prevent further damage.
Examine Under the Sink
To find out what’s causing a leak under your sink, start by removing the cabinet doors or panels so you can see inside easily. Take a close look at the pipes, fittings, and connections for any signs of water or drips.
Check the P-trap for leaks or loose fittings; often, tightening or resealing it can solve the problem. Also, inspect the supply lines for cracks, corrosion, or loose fittings that might be letting water escape.
If you notice water pooling or dampness around the pipes, try to trace where it’s coming from. Sometimes, the leak is behind the wall or inside the cabinet, so look for water stains or mold as clues.
Pinpointing the source helps you figure out whether you just need to tighten fittings, replace damaged parts, or call a professional for help.
Shut Off the Water and Prepare Your Workspace
Start by turning off the water supply to prevent leaks or spills while you work. Locate the shut-off valves under the sink—usually, one for hot water and one for cold. Turn both valves clockwise until fully closed.
Next, open the faucet to drain any remaining water in the lines. Prepare your workspace by gathering tools like pliers, a bucket, and towels. Protect countertops with a cloth or paper towels to catch drips.
Clear the area around the sink for easy access. Finally, double-check that the water is off by turning on the faucet briefly. If no water flows, you’re ready to proceed.
Taking these steps ensures a safe, mess-free repair process.
Remove the Faucet Handle and Access Components
Begin by removing the faucet handle to access the internal parts. Use an Allen wrench or screwdriver, depending on your faucet, to loosen and take out the handle screw.
Carefully pull the handle away from the fixture, keeping track of any mounting hardware. Once the handle is off, you’ll see the cartridge or valve assembly underneath.
Refer to this table to keep track of the parts:
| Step | Tool Needed | Action |
|---|---|---|
| 1 | Screwdriver or Allen wrench | Loosen handle screw |
| 2 | Hands or pliers | Pull handle off |
| 3 | None | Remove mounting hardware |
| 4 | None | Access internal components |
| 5 | Soft cloth | Clean and prepare for inspection |
This process exposes the parts you’ll need for further inspection or replacement.
Inspect and Replace Worn Cartridges and O-Rings
You should check the cartridge and O-rings for signs of wear or damage, as these parts often cause leaks.
If you notice cracks or deformation, it’s time to replace them.
Replacing worn components can restore your faucet’s proper function and stop the dripping.
Identifying Worn Components
To effectively diagnose a dripping faucet, inspecting the internal components is crucial. Worn or damaged parts often cause leaks, so take a close look inside.
Check for cracks, mineral buildup, or deformation. Focus on these key components:
- Cartridges that feel loose or move excessively
- O-rings that appear cracked, torn, or hardened
- Seals that are deteriorated or missing
- Springs that are corroded or rusted
- Valve seats with pitting or erosion
If any of these parts show wear or damage, they’re probably causing your leak. Identifying worn components helps you know exactly what needs replacing, saving you time and effort.
Proper inspection ensures you target the right parts and restore your faucet’s proper function.
Replacing Cartridges and O-Rings
Replacing worn cartridges and o-rings is a straightforward way to stop your faucet from dripping. First, turn off the water supply and open the faucet to relieve pressure.
Use an adjustable wrench or screwdriver to remove the handle and access the cartridge. Carefully pull out the old cartridge and check it for cracks or damage.
Next, look at the o-rings around the cartridge. If they’re cracked, brittle, or deformed, replace them with new ones. Apply a small amount of plumber’s grease to the new o-rings before installing.
Slide the new cartridge into place, making sure it’s aligned correctly. Reassemble the handle, tighten all fittings, and turn the water back on.
This simple fix can effectively eliminate leaks caused by worn or damaged cartridges and o-rings.
Reassemble the Faucet and Ensure Proper Tightening
Begin by carefully aligning all the faucet components in their proper positions, making sure each piece fits snugly. Once everything is aligned, tighten the nuts and screws firmly, but don’t over-tighten as that can damage parts.
Use a wrench or pliers to tighten fittings securely. Check that washers and O-rings are seated properly. Make sure the cartridge moves freely without resistance.
Confirm all connections are aligned correctly. Start by hand-tightening everything, then use tools to snug everything up for a secure fit. Proper tightening prevents leaks and helps the faucet work smoothly.
Take your time to double-check each connection, so nothing is loose or out of place. This careful step ensures a tight seal and longer-lasting results.
Turn Water Back On and Check for Leaks
Slowly turn the water supply valves back on, making sure both the hot and cold lines are fully open. Watch for any sudden sprays or leaks around the connections as you do this.
Once the valves are open, turn on the faucet to let the water flow. Check carefully under the sink and around the faucet for any signs of dripping or leaks.
Turn on the faucet and inspect under the sink for leaks or drips.
Listen for hissing or dripping sounds that could mean loose fittings or leftover issues. If you see leaks, tighten the connections a little, but don’t overtighten.
Let the water run for a minute or two, then inspect again. Make sure both hot and cold water flow smoothly and there are no leaks before you finish.
This way, you can be confident your repair worked and your faucet is functioning properly.
Troubleshoot Persistent Drips or When to Call a Professional?
If your faucet keeps dripping even after tightening connections and checking for leaks, it might be time to dig deeper or call in a pro. Persistent drips often mean worn-out parts, internal damage, or more complex plumbing problems.
Before reaching out to a professional, try these steps:
- Check the cartridge or valve seat for any damage or buildup.
- Replace worn-out O-rings or washers.
- Inspect the aerator for clogs or debris.
- Make sure the supply lines aren’t damaged or kinked.
- Test the water pressure for any irregularities.
If these tips don’t fix the issue or if you’re not comfortable doing the repairs, it’s best to call a licensed plumber. Addressing these problems early can prevent further damage and costly repairs later on.
Frequently Asked Questions
How Often Should I Perform Faucet Maintenance to Prevent Leaks?
You should perform faucet maintenance every six months to prevent leaks. Regularly check for signs of wear, like drips or reduced water flow.
Make sure to clean aerators and cartridges to keep everything running smoothly. If you notice leaks or strange noises, fix them right away.
Staying proactive with these simple checks helps you avoid costly repairs. It also keeps your kitchen faucet working efficiently for years.
Are There Eco-Friendly or Low-Flow Faucet Options?
Yes, there are eco-friendly and low-flow faucet options available. You can choose aerators that limit water flow without sacrificing performance or opt for faucets labeled as WaterSense or Energy Star certified.
These fixtures help you save water and energy, reducing your environmental impact. Installing them is straightforward, and they provide the same convenience with less water usage, making your kitchen more eco-friendly and cost-effective.
Can I Fix a Drip Without Turning off the Main Water Supply?
You shouldn’t try to fix a drip without turning off the main water supply, since it can cause water damage or a mess. It’s better to locate the shut-off valve under your sink and turn it off first.
If you can’t find the valve, then turning off the main water supply is necessary. Always prioritize safety and avoid working on plumbing when the water is still flowing. This helps prevent accidents and makes the repair easier.
What Tools Are Essential for Fixing a Kitchen Faucet?
You’ll need a few essential tools to fix your kitchen faucet. Grab an adjustable wrench to loosen nuts, a Phillips and flat-head screwdriver for screws, and an Allen wrench if your faucet has set screws.
A cloth or rag helps protect finishes, while pliers can assist in gripping parts. Having replacement O-rings or cartridges on hand makes the process smoother.
These tools make your repair straightforward and efficient.
How Long Does a Typical Faucet Repair Take?
It usually takes about 30 minutes to an hour to repair a typical kitchen faucet. You might feel like you’re on a medieval quest, but with the right tools and steps, you’ll be done faster.
The time depends on what’s wrong with the faucet and how experienced you are. Stay patient and follow the instructions carefully.
Don’t rush, and you’ll fix your faucet efficiently. Taking your time helps you avoid mistakes and saves you time in the long run.
Conclusion
Fixing your kitchen faucet might seem challenging, but with these simple steps, you can confidently tackle the repair yourself. Don’t worry if it takes a bit of patience—practice makes perfect.
Remember, attempting a fix isn’t risky if you follow the instructions carefully. If leaks persist or you feel unsure, calling a professional is always a smart move.
Enjoy your handiwork and the satisfaction of resolving the problem on your own, especially when it comes to fixing your dripping kitchen faucet.