7 Simple Steps to Unclog My Kitchen Sink Fast
Dealing with a clogged kitchen sink is a common headache that many homeowners face. It’s frustrating when water refuses to drain, and you’re left wondering how to fix it quickly.
If you’ve been struggling with slow drainage or stubborn blockages, you’re not alone—this problem happens to the best of us.
To unclog your kitchen sink fast, start by identifying the cause—look for slow drainage or debris.
Try pouring hot water mixed with baking soda, then use a plunger to loosen the blockage. If that doesn’t work, insert a drain snake to clear stubborn tuffs.
Check your P-trap for obvious clogs and clean it if needed.
For ongoing issues, avoid pouring grease down the drain and use strainers regularly.
Keep going to find out more helpful tips.
Key Takeaways
– Identify what’s causing the clog by checking for debris or slow drainage.
Take a look under the sink and see if anything looks out of place or if water is draining really slowly.
– Pour boiling water and baking soda into the drain to help dissolve the buildup.
This combo can break down grease and grime that might be causing the blockage.
– Use a plunger to create pressure and push the clog loose.
Make sure to cover the drain completely and give it a few strong plunges.
– Insert a drain snake to break up or pull out stubborn clogs.
If the plunger doesn’t do the trick, a drain snake can reach further down and clear the blockage.
– Finally, flush the drain with hot water after clearing it to make sure it’s fully free.
This will rinse away any remaining debris and keep your sink flowing smoothly.
Identify the Cause of Your Kitchen Sink Clog
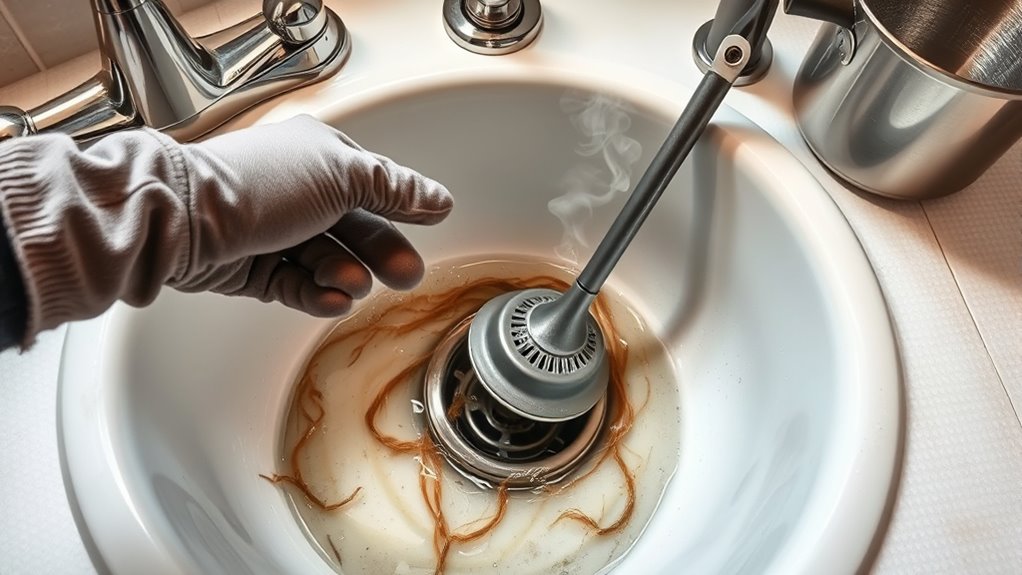
A clogged kitchen sink can be really frustrating, but the first step to fixing it quickly is figuring out what’s causing the blockage. Start by checking what’s going down the drain—food scraps, grease, or soap buildup are common culprits.
See if the sink is draining slowly or completely blocked. If you notice food particles or debris near the drain opening, that’s probably the problem. Use a flashlight to peek inside the drain pipe if needed.
Try Hot Water and Baking Soda to Clear Slow Drains
When your sink starts draining slowly, a simple fix with hot water and baking soda often does the trick. Start by boiling a kettle of water.
Pour about half a cup of baking soda directly into the drain, then slowly add the hot water. The heat and baking soda create a fizzing reaction that can help loosen grease, soap scum, or minor clogs.
Pour baking soda into the drain, then slowly add hot water to fizz away minor clogs naturally.
Let it sit for 15 to 20 minutes so the solution can break down the blockage. After that, flush the drain with another pot of hot water to wash away any loosened debris.
This natural method is safe, inexpensive, and effective for minor slow drains. It’s a quick fix that avoids harsh chemicals.
Use a Plunger to Dislodge the Blockage
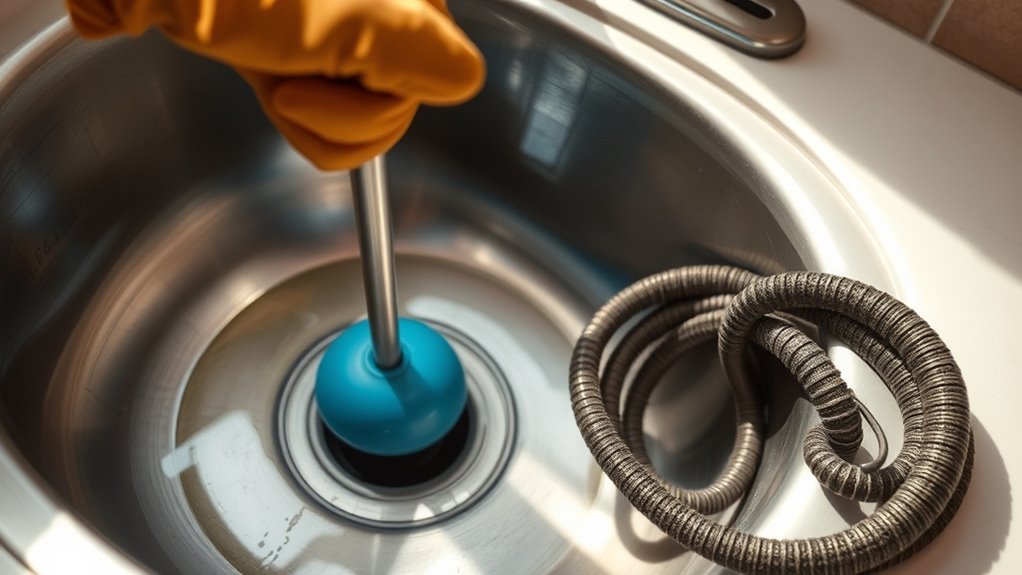
To effectively use a plunger, make sure you create a tight seal over the drain opening. Keep the handle upright and push down firmly.
Then, pull up without breaking the seal, repeating this motion several times. Ensuring a good seal is key to dislodging the blockage and clearing your sink quickly.
Proper Plunger Technique
Place the plunger firmly over the drain opening, making sure it covers the entire outlet to create a tight seal. Keep your hand steady and press down gently but firmly, then pull up quickly without breaking the seal.
Repeat this plunging motion for 15-20 seconds, keeping a steady rhythm and consistent pressure. Don’t use excessive force, as that can damage the pipes or break the seal.
If the water starts to drain, continue plunging gently to help clear the blockage further. If the water doesn’t move, check the seal and reposition the plunger if needed.
Keep the motion steady and focused on creating pressure and suction. Proper technique helps maximize pressure on the clog and boosts your chances of dislodging it efficiently.
Ensuring Seal Integrity
Ensuring the seal remains tight throughout the plunging process is key to dislodging the blockage effectively. First, position the plunger so that it fully covers the drain opening, creating a tight seal. If you see any gaps, adjust the plunger or add a little petroleum jelly around the edge to improve the seal.
Press down firmly to expel air and water, then pull up sharply without breaking the seal. Repeat this motion with steady, controlled force, maintaining the airtight seal each time. If the seal leaks, the pressure won’t build up properly, making the plunging ineffective.
Keep checking the seal’s integrity, adjusting as needed, until you feel resistance or the clog clears. Proper seal integrity maximizes pressure, increasing your chances of quickly clearing the blockage.
Use a Drain Snake to Remove Stubborn Clogs
When stubborn clogs refuse to budge, a drain snake can be your most effective tool. Insert the end of the snake into the drain, turning the handle clockwise as you push it further.
Feel for resistance; this indicates the clog. Keep twisting to break up or latch onto the blockage. Once you sense the clog has loosened, slowly pull the snake out, bringing debris with it.
Be gentle to avoid damaging your pipes. After removing the snake, run hot water to flush out remaining debris. Repeat if necessary until the drain flows freely.
Using a drain snake is a quick, chemical-free way to tackle persistent clogs, especially when plunger efforts haven’t worked. Just patience and a steady hand will clear your sink effectively.
Safely Use Chemical Cleaners If Needed
If your sink is still clogged after using a drain snake, chemical cleaners might be your next option. Just make sure to handle them safely.
Always read the label carefully and follow the manufacturer’s instructions exactly. Wear protective gloves and eye goggles to avoid contact with harmful chemicals.
Use the cleaner in a well-ventilated area so you don’t breathe in fumes. Never mix different chemical products because dangerous reactions can happen.
Here are some safety tips to keep in mind:
- Check for any warnings or special instructions on the label.
- Pour the cleaner slowly and directly into the drain to prevent splashing.
- Wait the recommended time before flushing with hot water or running the tap.
Following these precautions can help prevent accidents and protect your plumbing.
Check and Clean the P-Trap for Obvious Blockages
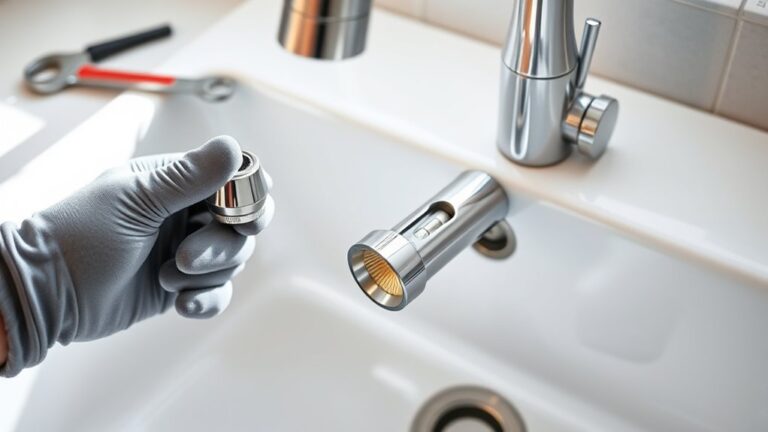
First, find the P-trap under your sink and carefully take it out.
Next, clean out any debris or gunk inside, and check for damage or blockages.
Finally, put the trap back together securely and test if the drain flows freely.
Locate and Remove P-Trap
Locating and removing the P-trap is a simple step in clearing a clogged kitchen sink. First, place a bucket underneath the trap to catch water and debris.
Next, use a wrench or pliers to loosen the slip nuts securing the trap. Once they’re loose, carefully detach the trap and check it for any obstructions.
To make things easier, make sure the pipe connections are fully loosened before removing. Hold the trap securely so it doesn’t fall, and check the surrounding pipes for any clogs or damage.
Removing the P-trap gives you access to where debris often builds up, making it easier to clear blockages and restore proper drainage.
Clean and Inspect Thoroughly
Once you’ve removed the P-trap, take a close look inside for any obvious blockages like hair, food bits, or grease buildup. Use a flashlight if needed to see clearly. If you spot debris, remove it with your hands or a small brush.
Scrub the inside of the trap with an old toothbrush or bottle brush to loosen grime. Rinse the trap thoroughly with hot water to wash away the loosened debris. Check the trap for cracks or damage that could cause leaks.
While inspecting, verify all fittings and washers are in good shape and tightly sealed. Removing obstructions and cleaning the trap helps restore proper drainage. Taking your time here prevents future clogs and keeps your sink running smoothly.
Prevent Future Clogs With Simple Maintenance Tips
To prevent future clogs, incorporating simple maintenance habits into your routine can make a big difference. Regularly dispose of food scraps in the trash or compost, and avoid pouring grease or oily liquids down the drain.
Regularly dispose of food scraps and avoid pouring grease to keep your drains clear.
Use a drain strainer to catch debris before it reaches the pipes, and clean it weekly to prevent buildup. Running hot water for a few seconds after each use helps flush away small particles.
Install a drain guard to trap debris and avoid pouring grease or oil down the drain. Periodically flushing the drain with hot water or a mixture of baking soda and vinegar can also help.
These habits help keep your pipes clear and reduce the chances of stubborn clogs.
Frequently Asked Questions
Can Food Waste Cause Kitchen Sink Clogs?
Yes, food waste can cause kitchen sink clogs. When you rinse food scraps down the drain, they can stick to grease and other debris, building up over time.
Starchy foods like pasta or rice expand and create blockages. To prevent this, avoid disposing of large food pieces in the sink.
Instead, scrape leftovers into the trash or compost, and run hot water afterward to help clear minor buildup.
How Often Should I Clean My Kitchen Sink Drain?
You should clean your kitchen sink drain at least once a month to prevent buildup and clogs. Regular maintenance helps get rid of soap scum, grease, and food particles that can build up over time.
If your drain is slow or smells bad, consider cleaning it more often. Using hot water, baking soda, and vinegar is a natural way to keep things fresh.
You can also use a drain brush to scrub away stubborn debris. Consistent cleaning helps your sink stay functional and smell nice.
Are There Natural Alternatives to Chemical Drain Cleaners?
Think of natural drain cleaners as the gentle rain that clears away stubborn dirt. You can use baking soda and vinegar as a powerful duo.
Pour half a cup of baking soda down the drain, followed by a cup of vinegar. Cover the drain and wait 15 minutes.
Then, flush with hot water. This eco-friendly method helps break down grease and debris without harsh chemicals, keeping your pipes clean and safe.
What Tools Are Best for Unclogging a Kitchen Sink?
You should use a plunger or a drain snake to effectively unclog your kitchen sink. A plunger creates pressure to dislodge blockages, while a drain snake can reach deeper obstructions.
For minor clogs, a mixture of baking soda and vinegar can help. Always have gloves and a bucket nearby, and avoid using harsh chemicals.
These tools and methods are safe, affordable, and efficient for clearing most kitchen sink clogs.
When Should I Call a Professional Plumber?
You should call a professional plumber if you’ve tried basic unclogging methods without success or if the clog keeps coming back.
If you’re dealing with multiple drain problems or strange odors, it’s a good idea to get expert help.
Avoid using harsh chemicals or aggressive tools that might damage your pipes.
A licensed plumber can diagnose and fix the issue safely, saving you time and preventing further damage.
Conclusion
Now that you’ve tackled that stubborn sink clog, your kitchen is practically invincible—like a fortress of cleanliness! With these simple steps, you’ve turned a plumbing nightmare into a quick victory.
Bid farewell to slow drains and hello to a sink that drains faster than a cheetah chasing its lunch. Keep up with regular maintenance, and your sink will stay clear and happy.
It’s ready to handle whatever culinary chaos you throw its way. Victory is yours, and your kitchen sink is now unclogged and functioning perfectly!