How to Measure Your Kitchen Sink for Replacement
Looking to replace your kitchen sink but feeling overwhelmed by all the choices? You’re not alone—many people struggle with figuring out the right size and fit.
Getting the measurements right is key to ensuring your new sink fits perfectly and functions properly.
To measure your kitchen sink for replacement, clear the area around it, removing any obstructions like dish racks or cleaning supplies.
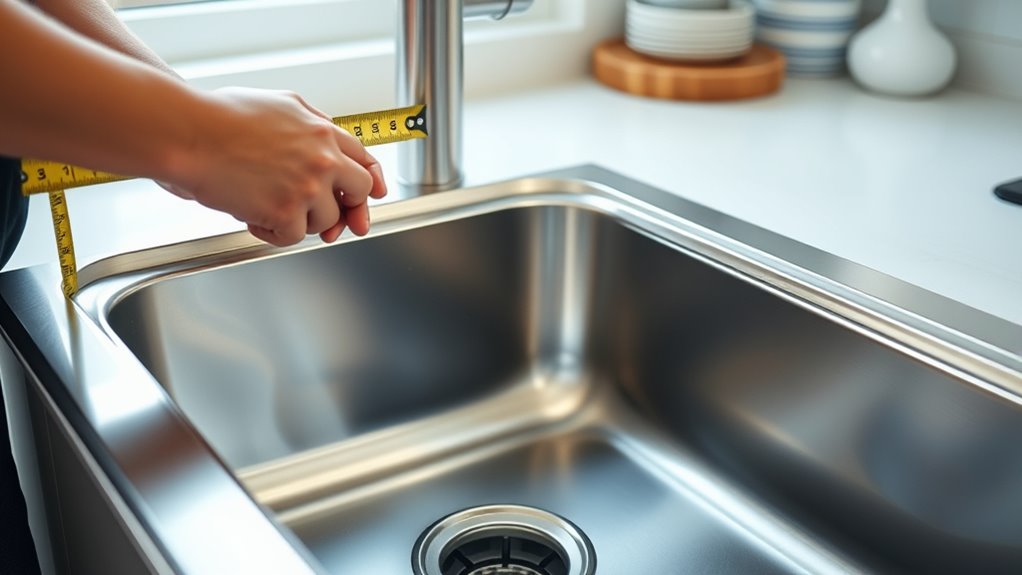
Use a tape measure to accurately record the length, width, and depth of the current sink, noting the thickness and material.
Also, measure the drain opening, faucet holes, and cutout space in the countertop.
Paying attention to these details helps you pick the right sink, and if you keep going, you’ll find out how to make the best choices.
Key Takeaways
- Clear the area around the sink, removing all accessories and debris. This makes it easier to get accurate measurements.
- Measure the sink’s length and width at the outer edges. Don’t forget to note the deepest point for width as well.
- Record the sink’s depth from the bottom to the top edge. This helps ensure a proper fit.
- Check the diameter of the drain opening and the placement of the faucet holes. You want to make sure everything will be compatible.
- Measure the thickness of the sink material too. This is important for proper fitting and durability.
Why Accurate Sink Measurements Matter
Accurate sink measurements are crucial because they ensure your new sink fits perfectly and works well.
If your measurements are off, the sink might not align with your countertop cutout, which can cause leaks or make installation tricky.
Getting the right measurements for width, depth, and height helps prevent gaps or overlaps in your space.
It also helps avoid plumbing connection issues that could be costly and time-consuming to fix later.
Taking your time and measuring carefully means your sink will sit flush and operate smoothly.
In the end, precise measurements lead to a hassle-free installation and long-lasting performance.
Preparing Your Space Before Measuring
Before you start measuring your sink space, clear the area around your current sink and remove any items or obstructions. This makes sure you have a clear view and easy access to the entire sink area.
Move dish racks, soap dispensers, and cleaning supplies away from the edges. Check for any debris or buildup that might interfere with accurate measurements.
If your countertop has a backsplash or decorative trim, take note of whether it affects the sink’s fit. Also, inspect the area for any damage or irregularities that could impact installation.
Clearing the space helps prevent mistakes and gives you a precise understanding of the size and shape of your current sink. This sets a solid foundation for accurate measurements.
How to Measure Your Sink’s Length, Width, and Depth
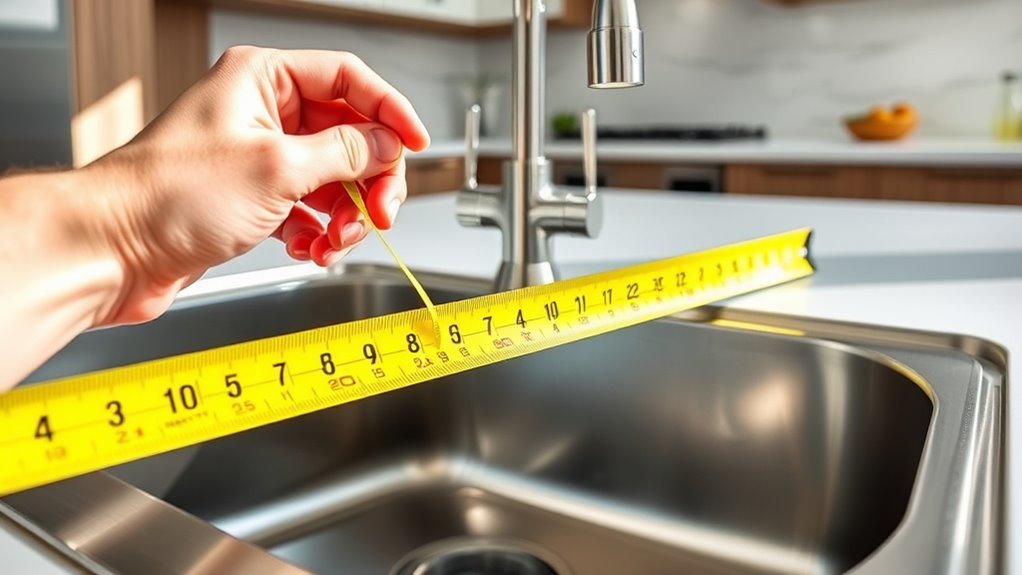
To measure your sink’s length, width, and depth accurately, start by grabbing a measuring tape long enough to cover the full dimensions.
First, measure the length from one outer edge to the other, making sure the tape runs straight across the widest part.
Next, measure the width from front to back at the deepest part of the basin.
Finally, measure the depth from the bottom up to the top edge of the sink.
Use the table below to record your measurements clearly:
| Dimension | Measurement | Notes |
|---|---|---|
| Length | Across the widest point | |
| Width | From front to back | |
| Depth | From bottom to top |
Keep your measurements precise for an easy replacement process.
Checking the Thickness and Material of Your Sink
To make sure your sink lasts, it’s important to check the material’s durability and thickness.
Thin sinks might crack more easily, while thicker ones tend to be stronger and more durable.
Knowing these details helps you pick the right sink for your needs and ensures it stands the test of time.
Assessing Material Durability
Evaluating the durability of your kitchen sink starts with examining its material and thickness. Different materials like stainless steel, cast iron, or composite have their own strengths and weaknesses.
Stainless steel resists rust but can dent, while cast iron is heavy and very durable but may chip if not cared for properly. Composite sinks resist scratches but might crack under extreme impact.
Check the thickness of the material. Thicker surfaces usually handle daily wear better and last longer. Thinner materials are more prone to dents, cracks, or deformation over time.
Consider how you use your sink daily and pick a material that can handle your routine without wearing out easily. This careful assessment helps ensure your replacement sink performs well and lasts.
Measuring Sink Thickness
Checking the thickness and material of your sink is simple and helps you see how durable it is. It also guides you in choosing a good replacement.
Use a ruler or caliper to measure the sink’s wall thickness at different points, especially around edges and corners. Thicker sinks tend to last longer, while thinner ones might be more prone to damage.
Knowing the material is also key. For example, stainless steel, cast iron, and composite materials each have different thickness standards. Here’s a quick comparison:
| Material | Typical Thickness Range |
|---|---|
| Stainless Steel | 0.8 – 1.2 mm |
| Cast Iron | 2 – 3 mm |
| Composite | 4 – 8 mm |
| Copper | 0.7 – 1.2 mm |
| Porcelain | Varies, often thicker |
This info helps you pick a sink that’s both durable and compatible with your needs.
Measuring the Drain Opening and Its Position
Start by finding the drain opening at the center of your sink basin. Use a tape measure or ruler to measure the diameter across the widest part. Write down this measurement because it’s key for choosing the right replacement drain.
Next, measure the distance from the center of the drain to each edge of the sink on all four sides. Keep the tape straight and level to get an accurate reading. This helps you determine if the drain is centered or off to one side.
If the drain has a flange or rim, measure its width too. This ensures your replacement drain will fit properly. All these measurements help you pick a replacement drain that matches your sink’s specific size and position.
Verifying Mounting and Faucet Hole Placement
Have you checked where your faucet and mounting holes are on your sink? It’s really important to confirm their placement before buying a new sink.
Measure the distance from the sink edge to each hole, and note if they are centered or offset. Make sure the holes are the right size for your faucet and mounting hardware.
Check if the holes match your faucet’s mounting specs. Use a ruler or tape measure for accuracy, and mark the spots with a pencil if needed.
Double-check your measurements to avoid mistakes that could stop your faucet from fitting. Confirming the placement now can save you headaches later and ensure your new sink works perfectly with your existing fixtures.
Assessing Compatibility With Your Countertop and Cabinets
Before installing a new sink, it’s important to check if it will fit smoothly into your existing countertop and cabinets. Measure the current cutout size and look for any obstructions around the area.
Make sure there’s enough space beneath the countertop for mounting and plumbing connections. Use the table below to compare your measurements with your new sink’s specifications:
| Measurement Type | Your Measurement | New Sink Requirement |
|---|---|---|
| Cutout Size | [Your measurement] | [Required size] |
| Depth from Countertop | [Your measurement] | [Required depth] |
| Clearance Under Sink | [Your measurement] | [Required clearance] |
Matching these measurements confirms compatibility and helps you avoid costly adjustments or replacements. Proper assessment ensures your new sink fits perfectly without surprises during installation.
Recording and Using Your Measurements to Choose the Right Sink
Once you’ve gathered your measurements, you can confidently pick a sink that fits your space perfectly. Record your measurements clearly—write down the length, width, and depth, along with the location of any existing plumbing or mounting points.
Use these details to compare with product specifications when browsing sinks online or in stores. Opt for a sink that matches your measurements or offers slight flexibility, especially if you’re considering a custom or semi-custom option.
Keep in mind that a few extra inches can make installation easier and ensure your sink works with existing fixtures. Double-check your measurements before buying, and consider bringing your notes when shopping in person.
Accurate measurements help you avoid returns or mismatched installations, saving you time and frustration.
Frequently Asked Questions
Can I Measure My Sink Without Removing It From the Countertop?
Yes, you can measure your sink without taking it out of the countertop. Use a flexible measuring tape to carefully measure the length, width, and depth directly inside the sink, following the curves as needed.
For the installation hole, measure the diameter or the dimensions of the cutout.
Make sure to note any extra features like drain placement or faucet holes so your new sink fits perfectly without needing to remove the old one.
What Tools Are Best for Precise Sink Measurements?
Think of your measuring tools as your compass on this journey. A tape measure is your main tool, giving you flexibility and accuracy for length, width, and depth.
Pair it with a ruler for precise edge-to-edge measurements. An adjustable caliper can help measure the drain opening and corners more accurately.
Using these tools together ensures you capture every detail. This way, you’ll select the perfect sink replacement with confidence and precision.
How Do I Measure for an Undermount Sink?
To measure for an undermount sink, start by measuring the width and length of the existing opening in your countertop. Use a tape measure to get accurate dimensions, noting the distance from edge to edge.
Measure the depth of your current sink if you’re replacing it. Don’t forget to record the distance between the mounting points if applicable.
These measurements help guarantee your new undermount sink fits perfectly.
What if My Measurements Are Slightly Off?
If your measurements are slightly off, don’t panic. It’s funny how tiny differences can seem like a big deal, but most sinks are pretty forgiving.
You can often go with a slightly larger sink or use shims to fill any gaps. Just double-check your measurements and look at your manufacturer’s guidelines.
A small adjustment or a bit of help from a professional can easily fix minor errors. This way, you’ll avoid costly mistakes or ending up with a sink that just won’t fit.
How Often Should I Re-Measure My Sink Before Replacement?
You should re-measure your sink only if you notice big changes in its size or if you’re unsure about your previous measurements.
Typically, it’s a good idea to check every few years or whenever you’re planning a major renovation.
Regular checks aren’t necessary unless you think the sink has shifted or been damaged.
Getting accurate measurements is key to ensuring a proper fit, so take your time and double-check before buying a replacement.
Conclusion
Now that you’ve mastered the art of sink measuring, you’re practically a plumbing prodigy. With your trusty tape and keen eye, you’ll avoid costly mistakes and find the perfect fit—no more guesswork or DIY disasters.
So go ahead, measure like a pro, and watch your kitchen transform from chaos to chic. After all, the secret to a stunning kitchen is just a few inches away when you measure your sink correctly.
Happy measuring!