7 Essential Steps to Build Your Dream Outdoor Kitchen
Many people dream of creating the perfect outdoor kitchen but often feel overwhelmed by where to start. You’re not alone—building an outdoor space that’s functional and beautiful can seem like a big challenge.
Start by evaluating your outdoor space and setting clear goals for how you want to use it, considering features like grilling, prep stations, and seating.
Design a layout that promotes functionality, placing key features close together.
Check local permits and building codes early to stay compliant.
Choose durable, weather-resistant materials and appliances to maximize longevity.
Budget wisely and plan your timeline to keep the project on track.
Keep exploring further steps to turn your outdoor kitchen dreams into reality.
Key Takeaways
- Assess your outdoor space and determine what you really want to achieve with your kitchen. Think about functionality and the style you prefer.
- Design a layout that makes sense. Place the grill, prep area, and seating zones in spots that are easy to access and flow well together.
- Research local regulations to find out what permits you might need. Make sure your plans meet all building codes.
- Choose materials that can handle weather changes and last a long time. Pick appliances that are built for outdoor use to avoid future hassles.
- Set a realistic budget and timeline for your project. Break down tasks so everything gets done smoothly and on schedule.
Assess Your Outdoor Space and Set Your Goals
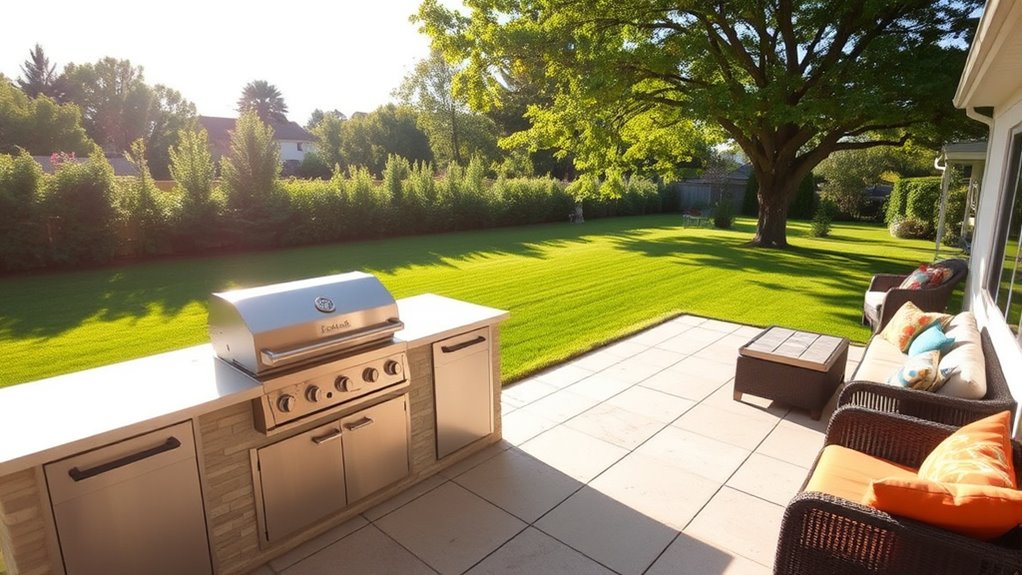
Before diving into your outdoor kitchen project, take a close look at your space and clarify what you want to achieve. Measure the area carefully, noting the size, shape, and any existing features like trees or structures.
Think about how you plan to use the space. Is it for casual family meals or big gatherings? Decide on your priorities—grilling, prep stations, storage, or seating.
Determine your main activities—family meals, parties, or both—to prioritize features like grilling, prep, and seating.
Setting clear goals helps you figure out the essential features and avoid adding unnecessary elements. Consider your budget, climate, and available sunlight.
This step ensures your outdoor kitchen will match your lifestyle and fit comfortably in your yard. Being precise now saves time and money later, giving you a solid foundation for the entire project.
Design Your Outdoor Kitchen Layout for Functionality
Creating an efficient outdoor kitchen layout starts with arranging your key features—grill, prep area, sink, and storage—in a way that promotes smooth workflow.
Position your grill and prep station close together so you can easily season and cook without crossing the space. Place the sink nearby for quick cleanups and ingredient prep, making sure plumbing is accessible.
Keep storage within arm’s reach for utensils, dishes, and supplies to minimize trips back and forth. Consider creating zones for cooking, prep, and dining to keep everything organized.
Leave enough space between elements for movement and comfort. Think about the natural flow of your outdoor space and how you’ll use it during gatherings.
A well-planned layout improves efficiency, making your outdoor cooking experience enjoyable and stress-free.
Navigate Permits and Building Codes
Navigating permits and building codes is a key step to make sure your outdoor kitchen meets local rules and avoids costly delays. Start by looking into your city or county’s requirements since they can be quite different.
Reach out to your local building department or check their website to see if you need permits for structures, electrical work, plumbing, or gas lines. Submit detailed plans if required, and be ready for inspections along the way.
Ignoring these rules can lead to fines, delays, or even having to take down parts of your project. Keep everything organized by saving copies of all permits and approvals.
It’s a good idea to work with a professional contractor who knows the local codes. They can help make the process smoother and ensure your outdoor kitchen is safe, legal, and built to code.
Choose Durable Materials and Appliances
Selecting durable materials and appliances is key to making sure your outdoor kitchen can handle the weather and daily use. You want materials that resist elements like rain, rust, and wear, such as stainless steel, natural stone, or high-quality concrete.
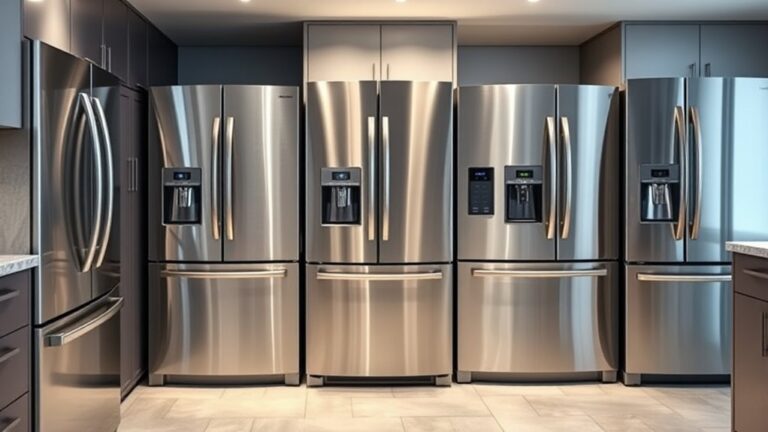
For surfaces, go with countertops made from quartz or granite—they’re tough and easy to clean. When choosing appliances, look for those labeled for outdoor use, like stainless steel grills and weather-resistant refrigerators. These handle moisture, temperature changes, and UV rays better than indoor models.
Invest in quality hardware and fixtures that won’t rust or degrade quickly. Remember, durability saves you money over time by reducing repairs and replacements. Picking the right materials and appliances now keeps your outdoor kitchen functional and beautiful for years to come.
Budget and Timeline Your Outdoor Kitchen Project
Once you’ve chosen durable materials and appliances, it’s time to set a realistic budget and create a timeline for your outdoor kitchen project. Start by imagining the overall scope—think about the size, features, and finishes you want.
Next, break down your planning into three key steps:
- Determine your overall budget. Include costs for materials, labor, permits, and any unexpected expenses.
- Create a detailed timeline. Set deadlines for each phase—design, procurement, and construction.
- Prioritize tasks. Know which parts need more funds or time so you can stay on track and avoid surprises.
Having a clear budget and timeline keeps your project organized, helps you manage expenses, and ensures you’ll be enjoying your outdoor kitchen sooner.
Decide Whether to Hire Pros or DIY
Deciding whether to hire professionals or tackle your outdoor kitchen project yourself is a key step that can greatly influence your timeline, budget, and overall results.
If you have construction experience, DIY might save you money and give you a sense of accomplishment. But it does require time, skills, and access to the right tools.
On the flip side, hiring pros guarantees quality craftsmanship, safety compliance, and quicker completion. They also handle permits, electrical work, and complex installations, which can reduce mistakes.
Think about your skills, how much time you have, and how complex your design is. If you’re confident in your abilities, DIY could work out.
But if precision and efficiency matter most, hiring experienced contractors is probably the smarter move.
Weigh these factors carefully before making your decision.
Build and Enjoy Your Dream Outdoor Kitchen
Once you’ve planned your design and layout, it’s time to pick quality materials that can handle outdoor conditions. Think about how you’ll arrange your space for easy cooking and entertaining.
Choosing durable, attractive materials ensures your outdoor kitchen is both functional and inviting.
Design and Layout Planning
Designing the layout of your outdoor kitchen is a key step that shapes both how it looks and how well it works.
You want a space that feels natural and matches your cooking style. Think about where to place the main elements to make everything efficient.
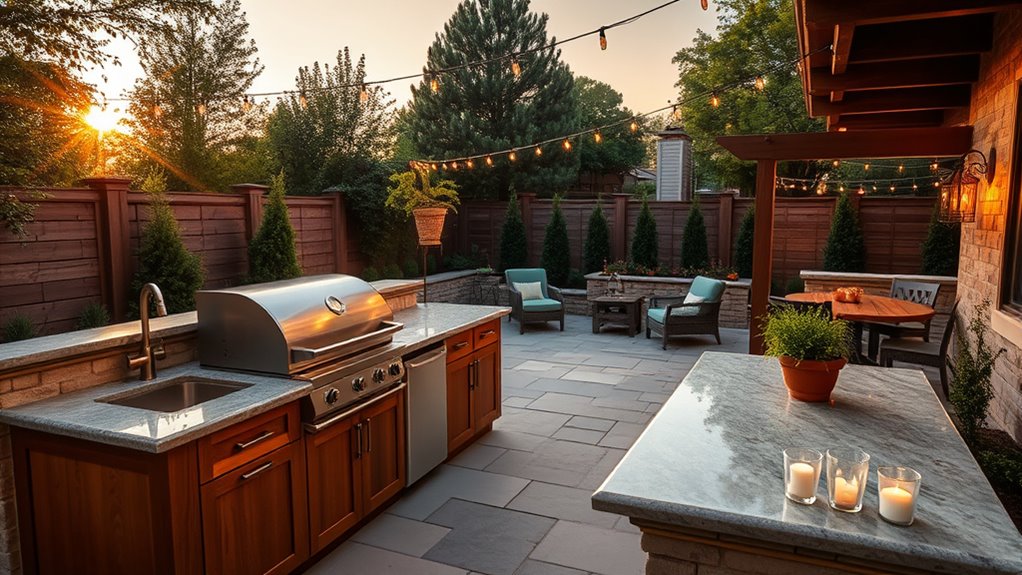
Picture a central cooking area with your grill, prep station, and sink close together for a smooth workflow. This keeps everything within easy reach.
Next, imagine a dedicated dining spot nearby so you can serve food without walking across the whole space. It makes outdoor dining more relaxed.
Finally, consider storage cabinets tucked in a convenient spot for tools, utensils, and ingredients. Keeping everything organized and accessible makes cooking simpler.
Choosing Quality Materials
Choosing the right materials is key to building an outdoor kitchen that lasts and looks great. You want options that are durable and resistant to weather, so they can handle the elements while still looking stylish. Think about stone, stainless steel, and concrete for their longevity and easy maintenance.
Pick materials that match your design and fit your budget. Consider the benefits of each: natural stone offers a timeless, durable look perfect for countertops and accents. Stainless steel is sleek and corrosion-resistant, ideal for appliances and cabinetry. Concrete is versatile and customizable for bases and flooring.
Choosing quality materials ensures your outdoor kitchen stays functional and attractive for years. Focus on durability, ease of maintenance, and appearance to create a space you’ll love.
Frequently Asked Questions
How Can I Maximize Small Outdoor Spaces Effectively?
You can maximize small outdoor spaces by choosing compact, multi-functional furniture that saves space and adds comfort.
Use vertical storage solutions like shelves or wall-mounted cabinets to keep essentials organized without cluttering the ground.
Incorporate foldable or extendable features, such as tables and chairs, to adapt for different occasions.
Opt for a cohesive color scheme and strategic lighting to make the area feel larger and more inviting.
What Are the Best Eco-Friendly Outdoor Kitchen Options?
You should opt for eco-friendly outdoor kitchen options like solar-powered appliances, which reduce energy consumption. Use sustainable materials such as reclaimed wood or recycled metal for countertops and cabinetry.
Incorporate water-saving fixtures and composting systems to minimize waste. Choose energy-efficient lighting, like LED fixtures, to lower electricity use.
How Do I Maintain My Outdoor Kitchen Year-Round?
To maintain your outdoor kitchen year-round, regularly clean surfaces and appliances to prevent dirt and rust. Cover everything with weatherproof covers when not in use, especially during harsh seasons.
Check for any damage or leaks and repair them promptly. Clear debris from drains and vents to keep everything working smoothly.
Apply protective sealants on stone or wood surfaces once a year. Staying consistent with these steps will keep your outdoor kitchen in great shape and ready whenever you want to cook outside.
What Are Common Mistakes to Avoid During Installation?
Think of your outdoor kitchen as a masterpiece. Mistakes can be costly, so it’s important to avoid common pitfalls.
Poor planning is a big no-no. Don’t underestimate how much space you’ll need or rush through the installation process.
Make sure to pay attention to proper ventilation and drainage. Overlooking these can lead to issues down the line.
Skipping professional help might seem like saving time, but it can cause errors. It’s worth bringing in experts.
How Can I Incorporate Smart Technology Into My Outdoor Kitchen?
You can incorporate smart technology into your outdoor kitchen by installing Wi-Fi-enabled appliances, like smart grills and refrigerators, that you can control using smartphone apps.
Think about adding smart lighting with adjustable brightness and colors, and use voice-activated assistants for hands-free control.
Also, consider integrating weather sensors to automate protective measures.
Just make sure your Wi-Fi connection is strong and secure so everything works smoothly and safely in your outdoor space.
Conclusion
With your plan in place, your space transformed, and your materials chosen, you’re ready to bring your outdoor kitchen to life.
Picture yourself hosting gatherings around a beautifully crafted island, cooking on durable appliances, and enjoying every sunset in your perfect backyard retreat.
As you build, imagine the laughter, the flavors, and the memories you’ll create.
Your dream outdoor kitchen isn’t just a project. It’s a place where your outdoor living dreams come true, one step at a time.
Creating this outdoor kitchen is an exciting journey, and with each step, you’re turning your vision into reality.