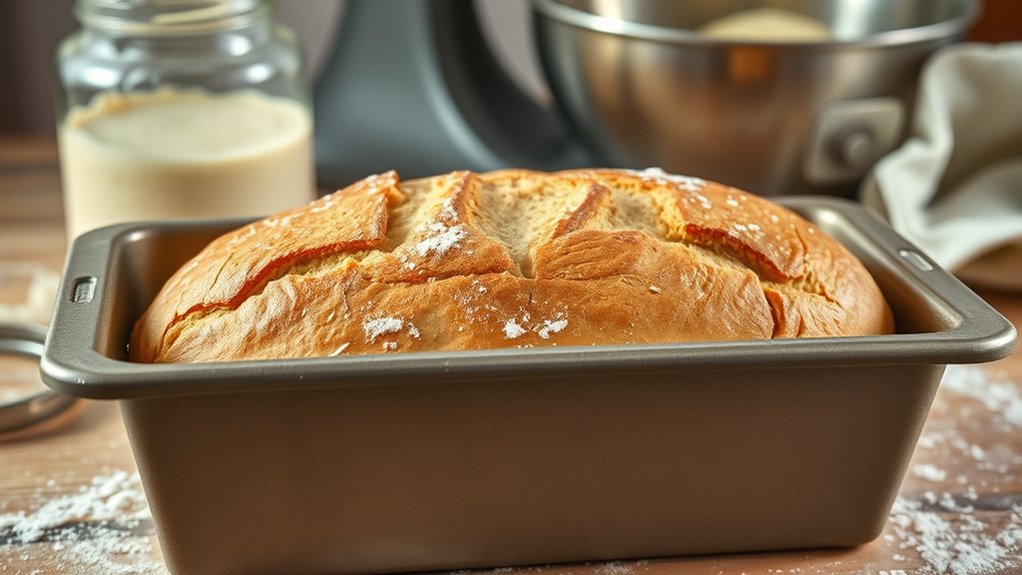
How You Can Make Sourdough Bread in a Loaf Pan Step-by-Step
Many home bakers dream of making perfect sourdough bread, but the process can feel overwhelming or tricky to get just right. You’re not alone—learning how to craft that crusty, airy loaf in a loaf pan is a common challenge.
Luckily, with a few simple steps, you can master sourdough baking at home and enjoy fresh bread anytime.
Start by feeding your sourdough starter until it doubles and bubbles, then mix it with water and flour to form your dough. Knead for about 8-10 minutes, shape into an oval or rectangle that fits your loaf pan, and place it inside.
Let it proof until it roughly doubles, then bake at 375°F for 35-40 minutes until golden. If you want detailed tips, keep going for all the steps to perfect your loaf.
Key Takeaways
- Prepare a bubbly, sour-smelling sourdough starter by feeding equal parts flour and water. Let it sit until it doubles in size and becomes active.
- Pick a straight-sided, oven-safe loaf pan about 8.5 x 4.5 inches. It’s best if it has a lid or cover to help develop that nice crust.
- Mix your dough and knead it until it’s smooth. Shape it into a rectangle or oval that fits nicely into your pan without over-degassing.
- Place the shaped dough into the prepared pan. Cover it and let it proof at room temperature for about 1.5 to 2 hours.
- Wait until it nearly doubles in size. Then, bake in a preheated 375°F oven for 35-40 minutes until it turns golden brown.
- Once done, cool the bread before slicing. This helps set the crumb and makes slicing easier.
How Do I Prepare My Sourdough Starter for Baking?
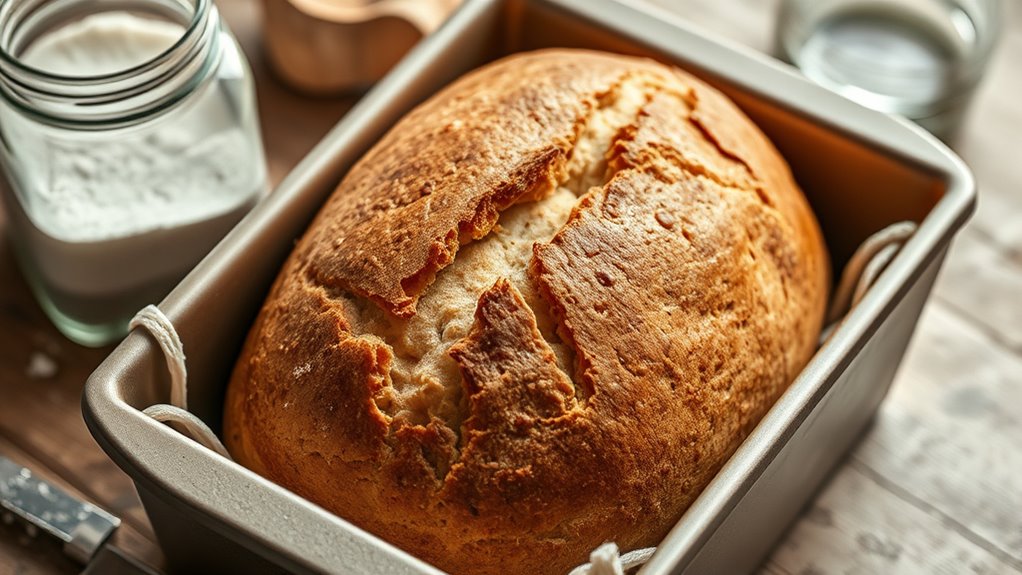
Have you fed your sourdough starter recently? Before you start baking, make sure your starter is active and bubbly.
If it’s been a while, feed it equal parts flour and water by weight—usually a 1:1:1 ratio of starter, flour, and water. Mix thoroughly until smooth, cover loosely, and let it sit at room temperature.
Within 4 to 6 hours, your starter should double in size, with bubbles forming throughout. It’s ready when it smells pleasantly sour and has a spongy texture.
This active state is essential for dough rising and developing flavor. Don’t skip this step because a healthy, lively starter will give your bread the best rise, texture, and taste.
Make sure it’s at peak activity before adding it to your dough.
How to Choose the Best Loaf Pan for Sourdough Bread
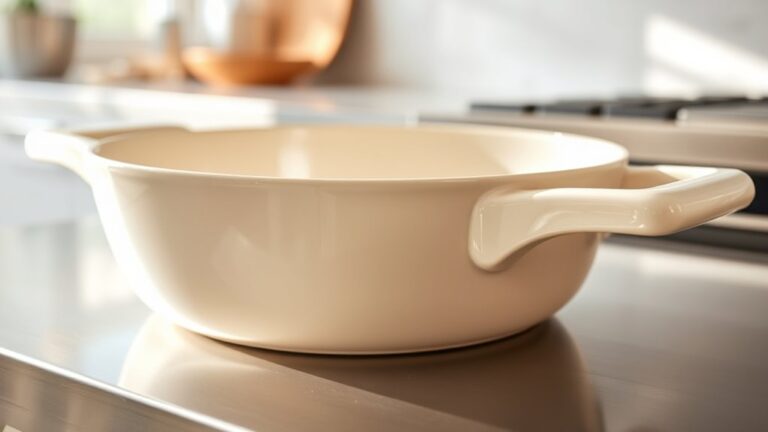
Choosing the right loaf pan is key to getting that perfect sourdough crust and shape. Look for pans made of materials like metal or ceramic, which heat evenly for consistent baking.
Non-stick coatings can help release the bread easily, but try to avoid pans with dark finishes since they might cause the crust to brown too quickly. A standard size around 8.5 x 4.5 inches works well for loaf-style sourdough.
Make sure the pan has straight sides to ensure a good rise and a flat bottom for even baking. If you want a crustier exterior, consider a pan with a lid or use a covered Dutch oven as an alternative.
How to Mix and Knead Your Sourdough Dough
Start by combining your sourdough starter, water, and flour in a large mixing bowl, stirring until all the ingredients are well incorporated. Mix until the dough comes together and no dry flour remains.
Once combined, switch to kneading with your hands or a dough scraper. Knead the dough by folding it over and pressing down, turning it each time. Continue kneading for about 8-10 minutes until the dough feels smooth, elastic, and slightly tacky.
If it’s too sticky, sprinkle in a little more flour; if it’s too stiff, add a splash of water. Proper kneading develops gluten structure, which helps your bread rise evenly. Rest the dough briefly if it feels too tight, then proceed to the fermentation stage.
How to Shape and Fill Your Loaf Pan for Even Rise
Once your dough has rested and developed enough gluten structure, it’s time to shape it for the loaf pan. Gently turn the dough onto a lightly floured surface to prevent sticking.
Using your hands, gently press and shape the dough into a rectangular or oval shape that fits your loaf pan. Be careful not to degas the dough too much; you want to keep some of those gas bubbles for a good rise.
Lightly oil or line your loaf pan, then place the shaped dough seam-side down inside. Smooth the top with your hands, pressing gently to fill the corners evenly.
This helps the dough fill out the pan uniformly and promotes an even rise.
How to Proof Your Sourdough in the Pan for Fluffy Loaf
To proof your sourdough in the pan for a fluffy loaf, place the shaped dough into a lightly oiled or lined loaf pan. Cover it with a damp cloth or plastic wrap.
Let it rise at room temperature until it has expanded to fill the pan and looks puffy, usually 1.5 to 2 hours. Proper proofing guarantees a light, airy crumb.
During proofing, keep the dough in a draft-free area to prevent uneven rising. Maintain a consistent temperature around 75-78°F (24-26°C) for the best rise.
Check the dough regularly; it should have risen about 1.5 times its original size and gently spring back when pressed.
How to Bake Sourdough Bread in a Loaf Pan: Tips and Timing
Baking sourdough bread in a loaf pan requires careful timing and attention to temperature to get that perfect crust and crumb. Preheat your oven to 375°F (190°C), making sure it’s fully heated before you start baking.
Place a baking stone or an oven-safe dish with water on the lower rack to create steam. This helps develop a crisp crust and gives your bread a nice texture. Bake the bread for about 35-40 minutes, and keep an eye on it for a deep golden-brown color.
Create steam with a baking stone or dish, bake until golden, and enjoy a crisp crust and perfect texture.
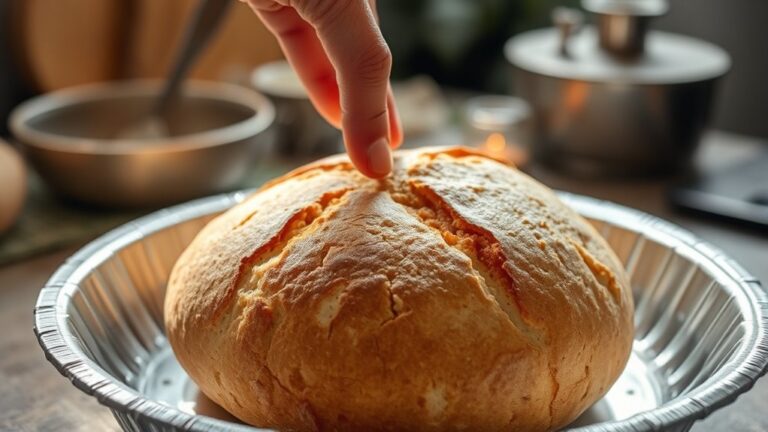
You can tap the loaf to check if it sounds hollow—that’s a good sign it’s done. Try not to open the oven too often, since fluctuating temperatures can affect how well the bread rises and how the crust forms.
Once baked, let the bread cool in the pan for about 10 minutes. Then, transfer it to a wire rack to cool completely. Proper timing and temperature are key to getting a flavorful loaf with a tender crumb.
Common Troubleshooting Tips for Sourdough in a Loaf Pan
Even experienced bakers encounter common issues when making sourdough in a loaf pan, but most can be easily fixed with some troubleshooting. If your loaf sticks to the pan, make sure you’re properly greasing it before baking.
If the crust is too thick or burnt, try lowering the oven temperature slightly or baking for less time. For dense bread, check that your dough is proofed enough—underproofed dough won’t rise properly.
Moreover, if the loaf doesn’t fully expand, it might need more fermentation time or a warmer environment. Grease your pan thoroughly to prevent sticking. Adjust oven temperature or baking time for crust issues.
Make sure proper proofing for a light, airy crumb.
Frequently Asked Questions
Can I Use a Glass or Metal Loaf Pan for Sourdough?
Yes, you can use a glass or metal loaf pan for sourdough. Just keep in mind that metal pans conduct heat more quickly, so your bread might bake faster or develop a darker crust.
Glass pans heat more evenly but may require slightly longer baking times. Always monitor your bread closely to prevent over-baking.
Consider adjusting your baking time or temperature accordingly for the best results.
How Do I Store Leftover Sourdough Bread Made in a Loaf Pan?
You should store your leftover sourdough bread in a paper bag or wrapped in a clean kitchen towel to keep the crust crisp. Avoid plastic bags, as they can make the crust soggy.
Keep the bread at room temperature for up to two days. If you want to store it longer, freeze slices for later use.
When you’re ready to enjoy it again, reheat the bread in the oven to restore its freshness and crustiness.
Is It Necessary to Line the Loaf Pan Before Baking?
Is lining your loaf pan necessary? Not always. If you grease the pan generously or use parchment paper, you can often skip lining it.
Want easier cleanup? Parchment paper makes removing the bread effortless and prevents sticking. Without it, the bread might stick or be harder to remove, especially if your pan isn’t non-stick.
How Do I Achieve a Crusty Exterior With a Loaf Pan Bake?
To get a crusty exterior, start by preheating your oven with a Dutch oven or a baking stone inside. This creates a hot, even surface that helps develop a nice crust.
Once your dough is in the loaf pan, spritz it with water to add moisture. Cover it with a lid or foil to trap steam during the first part of baking.
Bake until the bread turns golden. Then, remove the cover and bake a few more minutes. The steam and high heat work together to give you a crisp, crunchy crust.
Can I Bake Sourdough Bread in a Loaf Pan Without a Lid?
Yes, you can bake sourdough bread in a loaf pan without a lid. To get a crusty exterior, preheat your oven with a baking stone or an upside-down baking sheet inside.
Place the loaf in the pan, then create steam in the oven by adding water to a tray or spritzing the dough. Bake at a high temperature, around 450°F, to develop a crisp crust.
Conclusion
Just as Da Vinci crafted masterpieces, your sourdough journey transforms simple ingredients into art. With patience and practice, you’ll master the craft of baking in a loaf pan, creating loaves that rise like the dawn’s first light.
Remember, every loaf is a blank canvas. Embrace the process, learn from missteps, and soon you’ll produce bread as timeless and inspiring as a work of art.
With dedication, you’ll become skilled at making sourdough bread in a loaf pan. Happy baking!