Fix a Leaky Kitchen Faucet in 7 Simple Steps
Dealing with a leaky kitchen faucet is a common frustration that many homeowners face. It’s noisy, wastes water, and can even increase your utility bills. If you’re tired of drips and leaks, you’re not alone—fixing it is easier than you might think.
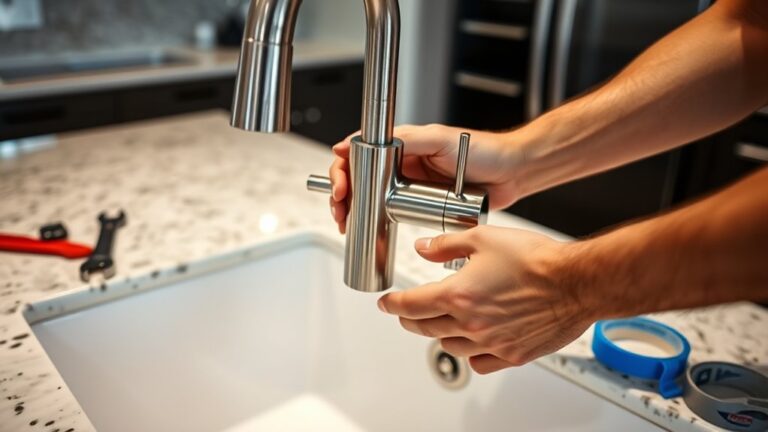
To fix a leaky kitchen faucet in 7 simple steps, first identify the cause, like worn washers or O-rings. Gather necessary tools such as a wrench, screwdriver, and replacement parts.
Turn off the water supply and disassemble the faucet carefully.
Next, replace faulty components, reassemble everything tightly, and turn the water back on to check for leaks.
Regular maintenance can prevent future issues. Stick with it, and you’ll master the repair process step by step.
Key Takeaways
- Turn off the main water supply so no water flows while you’re working on the faucet.
- Next, take apart the faucet by removing the handles and internal parts carefully.
Identify what’s causing the leak. Usually, worn washers, O-rings, or cartridges are the culprits.
Once you find the faulty part, replace it with a new one.
Put everything back together, making sure all parts are aligned properly.
Turn the water back on and check if the leak is gone.
Finally, keep an eye on the faucet and perform regular maintenance to avoid future leaks.
Understand Why Your Kitchen Faucet Is Leaking
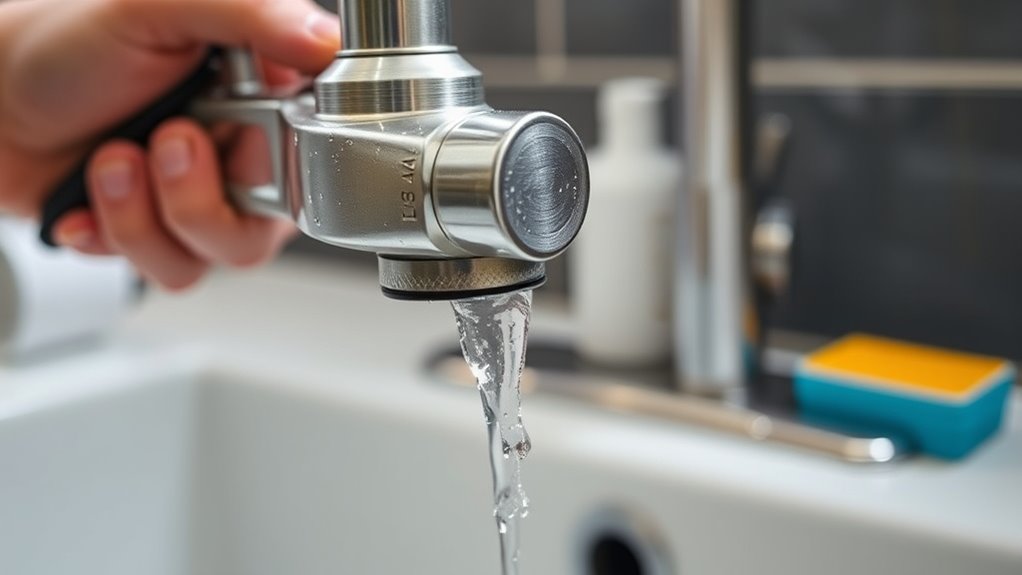
A leaky kitchen faucet often points to an issue with its internal parts or seals. When you notice dripping or a constant flow of water, it’s usually because washers, O-rings, or cartridges have worn out over time.
Corrosion or mineral buildup can also cause these parts to malfunction, leading to leaks. Sometimes, a loose or damaged valve seat allows water to escape.
Corrosion, mineral buildup, or a damaged valve seat can cause leaks and malfunctioning parts.
Understanding these common causes helps you figure out why your faucet leaks and what might need replacing. Leaks can happen from high water pressure or frequent use, which speeds up wear and tear.
Recognizing the signs early can prevent further damage and save you money. Knowing the basics of your faucet’s internal parts makes troubleshooting easier before you start repairs.
Gather Tools and Parts Needed for Faucet Repair
Before you start fixing your leaky faucet, gather all the tools and replacement parts you’ll need. Having everything on hand makes the repair smoother and quicker. It’s best to have the right supplies ready before you begin.
Here are some essential items to gather:
- Adjustable wrench or basin wrench
- Replacement washers and O-rings
- Screwdriver set
Having these tools ready will help you disassemble the faucet and replace faulty parts efficiently. Check your faucet model to confirm specific parts you might need, like a cartridge or stem. Preparing in advance minimizes delays and prevents multiple trips to the store.
Once everything is set, you’ll be ready to proceed confidently with the repair process.
Turn Off Water and Prepare Your Workspace
Start by locating your main water valve and turning it off to stop the flow of water.
Clear the area around it so you have plenty of space to work.
Gather all the tools and parts you’ll need before you start, making sure everything is within reach.
Locate Main Water Valve
Locating the main water valve is the first step to preventing water damage while fixing your leaky faucet. You need to shut off the water supply to avoid flooding or further leaks. Usually, the main valve is near the water meter, often outside your home or in a utility area.
Here’s what to look for:
- In the basement or crawl space if your home has one
- Near the water meter on an exterior wall
- In the garage or utility room if applicable
Once you’ve found the valve, turn it clockwise to shut off the water completely. Confirm the water is off by turning on the faucet and checking for any flow. This keeps your workspace dry and safe.
Clear Work Area
After shutting off the main water valve, clear your workspace to guarantee safety and efficiency. Remove any clutter or objects around the sink that could get in your way or fall into the drain.
Clear the countertop so you have plenty of room to work comfortably. Protect nearby surfaces by laying down a towel or cloth to catch any drips or small parts that might fall.
Make sure your tools and replacement parts are nearby and organized, so you won’t need to search for them later. Clearing the area prevents accidents and makes the repair process smoother.
A tidy workspace helps you focus and work more effectively, reducing the risk of losing small parts or causing damage.
Gather Necessary Tools
Before you start working on your faucet, turn off the main water supply to prevent leaks or water damage. Once the water is off, gather the tools you’ll need to make the repair easier and safer.
Having everything ready saves time and frustration during the process. Here are the essential tools to gather: adjustable wrench, screwdriver (both flathead and Phillips), and plumber’s tape.
Make sure your workspace is clean and well-lit so you can easily access and see all parts. Keep a container or towel nearby to catch any residual water.
Preparing your tools and workspace beforehand helps you work efficiently and reduces the risk of accidental damage or missing parts.
Disassemble Your Faucet to Access Leak Sources
First, turn off the water supply to avoid any mess.
Then, carefully remove the faucet parts to get to the leak sources.
Make sure to keep track of all the pieces so you can put everything back together correctly later.
Turn Off Water Supply
To effectively access the leak sources in your faucet, you need to turn off the water supply. This step prevents water from flowing while you work, avoiding messes and potential damage.
Locate the shut-off valves under your sink—usually one for hot water and one for cold. Turn each valve clockwise until they stop to fully shut off the water.
Alternatively, if there are no individual shut-offs, turn off the main water supply to your house. Before proceeding, turn on the faucet to drain any remaining water and verify the flow has stopped.
Check the shut-off valves for accessibility and proper function. Confirm water flow has completely stopped by testing the faucet. Keep a towel or bucket nearby for any residual water.
Remove Faucet Components
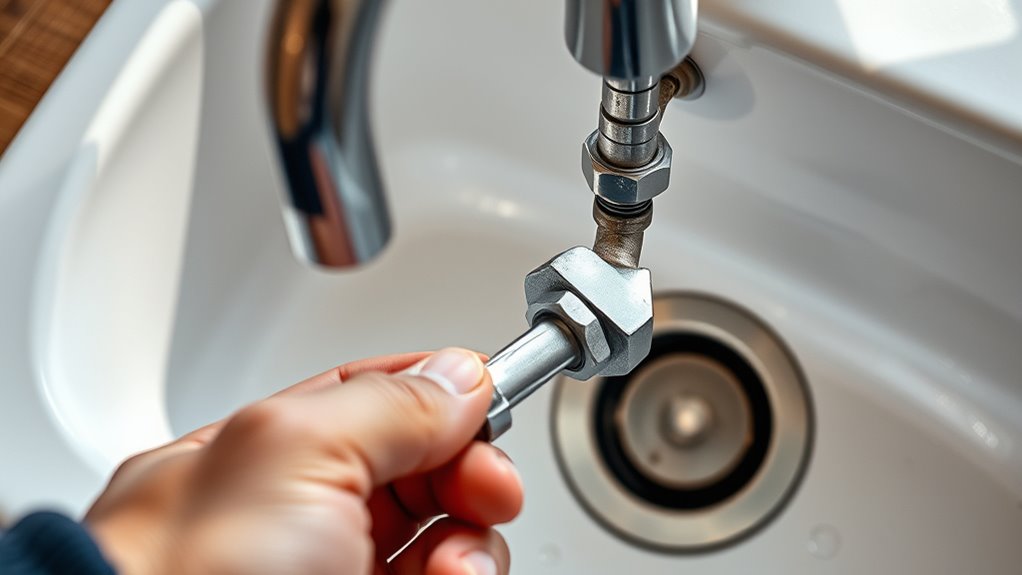
With the water supply shut off, you can now start removing the faucet components to access the leak sources. Begin by disconnecting the supply lines with an adjustable wrench.
Next, remove the handle by loosening its screw or retaining clip. Once the handle is off, take out the cartridge, valve, or other internal parts, depending on your faucet type.
Use a screwdriver if needed, and keep track of all small components. If your faucet has a mounting nut, loosen and remove it to free the entire faucet assembly.
Carefully lift the faucet from the sink. This disassembly exposes the internal parts, making it easier to find and fix the leak.
Keep everything organized to make reassembly simpler later on.
Identify and Replace Faulty Components Like O-Rings and Cartridges
Start by inspecting your faucet to spot any obvious damage or wear. Look for cracks, corrosion, or missing parts around the O-rings and cartridges. These parts often cause leaks when they break down. Once you see what’s wrong, you can replace them to stop the leak.
Check the O-rings for cracks, tears, or flattening. Also, look at the cartridge for corrosion, pitting, or damage. Make sure all seals and washers are intact and not worn out.
If any of these parts seem faulty, remove and replace them with exact matches. This simple step restores proper sealing and prevents water from leaking. Regular inspections of these components help keep your faucet working well and last longer.
Reassemble and Test Your Faucet for Leaks
Once you’ve replaced the faulty components, carefully reassemble the faucet by reversing the disassembly steps, making sure all parts are seated properly. Take your time to align everything correctly and avoid forcing parts into place.
Tighten screws and nuts securely, but don’t overtighten, as this can damage the parts. Once everything is back together, turn on the water supply gradually. Watch for leaks around the base, handles, and spout.
If you see dripping, double-check that all connections are tight and parts are properly seated. Run the faucet for a few minutes to see if the leak stops. If leaks persist, re-inspect the assembly to ensure no parts are loose or misplaced.
Proper reassembly will help your faucet function smoothly without leaks.
Maintain Your Faucet to Prevent Future Leaks
Regular maintenance is key to preventing future leaks and keeping your faucet functioning smoothly. By taking simple steps, you can extend its lifespan and avoid costly repairs. Make it a habit to regularly check for signs of wear, corrosion, or leaks around the fittings.
Regular maintenance prevents leaks and extends your faucet’s lifespan through simple, proactive care.
Clean the aerator and cartridge to prevent buildup that can cause drips. Also, ensure all bolts and nuts are tight but not over-tightened, as this can cause damage.
Here are some tips to help maintain your faucet:
- Inspect for leaks regularly and address issues promptly
- Clean aerators and cartridges to prevent buildup
- Tighten fittings periodically to avoid loosening
Staying proactive keeps your faucet in top shape and prevents leaks before they start.
Frequently Asked Questions
How Do I Identify the Exact Cause of My Faucet Leak?
You can identify the cause of your faucet leak by first turning off the water supply. Then, remove the handle to inspect the internal parts.
Check for worn-out O-rings, loose or damaged cartridges, or cracked washers. Watch for water dripping from the spout even when the faucet is off.
If you’re not sure what’s causing the leak, take note of where it seems to come from. Then, replace the faulty parts as needed.
This approach helps you find the exact issue quickly and get your faucet working properly again.
Are There Different Repair Steps for Different Faucet Types?
Yes, different faucet types require different repair steps. For a compression faucet, you’ll need to replace the washer and tighten the valve.
For cartridge faucets, you’ll remove the cartridge and replace it. Ball faucets involve replacing the ball assembly, and ceramic disc faucets require replacing the ceramic disc.
Always identify your faucet type first, then follow specific repair instructions. Doing this helps ensure proper fixes and avoids damage.
Can I Fix a Faucet Leak Without Turning off the Water Supply?
While it’s generally best to turn off the water supply to avoid a splashy situation, you might try a temporary fix without doing so. Gently tighten the faucet handle or check for minor leaks, but be careful—water could still escape unexpectedly.
For a more thorough and lasting fix, turning off the water is the safest way. Proceed carefully, since shutting off the water helps minimize mess and prevents further damage.
What Safety Precautions Should I Take During Repair?
You should always turn off the water supply before starting any repair to prevent water damage or injury.
Wear gloves to protect your hands and safety glasses to shield your eyes from debris. Work in a well-lit area, and use the right tools to avoid slips or damage.
If you’re unsure about any step, consider consulting a professional. Taking these precautions helps ensure a safer, smoother repair process.
When Should I Consider Replacing the Entire Faucet Instead of Repairing?
You should consider replacing the entire faucet if it’s over 10-15 years old, shows significant corrosion, or if repairs no longer fix leaks effectively.
If you notice persistent dripping despite fixing internal parts or if the faucet’s design is outdated and difficult to repair, replacing it becomes more practical.
A new faucet can improve water efficiency and overall kitchen appearance, making it a worthwhile investment.
Conclusion
By mastering these simple steps, you’ll quickly stop stubborn leaks and keep your sink peaceful. Regular maintenance helps prevent mishaps, reduces messes, and extends your faucet’s life.
With a little patience and preparation, you can avoid pesky problems and keep your kitchen running smoothly. Step confidently into fixing your leaky kitchen faucet, and soon it will flow flawlessly.
Fixing leaks isn’t just manageable—it’s a skill you can easily learn. Taking care of your faucet now saves headaches later and keeps your kitchen functioning perfectly.