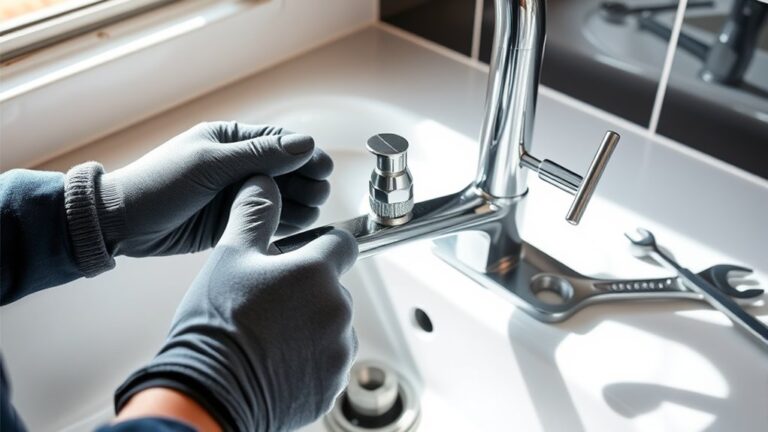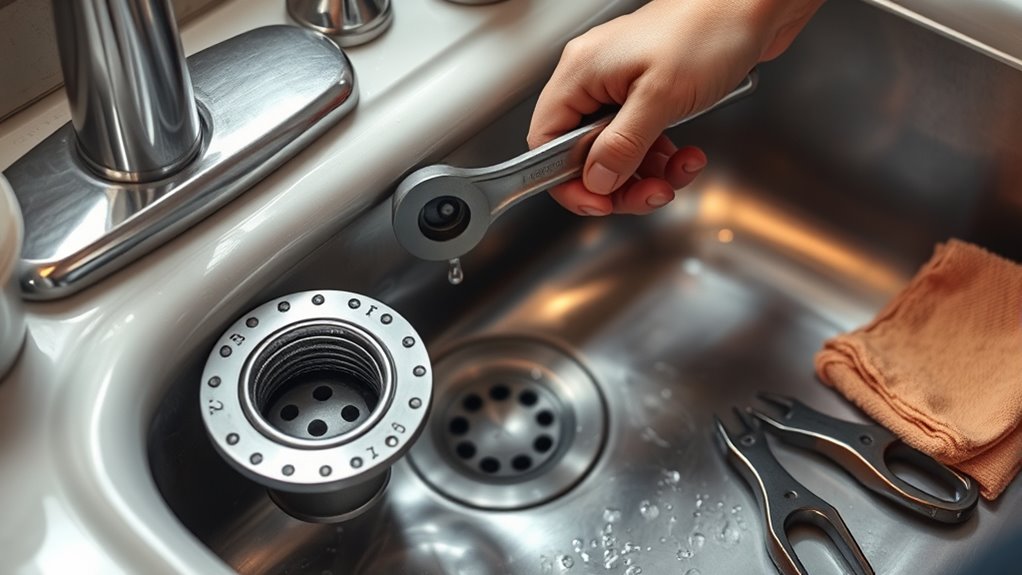
8 Simple Steps to Replace Your Kitchen Sink Drain
Replacing your kitchen sink drain might seem like a daunting task, especially if you’re not sure where to start. Many people struggle with leaks or just don’t know how to go about it, but you’re not alone.
With a few simple steps, you can get your sink back in shape without calling a plumber.
To replace your kitchen sink drain, start by shutting off the water and disconnecting the supply lines. Carefully remove the old drain using pliers and tools, then prepare the opening for the new drain by cleaning it thoroughly.
Install the new drain, ensuring it’s aligned and sealed properly with plumber’s putty or silicone. Tighten all fittings securely without overdoing it.
Finally, turn the water back on, check for leaks, and make any needed adjustments. Keep going for detailed tips on each step.
Key Takeaways
- Turn off the water supply and drain any remaining water by opening the faucet before you start removing the drain.
- Next, disconnect the supply lines and take out the old drain assembly. Use the right tools to make this easier.
- Now, give the sink area a good cleaning and check for any damage or buildup. It’s a good time to make sure everything looks good before installing the new drain.
- Insert the new drain and make sure the gasket or washer is in place. Tighten the locknut securely so everything stays put.
- Finally, turn the water back on and check for leaks. If you see any, tighten the fittings a bit more. Clean up the area, and you’re all set!
Gather the Right Tools and Supplies for Replacing Your Kitchen Sink Drain
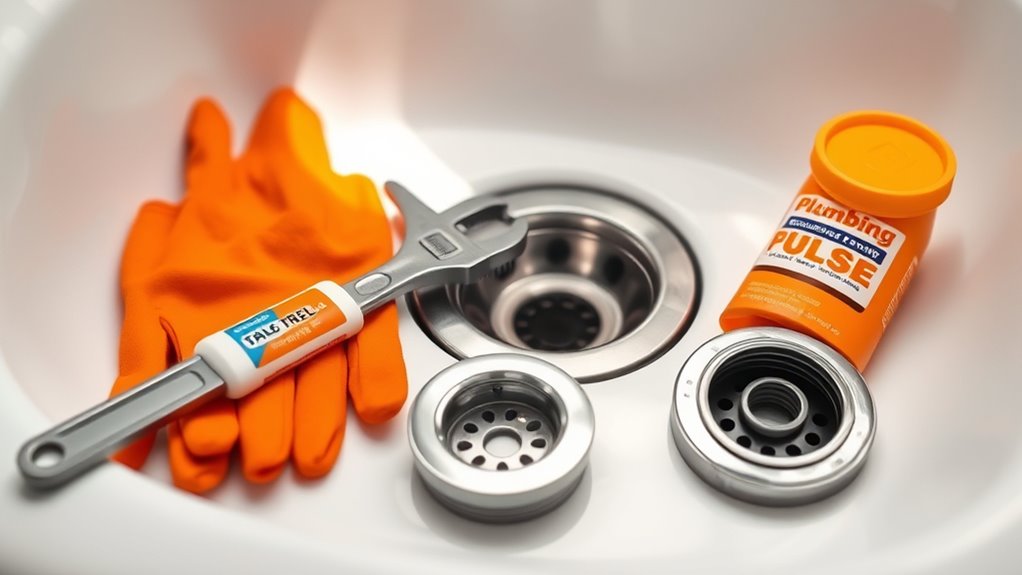
Before you start replacing your kitchen sink drain, make sure you have all the tools and supplies you’ll need. You’ll want a pipe wrench or slip-joint pliers to loosen fittings, and a bucket to catch any water that spills.
Gather your tools and supplies first to ensure a smooth sink drain replacement process.
Have a drain wrench or channel lock pliers ready for removing the drain assembly. Keep some plumber’s putty or silicone sealant nearby to create a watertight seal.
You’ll also need a screwdriver, a rag or sponge for cleaning, and any replacement drain parts like a new drain flange, gasket, or tailpiece if necessary.
Double-check that you have everything before you begin. Gathering these tools and supplies ahead of time saves you from delays and makes the whole process smoother.
Turn Off Water and Prepare Your Sink for Replacement
Start by turning off the water supply to prevent any leaks or spills while working on the drain. Once the water is shut off, open the faucet to drain remaining water and relieve pressure. Next, clear out the area beneath the sink to give yourself room to work.
Here are four key steps to prepare:
- Disconnect the supply lines from the faucet to stop water flow during work.
- Place a bucket or towel under the drain to catch any leftover water.
- Remove any items stored inside the cabinet to protect them from debris or spills.
- Inspect the drain area for any signs of damage or buildup, so you’re ready for the replacement.
Following these steps guarantees a clean, safe workspace for the project ahead.
Remove the Old Sink Drain Safely and Effectively
Before removing the old sink drain, make sure you’ve turned off the water supply to avoid leaks.
Next, carefully loosen the drain connections with the right tools.
Then, remove the entire drain assembly. This helps you replace the drain safely and get ready for the new installation.
Turn Off Water Supply
To safely remove the old sink drain, you need to turn off the water supply first. This helps prevent leaks or water damage while you’re working.
Find the shut-off valves under your sink, usually on the side of each faucet. Turn both valves clockwise to close them completely.
Next, open the faucet to drain any remaining water and relieve pressure. Then, check that no water is flowing by turning on the faucet briefly. If water drips, wait until it stops completely.
Following these simple steps will ensure you don’t get soaked or cause water damage when removing the drain.
Loosen Drain Connections
With the water supply turned off and the faucet drained, you can now focus on loosening the drain connections. Start by locating the nuts securing the drain assembly underneath the sink.
Use a wrench or pliers to grip and turn these nuts counterclockwise. If the nuts are tight or rusted, apply some penetrating oil and wait a few minutes before trying again.
Be careful not to apply excessive force, which might damage the pipes or fittings. As you loosen each connection, hold the pipe steady to prevent unnecessary stress.
Once the nuts are free, gently wiggle and remove the drain components. Keep a bucket nearby to catch any residual water and debris that might spill during this process.
Remove Old Drain Assembly
Carefully lift the old drain assembly out from beneath the sink, making sure you don’t damage the surrounding pipes or fixtures. Once lifted, you’ll see any remaining residue or debris that might block the removal process. To make it easier, follow these steps:
- Use a wrench or pliers to loosen any remaining nuts or fittings holding the drain in place.
- Grip the drain assembly firmly and gently wiggle it free, avoiding excessive force.
- Check for any silicone or putty sealing the drain, and use a utility knife to cut through if needed.
- Remove and dispose of the old drain components properly, preparing the space for the new assembly.
Following these steps guarantees a safe, clean removal and sets a strong foundation for the replacement.
Prepare the Drain Opening for the New Fitting
Before installing the new fitting, make sure to clear out any debris or obstructions from the drain opening.
Next, thoroughly clean and dry the surface to ensure a proper seal.
Taking these steps helps prevent leaks and makes sure your new drain fits securely.
Clear Debris and Obstructions
To guarantee a proper seal and smooth installation, it’s essential to clear out any debris or obstructions from the drain opening. Leftover gunk can prevent the new fitting from sealing correctly or cause leaks later.
Start by inspecting the drain opening closely. Then, follow these steps:
- Remove any loose debris with a rag or paper towels.
- Use a small brush or old toothbrush to scrub away stubborn grime.
- Check for hair, soap scum, or food particles stuck inside.
- Rinse the area with water and dry thoroughly with a clean cloth.
Removing debris guarantees the surface is clean and smooth, so the new drain fits securely. Taking your time now will save you headaches during the final installation.
Clean and Dry Surface
After removing debris, it’s important to make sure the drain opening is both clean and dry. Use a clean rag or paper towels to wipe away any remaining dirt, grime, or moisture.
A dry surface helps the new fitting seal properly and prevents leaks. If there’s stubborn residue, gently scrub the area with a brush or an old toothbrush.
Avoid leaving any water or debris behind, as these can interfere with the gasket’s seal. Take your time to thoroughly clean the opening, paying close attention to the edges.
Once dry, inspect the area for any damage or corrosion. A well-prepared surface ensures a secure fit and helps your new drain work smoothly for years to come.
Install and Secure the New Kitchen Sink Drain
Start by carefully inserting the new drain assembly into the sink’s drain opening, making sure the rubber gasket or washer is positioned correctly to create a tight seal. Once it’s in place, follow these steps to secure it:
- Thread the locknut onto the drain tailpiece underneath the sink, tightening it by hand first.
- Use pliers to firmly tighten the locknut, making sure it’s snug but not overtightened.
- Attach any mounting clips or brackets, if included, to hold the drain securely in position.
- Check that the drain sits level and is properly aligned with the sink opening.
This process guarantees your drain is securely installed, preventing leaks and providing a stable fit.
Seal and Tighten the Drain to Prevent Leaks
Ensuring a proper seal and tightening the drain is crucial to prevent leaks. First, apply a bead of plumber’s putty or a suitable sealant around the underside of the drain flange.
Then, tighten the locknut securely but be careful not to overtighten, which can damage the parts. Use a wrench or pliers for a firm, even grip.
To help you visualize, here’s a quick reference:
| Step | Tool Needed | Key Tip |
|---|---|---|
| Apply sealant | Sealant or plumber’s putty | Ensure even coverage |
| Tighten locknut | Wrench or pliers | Use consistent, firm pressure |
| Check for gaps | Visual inspection | Confirm a snug, leak-proof fit |
Following this approach helps create a tight fit and reduces the chance of future leaks.
Test for Leaks and Make Final Adjustments
Turn on the water supply and run the faucet to check for leaks around the newly installed drain. Watch carefully for drips or water escaping from the connections.
If you notice any leaks, turn off the water and tighten the fittings as needed. To make sure everything is secure and working properly, follow these steps:
- Inspect all joints and connections for moisture or drips.
- Tighten any loose fittings without over-tightening, which can cause damage.
- Run water again to see if leaks reappear.
- Check underneath the sink for pooling water or dampness.
Troubleshoot Common Sink Drain Problems
Even after installing a new sink drain, problems can still come up, but many are easy to diagnose and fix.
If your sink drains slowly, check for clogs in the trap or pipes. Use a plunger or a drain snake to clear any blockages.
Leaky drains are common, so tighten the connections or replace worn gaskets and washers.
If you notice bad odors, clean the trap thoroughly and run hot water with baking soda and vinegar.
For stubborn leaks or drainage issues, inspect the slip joints and make sure everything is aligned properly.
Sometimes, improper installation causes these problems. Double-check all connections and tighten fittings as needed.
Quickly addressing these common issues helps prevent further damage and keeps your sink working smoothly.
Frequently Asked Questions
Can I Replace My Kitchen Sink Drain Without Professional Help?
Yes, you can replace your kitchen sink drain without professional help if you’re comfortable with basic plumbing tasks.
Gather the necessary tools, turn off the water supply, and carefully remove the old drain.
Follow the step-by-step instructions to install the new drain, making sure all connections are tight and secure.
Take your time, double-check your work, and you’ll be able to complete the job on your own.
What Types of Sink Drains Are Compatible With My Kitchen Sink?
Think of your sink drain like a puzzle piece; it needs to fit perfectly. Most kitchen sinks use standard sizes like 1.25 or 1.5 inches in diameter, with materials like metal or plastic.
If you have a stainless steel sink, a stainless steel drain is your best bet. Check your sink’s existing drain or measure the opening to confirm compatibility.
Matching these details ensures a seamless, leak-free fit, so your sink works smoothly without any worries.
How Long Does the Entire Drain Replacement Process Usually Take?
Replacing your kitchen sink drain usually takes about one to two hours, depending on your experience and the condition of the sink.
You’ll start by removing the old drain, cleaning the area, and installing the new drain assembly.
If you run into rust or stuck parts, it might take a bit longer.
Having all your tools ready and working carefully can help speed things up.
This way, you’ll ensure a smooth and efficient drain replacement.
Are There Eco-Friendly or Biodegradable Options for Sink Drain Sealants?
Think of eco-friendly sink drain sealants as the gentle guardians of your plumbing. Yes, there are biodegradable options that keep your home and environment safe.
These sealants break down naturally, like leaves returning to the earth, reducing harmful chemicals. Look for products labeled as biodegradable or made from natural materials.
They provide a secure seal without sacrificing your commitment to sustainability, making your kitchen both functional and eco-conscious.
What Safety Precautions Should I Take During Sink Drain Replacement?
During sink drain replacement, you should wear gloves and safety glasses to protect your skin and eyes from debris and chemicals.
Make sure to turn off the water supply and disconnect the drain carefully to avoid spills. Work in a well-ventilated area, especially if you’re using sealants or cleaners.
Keep your workspace organized to prevent accidents. Taking these precautions helps ensure a safe and smooth replacement process.
Conclusion
With these eight simple steps, you’ve turned a potential plumbing puzzle into a clear path forward. Like a skilled artist, you’ve painted your kitchen with a fresh, leak-proof stroke.
Remember, patience is your brush and attention your palette—each step brings you closer to a sink that flows smoothly and quietly.
Now, with confidence in your toolbox, you’ve transformed a challenging task into a job well done. Your kitchen is ready for many more meals to come.
And the best part? Your kitchen sink drain works perfectly, thanks to your effort and care.