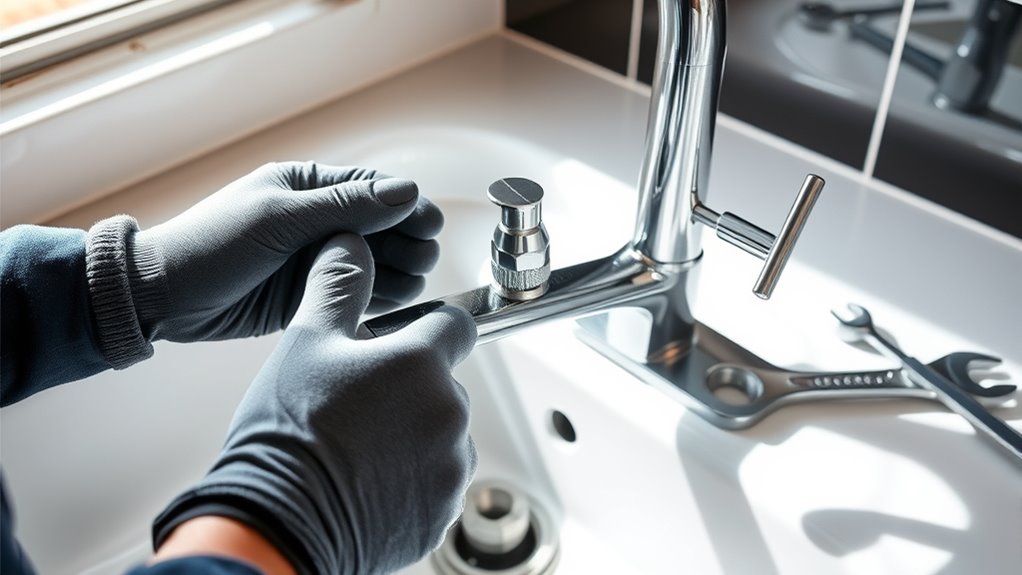
Step-by-Step Guide to Replace Your Kitchen Sink Faucet
Are you tired of dealing with leaks or outdated fixtures in your kitchen sink? You’re not alone—many people struggle with replacing their kitchen sink faucets, feeling unsure about where to start.
The good news is, with a little guidance, you can tackle this project yourself and save money.
To replace your kitchen sink faucet, start by turning off the water supply and removing the old faucet with pliers and a wrench.
Carefully disconnect the supply lines, then lift out the old fixture.
Place the new faucet in position, secure it tightly, and reconnect the water lines.
Turn the shut-off valves back on, check for leaks, and tighten connections as needed.
Follow these steps, and you’ll gain confidence in tackling future plumbing projects.
Key Takeaways
- First, turn off the water supply and drain any remaining water from the faucet. This helps prevent spills and makes the removal process cleaner.
- Next, disconnect the supply lines. Then, remove the mounting hardware to free the old faucet. Take your time and keep track of all the parts.
- Now, install the new faucet. Make sure it’s aligned properly and securely mounted. Hand-tighten everything first, then tighten further if needed.
- Finally, connect the water supply hoses tightly to avoid leaks. Turn the water back on and check for any leaks or drips.
- If you see any leaks, make adjustments as needed. Once everything looks good, you’re all set!
Identify Why You Need to Replace Your Kitchen Faucet
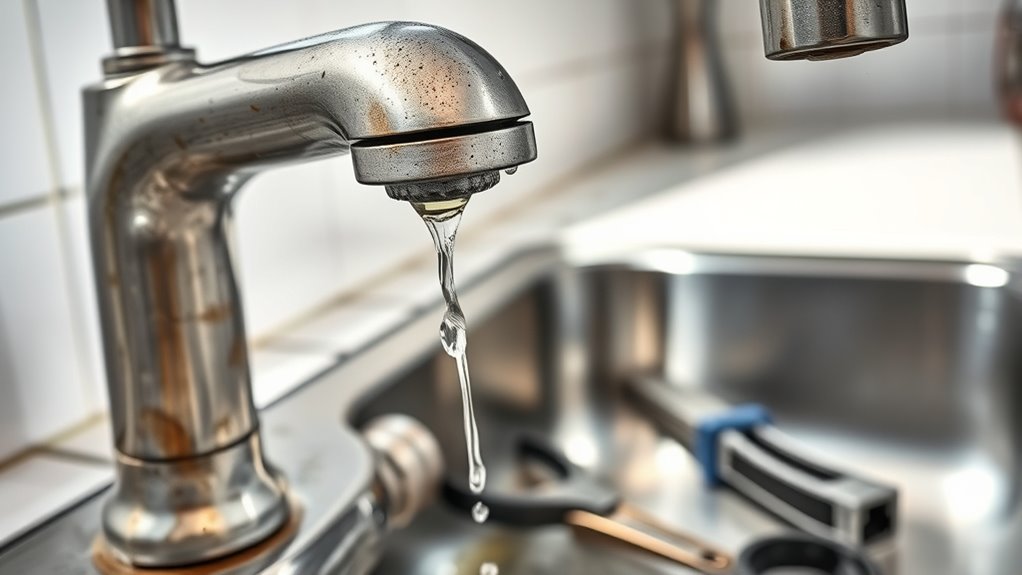
Have you noticed your kitchen faucet leaking constantly or dripping even when turned off? That persistent drip isn’t just annoying. It can waste a lot of water and drive up your utility bills.
A constantly leaking faucet wastes water and increases your bills. Recognize the signs early to prevent costly repairs.
If the faucet is making strange noises or the water pressure is low, it’s a sign something’s wrong. Rust, corrosion, or mineral buildup can also make it harder to use.
Cracks or visible damage to the faucet body mean it’s time for a replacement. Plus, if your faucet is outdated or no longer matches your kitchen’s style, upgrading can boost both function and look.
Recognizing these signs early helps prevent further damage and costly repairs. It keeps your kitchen efficient and comfortable.
Choose the Best Kitchen Sink Faucet for Your Home
Choosing the right kitchen sink faucet involves considering both functionality and style to match your needs. Think about how many people use your kitchen daily and whether you need features like a pull-down sprayer or a touchless option.
Decide on a finish that complements your existing décor—brushed nickel, chrome, or stainless steel are popular choices. Measure your sink space to ensure the faucet will fit comfortably without crowding other fixtures.
Consider if you want single-handle control for ease of use or separate handles for hot and cold water. Durability is key, so look for high-quality materials like brass or stainless steel.
Finally, set a budget that balances quality and affordability. This way, you’ll get a faucet that meets your needs and lasts for years.
Turn Off the Water Supply Before Starting?
Before starting the faucet replacement, it’s important to turn off the water supply to avoid leaks and water damage. Locate the shut-off valves under your sink—they’re usually small and connected to the supply lines.
Turn these valves clockwise until they’re fully closed. If there are no local shut-offs, you’ll need to turn off the main water supply for your home.
Once the water is off, open the faucet handles to drain any remaining water in the lines. Double-check that no water comes out when you turn the handles.
This step ensures a dry workspace and helps prevent accidental water sprays or flooding while you work on removing the old faucet. Taking this precaution keeps the process safe and clean.
Remove the Old Faucet: Step-by-Step
To remove the old faucet, start by turning off the water supply and disconnecting the water lines.
Next, loosen and remove the mounting hardware securing the faucet in place.
Once these steps are complete, carefully lift out the old faucet and get ready for the new one.
Turn Off Water Supply
Start by turning off the water supply to prevent leaks and water damage. Locate the shut-off valves under your sink—usually one for hot water and one for cold.
Turn each valve clockwise until they stop. This cuts off the flow of water. If your sink doesn’t have individual shut-offs, you’ll need to turn off the main water supply for your home.
Before proceeding, open the faucet to drain any residual water. Verify the water is off by trying to turn on the tap. Make sure you have a bucket or towels ready in case of drips.
Once the water is fully shut off, you’re ready to move on to disconnect the water lines.
Disconnect Water Lines
Carefully loosen the fittings connecting the water supply lines to the old faucet using adjustable pliers. Turn the fittings counterclockwise to loosen and disconnect the supply lines from the faucet. Be prepared for some water to drip out, so keep a towel or small bucket nearby.
If the supply lines are stubborn, apply gentle pressure and wiggle them free. Check the fittings for any corrosion or damage as you disconnect. Once the lines are removed, set them aside.
Make sure to note which line goes where, especially if they are different sizes or types. This will help you reconnect everything correctly later. Take your time to avoid damaging the fittings or other plumbing components.
Remove Mounting Hardware
Begin by locating the mounting hardware that secures the old faucet to the sink. Usually, this hardware consists of nuts or bolts underneath the sink. Use a wrench or pliers to loosen and remove these fasteners.
If you find stubborn nuts, apply some penetrating oil and let it sit for a few minutes before trying again. Keep a bucket or towel nearby to catch any water or debris that may fall as you loosen the hardware.
Once the nuts or bolts are removed, gently lift the old faucet away from the sink. Be careful not to damage the sink surface or surrounding fixtures. Removing the mounting hardware is straightforward, but patience is key to avoid stripping or damaging the fittings.
Install Your New Kitchen Sink Faucet Correctly
Installing your new kitchen sink faucet correctly guarantees it functions properly and prevents leaks. Start by placing the faucet onto the mounting holes, making sure it sits level.
From underneath, thread the mounting hardware onto the faucet’s shanks and tighten securely with a basin wrench or pliers. Be careful not to overtighten, as this can damage the sink or faucet.
Make sure the gaskets or O-rings are properly seated to prevent water seepage. Align the faucet so the spout and handles are positioned for comfortable use.
Double-check that all connections are tight but not overly strained. Proper installation ensures a secure fit and optimal operation, creating a solid foundation before connecting the water lines and testing for leaks.
Connect the Water Lines and Check for Leaks
To connect the water lines, start by attaching the supply hoses to the faucet’s hot and cold inlets, making sure each connection is hand-tight. Once attached, use a wrench to tighten the fittings a bit more, but don’t over-tighten to avoid damage.
Turn on the shut-off valves slowly to let water flow into the hoses. Check each connection for leaks or drips. If you see a leak, tighten the fitting slightly until it stops.
After all connections are secure, turn on the faucet and let the water run for a minute. Carefully check all fittings and connections for leaks. Tighten any fittings as needed.
Finally, wipe away any water and confirm everything is dry and working properly.
Troubleshoot Common Faucet Replacement Problems
When troubleshooting faucet replacement problems, it’s important to figure out where the leaks are coming from and fix them quickly.
If parts are stuck, try using gentle force or applying some penetrating oil. Usually, that can loosen them without causing any damage.
Being methodical in your approach helps you fix issues faster and makes sure your faucet works like it should.
Identifying Leak Sources
Leaks are common issues that can happen after replacing your kitchen sink faucet, and finding where the leak is coming from is key to fixing it. First, look around the base of the faucet for water pooling or drips, which might mean it’s loose or not sealed properly.
Next, check the supply lines for leaks or loose connections—tighten any fittings if needed. Then, look inside the faucet at the cartridge or valve assembly for damage or improper installation, since these often cause drips.
If water is leaking from the spout, it could be a worn-out washer or O-ring. Remember, figuring out exactly where the leak is coming from helps you focus your repair efforts and prevents further damage or water waste.
Take your time to observe carefully and test different areas until you find the root cause.
Handling Stuck Components
Stuck components are a common hurdle when replacing a kitchen sink faucet, especially if parts have corroded or been in place for years. To tackle this, start by applying penetrating oil to the affected areas and let it sit for 10-15 minutes.
Use a wrench or pliers with a firm grip, turning slowly to avoid stripping threads. If a part refuses to budge, try tapping gently around the area with a rubber mallet to loosen corrosion.
Be patient and avoid forcing components, as this can cause damage. If parts still won’t move, consider heating the area slightly with a hairdryer to expand the metal.
Frequently Asked Questions
How Long Does a Typical Faucet Replacement Take?
A typical faucet replacement takes about 30 minutes to an hour. If you have all the tools ready and the old faucet comes off easily, you can finish faster.
But if you run into stubborn fittings or need to shut off the water supply, it might take longer. Being prepared and patient helps ensure the job goes smoothly without rushing.
What Tools Are Required for Replacing a Kitchen Faucet?
They say “a tool for every job,” and that’s true here. You’ll need a wrench or adjustable pliers, a screwdriver (flathead or Phillips), a basin wrench for tight spots, plumber’s tape, and possibly a bucket to catch water.
Don’t forget rubber gloves for protection. Gathering these tools beforehand guarantees you’re prepared, making the faucet replacement smoother and quicker.
With the right tools, you’ll have your new faucet installed in no time.
Can I Replace My Faucet Without Professional Help?
Yes, you can replace your faucet without professional help if you’re comfortable with basic plumbing tasks.
Gather the necessary tools, turn off the water supply, and carefully follow a step-by-step guide.
Take your time and don’t rush. If you encounter any issues or feel unsure, it’s best to consult a professional.
With patience and proper instructions, replacing your faucet can be a manageable DIY project.
How Do I Prevent Future Leaks After Installation?
To prevent future leaks after installation, make sure to tighten all fittings securely but avoid over-tightening, which can cause damage. Apply plumber’s tape to threaded connections for a better seal.
Regularly inspect under your sink for signs of leaks or drips, and replace worn-out washers or seals promptly. Keep the area clean and dry so you can spot issues early.
Consider using a water pressure regulator if your water pressure is too high. This can help prevent stress on fittings and reduce the chance of leaks down the line.
Is It Necessary to Replace Plumbing Pipes During Faucet Replacement?
You don’t always need to replace plumbing pipes when swapping out your faucet, but it’s a good idea to check them first.
If your pipes are old, corroded, or have leaks, replacing or repairing them can save you trouble later.
Otherwise, a simple upgrade might just involve disconnecting and reconnecting the existing pipes.
Always inspect for damage before you start, and consider replacing pipes if they’ve been around a while.
Conclusion
Replacing your kitchen faucet might seem intimidating, but with this guide, you’re equipped to do it yourself. Don’t let fear of leaks or mistakes hold you back. Careful installation and proper connections can guarantee a leak-free, functional faucet.
Taking your time and following each step can save you money and give you the satisfaction of a job well done. So go ahead, upgrade your kitchen sink and enjoy the fresh, new look with your new kitchen faucet.