7 Essential Steps to Hang Kitchen Cabinets Like a Pro
Are you dreaming of a beautifully finished kitchen but feeling overwhelmed about how to hang your cabinets perfectly? You’re not alone—many people struggle with getting everything aligned just right for that professional look.
But don’t worry, with the right approach, you can hang your kitchen cabinets like a pro.
To hang kitchen cabinets like a pro, start by planning your layout and gathering the right tools like a level, drill, and measuring tape.
Carefully measure and mark where they’ll go, ensuring supports align with wall studs. Secure the cabinets into place, double-checking they’re level and aligned.
Make final adjustments, install hardware, and troubleshoot any issues. Each step is essential for a seamless finish—keep going to learn all the professional tips and tricks.
Key Takeaways
- Measure and mark the wall carefully to get the right placement for your cabinets. Make sure to note the proper height, draw level lines, and locate the wall studs.
- Install the mounting hardware securely into the wall studs. Follow the manufacturer’s instructions and double-check that everything is level.
- Attach the back panels or mounting rails to the cabinets. Before securing them, verify that they are straight and properly aligned.
- Hang each cabinet one at a time. Use shims and hinges to adjust for level and make sure everything lines up nicely.
- Finally, double-check the door alignment. Tighten all screws and do any last-minute adjustments for a polished, professional look.
Planning Your Kitchen Cabinet Layout
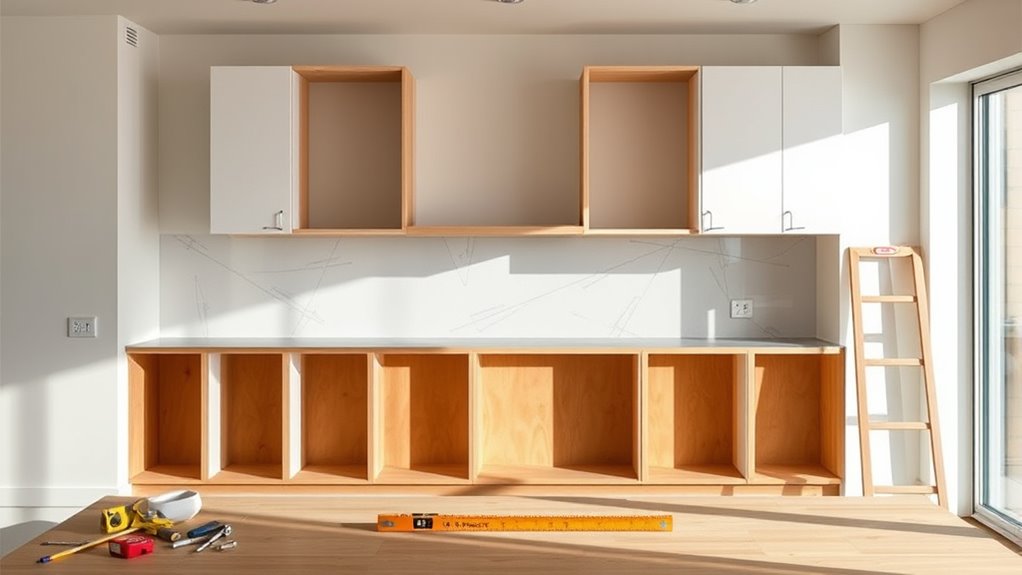
Before you start hanging cabinets, you need to plan your layout carefully. Measure your kitchen’s dimensions, noting the locations of windows, doors, and appliances. Decide on a height for the upper cabinets that’s comfortable for everyday use, usually 54 to 60 inches from the floor.
Carefully measure your kitchen and plan cabinet placement for a functional, balanced layout.
Sketch a rough layout, marking where each cabinet will go. Make sure to leave proper clearance around appliances and walkways. Think about symmetry and visual balance; aligning cabinets with existing features creates a clean look.
Consider how much storage you need and plan for the placement of utensils, dishes, and cookware. Take your time to plan because a well-thought-out layout prevents mistakes during installation. It results in a functional, attractive kitchen.
Proper planning makes the entire process smoother.
Gathering the Right Tools and Materials
Once you’ve planned your layout, it’s time to gather all the tools and materials you’ll need for hanging the cabinets.
Start with a drill, screwdriver, level, measuring tape, and stud finder. You’ll also need a saw for cutting shims or adjusting cabinet components.
Grab a pencil for marking, a square to ensure right angles, and a ladder or step stool to reach high spots. Have hanging hardware like screws, anchors, and cabinet mounting brackets ready.
Make sure you have enough of each to secure the cabinets firmly. Keep clamps or assistants nearby to help hold cabinets in place during installation.
Double-check that all tools are in good condition to prevent delays or mishaps. Being prepared will make the process smoother and help you work efficiently.
Measuring and Marking for Accurate Installation
Measuring and marking accurately is key to getting your cabinets hanging straight and level. Using precise measurement techniques makes all the difference.
Clear and correct marking strategies help you transfer those measurements onto the wall without errors. Paying attention to detail now will save you time and frustration later.
Precise Measurement Techniques
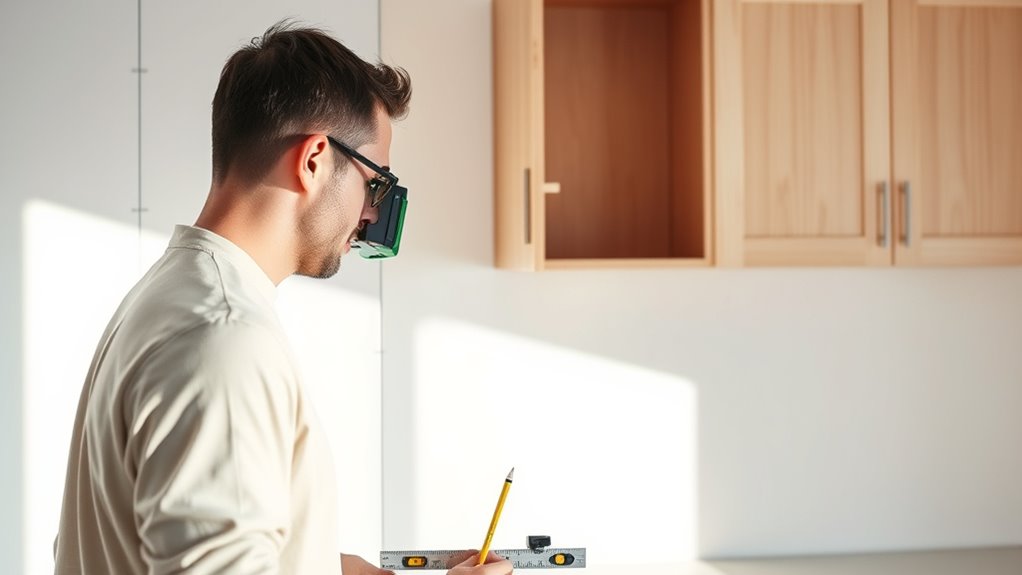
Accurate measurement and marking are key to making sure your kitchen cabinets hang level and secure. Start by measuring from the floor or countertop to your desired cabinet height, then mark this point on the wall with a pencil.
Use a level to draw a straight, horizontal line across the wall at that height, making sure it’s perfectly even. When measuring for studs or mounting points, double-check your measurements before marking.
Always measure multiple times to confirm your marks, especially when working on several cabinets. Use a tape measure for precision, and don’t rush—small errors can cause crooked cabinets.
Clear, exact measurements are the foundation of a professional-looking install. Take your time and verify your marks carefully for the best results.
Accurate Marking Strategies
Effective marking starts with double-checking your measurements and using a level to draw clear, straight lines on the wall. This helps ensure your cabinets hang evenly and securely. Once you’ve marked the baseline:
- Measure and mark the cabinet height, leaving space above and below.
- Use a pencil to draw a level line along the wall where the top of your cabinets will sit.
- Mark the wall studs so you can anchor your cabinets securely.
- Double-check all measurements and lines before drilling to avoid mistakes.
Accurate marking prevents crooked cabinets and misaligned doors. Take your time to verify each mark, making sure your lines are level and consistent. Proper marking is the key to a professional-looking, perfectly aligned cabinet installation.
Step-by-Step Guide to Installing Wall Cabinets
To install your wall cabinets successfully, start by measuring and marking your wall accurately. This step is crucial to ensure everything lines up properly.
Next, secure the mounting hardware properly before hanging the cabinets. Make sure they stay level as you position them on the wall.
Finally, make any needed adjustments to confirm everything is aligned perfectly. Taking your time here will give you a professional-looking result.
Measure and Mark Properly
Before you start hanging your wall cabinets, it’s important to measure and mark carefully to ensure everything fits perfectly. First, figure out your desired height by measuring from the floor or countertop to where you want the cabinets to sit.
Next, find and mark the wall studs using a stud finder so your cabinets will be securely mounted. Then, use a level to draw a straight line at the height you’ve chosen, making sure it’s even.
Finally, identify key points for brackets or mounting hardware and mark their positions along the level line. Here’s a quick overview:
- Measure and mark the cabinet height.
- Find and mark wall studs.
- Draw a level line at the desired height.
- Mark mounting points aligned with studs.
Secure Mounting Hardware
Begin by installing the mounting brackets or hardware onto the wall, aligning them with your marked points and studs. Use a level to check they’re straight before securing them with screws.
If your cabinets have a back panel with mounting rails, attach these rails securely to the brackets or directly to the wall, following the manufacturer’s instructions. Make sure each bracket or rail is firmly anchored into studs for maximum support.
Double-check spacing and alignment as you go. Use a drill to drive screws through the brackets into the studs, ensuring the hardware can support the weight of the cabinets.
Tighten all fasteners securely but avoid overtightening, which could damage the wall or hardware. Properly secured hardware is essential for a safe, level cabinet installation.
Level and Adjust Cabinets
Once your mounting hardware is securely in place, it’s time to make sure your cabinets are perfectly level. Use a spirit level across the top of the cabinets to check for any unevenness.
If you notice a tilt, follow these steps: loosen the screws slightly where needed. Then, adjust the cabinet’s position by shifting it until the bubble in the level is centered.
Tighten the screws back in while holding the cabinet steady. Recheck with the level to confirm everything is aligned just right.
Repeat this process for each cabinet to keep all units consistent. Proper leveling helps prevent doors from misaligning and gives your cabinets a professional, polished look.
Securing Cabinets and Checking for Level
To make sure your cabinets are secure and level, start by attaching the cabinet boxes to the wall studs with screws. Be sure each screw goes directly into a stud for the best stability.
Once they’re attached, check the level along the top edge and front of the cabinets using a spirit level. If you see any uneven spots, adjust the shims or tighten the screws until everything is straight.
Here’s a quick guide:
| Step | Action | Tip |
|---|---|---|
| Secure | Attach cabinets to studs | Use long screws for stability |
| Check Level | Use a spirit level | Make sure both top and front are level |
| Adjust | Shim or tighten screws | Fix uneven areas quickly |
| Recheck | Verify after adjustments | Ensure stability and alignment |
| Final Secure | Double-check all screws | Prevent future shifting |
Finishing Touches: Hardware and Final Adjustments
After securing your cabinets and making sure they’re level, the next step is to add hardware and make final adjustments for a polished look. Here’s what to do:
- Pick hardware that matches your style, and measure carefully to position handles or knobs evenly.
- Use a drill to attach hardware securely, but don’t overtighten the screws to avoid damage.
- Double-check the door alignment and adjust hinges if needed to ensure a smooth, uniform appearance.
- Step back and look at all the cabinets, tightening or loosening screws as needed to make sure everything is flush and aligned properly.
These final touches give your cabinets a professional finish and help them function smoothly for years to come.
Troubleshooting Common Kitchen Cabinet Installation Challenges
Even with careful planning, you might run into common challenges when installing kitchen cabinets, like uneven gaps, misaligned doors, or cabinets that don’t sit flush. If the gaps are uneven, check if your cabinets are level and adjust shims as needed.
For misaligned doors, loosen the hinges, realign the door, and tighten the screws again to ensure they sit properly. Cabinets that aren’t flush usually mean the wall isn’t perfectly straight—use a sander or shim to level the cabinet.
If you notice sagging or wobbling, tighten all screws and brackets to secure everything. For ongoing issues, double-check your measurements and make small adjustments. Taking your time and fixing problems as they come helps you achieve a professional-looking finish.
Frequently Asked Questions
How Do I Choose the Best Cabinet Style for My Kitchen?
You should choose a cabinet style that complements your kitchen’s overall design and fits your personal taste.
Consider factors like color, material, and door style—whether it’s shaker, flat-panel, or raised-panel—that match your aesthetic.
Think about your storage needs and budget too. Browsing showrooms or online galleries can give you great inspiration.
Pick a style that balances functionality with visual appeal so your kitchen feels cohesive and inviting.
What Safety Precautions Should I Take During Installation?
Ever wondered how to stay safe during installation? First, wear safety glasses and gloves to protect your eyes and hands. Use a sturdy ladder and make sure it’s on a flat surface.
Keep your workspace clear of debris and tools to prevent trips. Turn off power if you’re working near electrical outlets. Are you prepared to work carefully and stay alert?
Following these precautions keeps you safe while installing your cabinets.
How Can I Customize Cabinets to Fit Non-Standard Spaces?
To customize cabinets for non-standard spaces, start by measuring carefully and noting any irregularities. This helps ensure your modifications will fit properly.
When cutting your cabinets, do so carefully with a saw, making sure the edges are smooth. You can add fillers or trim pieces to fill gaps or adjust the widths as needed.
Think about changing cabinet depths or heights if necessary. Using adjustable shelving can also help maximize your space effectively.
Always double-check your measurements before making any cuts. Secure your modifications with strong adhesive and screws to keep everything stable.
What Are Some Tips for Hiding Cabinet Installation Mistakes?
To hide cabinet installation mistakes, start by filling any gaps or holes with wood filler, then sand smooth. Use caulk to seal gaps around edges for a seamless look.
If misalignments are noticeable, consider installing decorative trim or molding to cover uneven lines.
You can also repaint or touch up the cabinets to mask imperfections and give them a polished, professional appearance.
These steps help your cabinets look intentional, even if there were some initial errors.
How Do I Maintain and Clean My Kitchen Cabinets Properly?
To maintain and clean your kitchen cabinets properly, regularly wipe down surfaces with a soft cloth and a gentle cleaner suitable for your cabinet finish. Avoid abrasive scrubbers that can damage the surface.
For sticky spots, use a mixture of warm water and mild soap. Don’t forget to clean the hardware periodically.
Keep humidity levels steady to prevent warping or swelling, and reapply protective finishes if needed to keep them looking fresh.
Conclusion
By following these seven essential steps, you can confidently hang your kitchen cabinets like a pro. Proper planning and precision are key to a successful installation. Did you know that incorrect cabinet installation accounts for up to 30% of kitchen remodel issues?
Taking your time and paying attention to detail will ensure a polished, professional look that lasts. With patience and the right techniques, you’ll transform your kitchen into a beautiful, functional space you’ll love.
Remember, mastering the art of hanging kitchen cabinets can make all the difference. So, stay focused, follow these steps, and enjoy your upgraded kitchen with confidence.