Step-by-Step Guide to Installing a Kitchen Backsplash
Getting a kitchen backsplash just right can feel overwhelming—there’s so much to consider, from choosing the right materials to making sure everything lines up perfectly.
Many people struggle with creating a polished, professional look on their own, but you’re not alone. With a little guidance, you can tackle this project confidently.
To install a kitchen backsplash, start by choosing durable materials like ceramic or glass tiles. Then thoroughly clean and prepare your wall.
Measure accurately, plan your layout, and gather tools like a notched trowel, level, and spacers.
Apply adhesive evenly, carefully align tiles, and use spacers to keep gaps uniform. Once installed, grout and seal the surface for a polished look.
If you want step-by-step tips for each part, keep exploring further.
Key Takeaways
- Select durable, suitable materials like ceramic, glass, or metal. Prepare the wall by cleaning, sanding, and priming if needed.
- Measure wall dimensions accurately. Plan your layout and mark reference lines for precise installation.
- Gather essential tools such as a notched trowel, spacers, level, and safety gear before starting.
- Cut tiles precisely. Then, apply adhesive and install tiles in small sections. Make sure to keep everything aligned and spaced properly.
- Finish with grouting, sealing, and cleaning for a polished look. It’s also good to know how to remove or replace the backsplash if needed.
How to Choose the Best Materials for Your Backsplash
Choosing the right materials for your backsplash is key to blending style and function in your kitchen. You want something that complements your overall design and can handle daily use.
Think about durability—materials like ceramic, porcelain, or glass tiles are moisture and stain-resistant. If you like a natural look, options like marble or slate can add elegance, but they might need more upkeep.
Durable options like ceramic, porcelain, or glass tiles resist moisture and stains for easy maintenance.
For a modern vibe, metal or stainless steel can give a sleek look and are easy to clean. Consider your lifestyle: if you cook a lot, pick materials that are simple to wipe down and resistant to heat and splashes.
Ultimately, choose a material that matches your style but also stands up to everyday use. This way, your backsplash will look great and last for years.
Measure and Plan Your Backsplash Layout
Start by measuring your wall dimensions carefully so your backsplash fits perfectly.
Then, plan your pattern and layout to create a cohesive and visually appealing design.
Taking these steps helps you avoid mistakes and makes the installation smoother.
Measuring Wall Dimensions Accurately
To make sure your backsplash fits perfectly, it’s important to measure your wall dimensions accurately before buying or cutting any materials.
Start by using a tape measure to find the wall’s width and height at different points, since walls can be uneven. Write down the smallest measurements to ensure a good fit.
Don’t forget to note the location of outlets, switches, or fixtures that might affect the layout. Use a level to check that your measurements are straight and consistent.
Double-check all your numbers before moving forward.
Here are some key steps:
- Measure wall width and height at multiple points
- Record the smallest measurements to avoid oversizing
- Mark the positions of outlets, switches, and fixtures
- Use a level to verify your measurements are straight and consistent
Getting accurate measurements will save you time and materials and help you achieve a professional look.
Designing Pattern and Layout
Before you start laying out your backsplash, it’s important to plan your pattern and layout based on your measurements. Begin by sketching your design on paper, keeping in mind the size and shape of your tiles.
Decide if you want a centered pattern, a running bond, or a herringbone layout. Think about any outlets, switches, or obstacles that might influence your pattern.
Measure and mark the wall with a pencil to guide your tile placement. Make sure your design looks balanced and symmetrical.
Use a level to draw straight reference lines, especially if you’re working with large tiles or complex patterns. Planning ahead helps you avoid surprises and ensures a professional, polished look when you’re done.
What Tools and Supplies Do You Need?
What Tools and Supplies Do You Need?
Before you start installing your backsplash, you’ll want to gather the essential tools and supplies. A clear checklist of what you need will make the process smoother and help prevent interruptions.
Let’s go over the key items to guarantee you’re fully prepared.
Essential Tools Checklist
Gathering the right tools and supplies is essential for a smooth backsplash installation. Having these items ready helps keep your project on track and makes it look professional. You’ll need:
- A utility knife for cutting tiles or backing materials
- A notched trowel to spread adhesive evenly
- A level to check that your backsplash is straight
- Tile spacers for consistent grout lines
Additional essentials include a measuring tape, a pencil for marking cuts, and a sponge for cleaning. These tools help you work efficiently and get a polished look.
Make sure your tools are in good condition before you start. Using proper equipment makes the process easier and reduces errors, saving you time and frustration.
Proper preparation with the right tools is the foundation of a successful backsplash project.
Necessary Supplies List
To successfully install a kitchen backsplash, you need to have the right supplies on hand. First, gather your tiles—whether ceramic, glass, or subway tiles—and a tile cutter or wet saw for precise cuts.
You’ll also need tile adhesive or thin-set mortar, a notched trowel to spread the adhesive evenly, and tile spacers to guarantee even gaps. Prepare for cleanup with a sponge, clean water, and a rag.
Don’t forget a level to keep tiles straight, a pencil for marking cuts, and a measuring tape for accurate placement. Safety gear like gloves and goggles is essential.
Finally, have a grout float, grout, and sealant ready to finish and protect your work. Having these supplies ready makes your installation smoother and more efficient.
Prepare Your Wall for a Smooth Finish
Making certain your wall is properly prepared is essential for a smooth backsplash installation. Start by cleaning the surface thoroughly to remove grease, dust, and debris.
Next, lightly sand the wall to create a rough texture that helps the adhesive grip better. If your wall has a glossy or painted finish, apply a primer to promote adhesion.
Finally, check for any loose or flaking paint and scrape it off. To achieve a professional look, consider the following:
- Clean with a mild detergent and water
- Lightly sand to improve adhesion
- Apply a suitable primer if needed
- Remove any peeling paint or debris
Proper preparation creates a clean, even surface that ensures your backsplash stays in place and looks flawless. Taking these steps minimizes imperfections and sets a solid foundation for your project.
Fix Wall Imperfections Before Installing
Before you start installing your backsplash, it’s important to fix any wall imperfections. Uneven surfaces, holes, or cracks can make your project look unprofessional and cause issues later on.
Start by inspecting the wall carefully. Fill in holes and cracks with spackle or joint compound, smoothing them out with a putty knife. Once dry, sand the area until it’s flush with the rest of the wall.
For larger dents or imperfections, apply a thin layer of patching compound. After it dries, sand it smooth. Make sure the surface is clean and dust-free before moving forward.
Fixing these imperfections creates a flat, even surface. This helps your backsplash look neat and professional.
Cut and Arrange Your Backsplash Materials
Start by measuring your backsplash area carefully and planning your layout. This helps you know exactly how many tiles or panels you’ll need and gives you a clear idea of the final look.
Carefully measure and plan your backsplash layout for a precise, polished finish.
When cutting your materials, use a straight edge and a wet saw or tile cutter for clean, precise cuts. Always double-check your measurements before making any cuts to avoid waste.
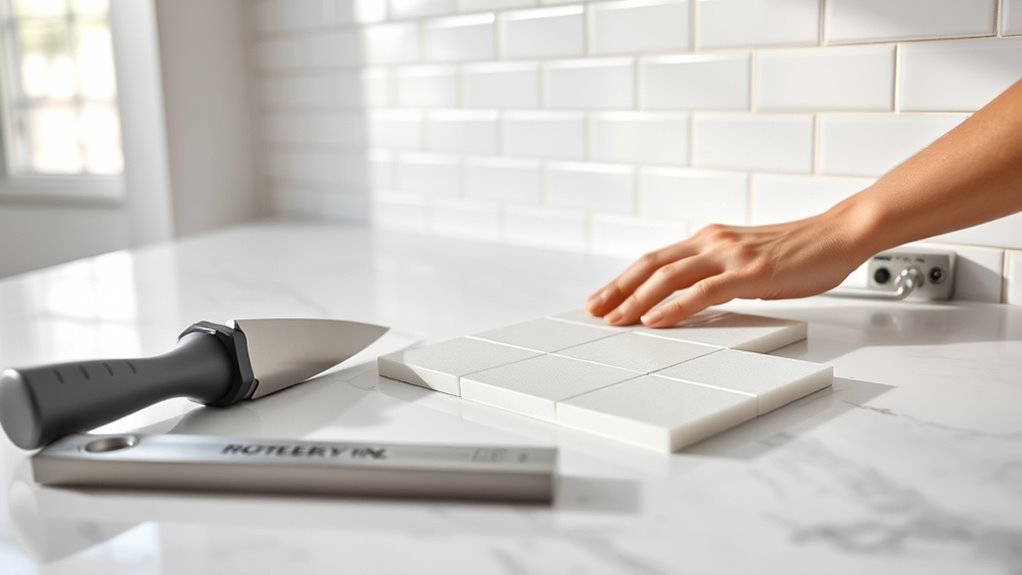
Arrange your pieces on a flat surface to test the layout before you start installing. Adjust as needed to get everything just right.
Consider lining up pattern and grout lines for a seamless appearance. Cut tiles slightly larger than your measurements and trim them down for a perfect fit.
Use spacers to keep consistent gaps between tiles. Save any cut-off pieces for repairs or small areas later on.
With proper planning and careful cutting, your installation will go smoothly and look polished once finished.
How to Apply Adhesive and Install Your Backsplash
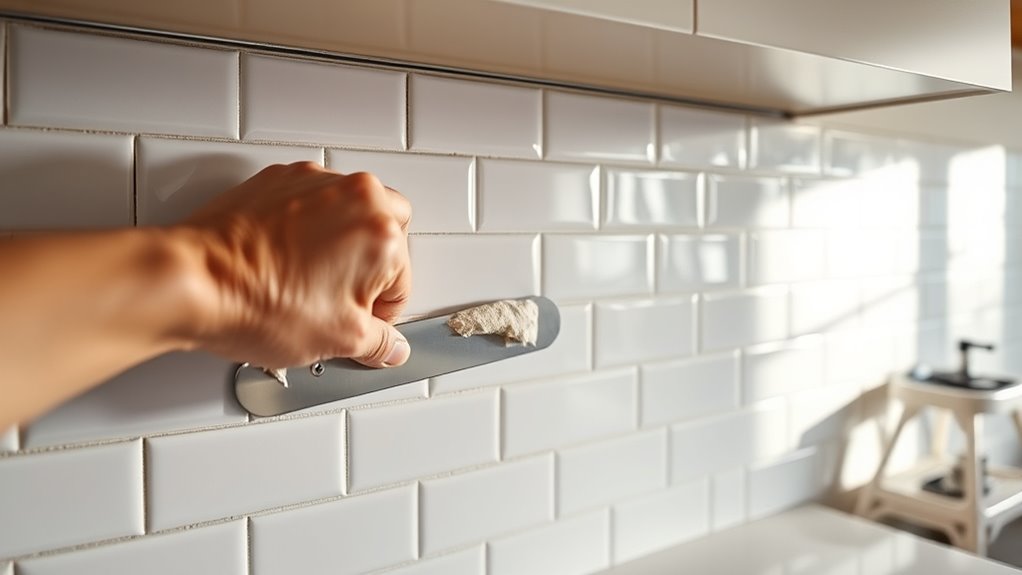
Applying adhesive correctly is key to a smooth and secure backsplash installation. Start by spreading the adhesive evenly on the back of each tile or panel with a notched trowel.
Hold the trowel at a 45-degree angle to create uniform ridges, which helps ensure good coverage without excess. Work in small sections so the adhesive doesn’t dry before you set the tiles.
Press each piece firmly onto the wall, applying consistent pressure to eliminate air pockets and ensure good contact. Use a level to check the alignment as you go.
If you need to reposition tiles, do it quickly before the adhesive sets. Clean any excess adhesive from the surface immediately with a damp cloth to prevent staining or hardening.
Align Panels and Overcome Installation Challenges
To make sure your backsplash looks seamless, focus on precise panel alignment using spacers and level guides. These tools will help you keep everything straight and even.
Expect to face some obstacles like uneven walls or crooked panels. But don’t worry—you can overcome these by adjusting your techniques and tools as needed.
Staying patient and paying close attention will help you handle common installation challenges effectively. Take your time, and you’ll get great results.
Precise Panel Alignment Techniques
Achieving perfectly aligned panels is key to getting that professional-looking backsplash. Careful prep work really makes a difference here. Start by measuring and marking reference lines with a level and pencil.
Use spacers to keep consistent grout lines and double-check your measurements often. When positioning panels, press firmly and make adjustments before the adhesive sets.
Here are some tips for accuracy:
- Use a straightedge or level to check alignment as you go
- Keep even gaps between panels with spacers
- Regularly verify measurements and adjust panels before the adhesive dries
- Work from the center outward to keep everything symmetrical and aligned
Tackling Common Installation Obstacles
Even with careful preparation, installing a backsplash can still throw unexpected challenges your way. Misaligned panels, uneven surfaces, or stubborn adhesive can be really frustrating.
When panels don’t line up properly, don’t force them. Instead, gently adjust their positioning. Use a level to ensure straight lines and make small corrections before the adhesive sets.
If surfaces are uneven, apply a thin layer of mortar or a leveling compound to create a smooth base. Stubborn adhesive or grout can be softened with a damp cloth or plastic scraper.
Always double-check your measurements and stay patient. Rushing can lead to mistakes. Remember, minor imperfections are fixable, and taking your time will give you a professional-looking finish.
Overcoming these obstacles can turn a tough project into a satisfying achievement.
Grout, Seal, and Finish Your Backsplash
Once you’ve installed your tiles, it’s time to focus on grouting, sealing, and finishing your backsplash. First, apply the grout with a rubber float, pressing it into the gaps between tiles. Wipe away excess grout with a damp sponge before it sets, keeping lines clean.
After the grout cures, seal it to protect against stains and moisture. Use a high-quality grout sealer, applying it evenly with a brush or spray. For a polished look, carefully clean the tile surface and edges.
To finish, caulk along edges and corners to create a seamless appearance. Remember to choose the right grout color for your design and work in small sections for even application. Allow enough drying time between steps, and use a quality sealer for long-lasting protection.
How to Remove or Replace Your Backsplash Later
Removing or replacing your backsplash is pretty straightforward if you take your time. First, turn off the power and cover nearby surfaces to keep debris from making a mess.
Next, use a utility knife to cut through the caulk or grout at the edges. Then, gently pry off the tiles or panels with a putty knife or crowbar, working slowly to avoid damaging the wall behind.
If the tiles are stubborn, try applying heat with a hairdryer to loosen the adhesive. When you’re ready to replace it, clean the wall thoroughly and remove any old adhesive before installing your new backsplash.
Take your time during removal to prevent wall damage. And don’t forget to wear safety goggles and gloves for protection.
Frequently Asked Questions
How Long Does a Backsplash Installation Typically Take?
A backsplash installation usually takes about one to three days, depending on the size of your kitchen and how complex the design is.
If you’re experienced, it might be quicker—around a day or two. But if you’re new to DIY projects, it could take longer as you carefully measure, cut, and make sure everything lines up just right.
Planning ahead and gathering your supplies can really help speed things up.
Can I Install a Backsplash Over Existing Tiles?
Yes, you can install a backsplash over existing tiles, but think of it as layering a new chapter over an old story. First, check that the old tiles are solid and clean—no loose pieces.
If the surface is uneven, consider smoothing it out. Applying a primer helps the new adhesive stick better.
With patience and a steady hand, you can transform your kitchen’s look without tearing out the old tiles, giving your space a fresh new vibe.
What Are Common Mistakes to Avoid During Installation?
You should avoid rushing the process or skipping proper preparation, like cleaning the surface thoroughly. Taking your time with these steps helps ensure a smooth installation.
Don’t forget to measure carefully and cut tiles precisely to prevent gaps or uneven lines. Small mistakes here can really stand out once you’re done.
Using the wrong adhesive or not letting it cure properly can cause tiles to come loose later. Make sure to follow the manufacturer’s instructions for the best results.
Also, don’t neglect grout sealing. Skipping this step can lead to stains and water damage over time.
Take your time, follow the instructions, and double-check your work. This way, you’ll achieve a professional-looking finish that lasts.
Is Special Cleaning Required for Certain Backsplash Materials?
Ever wonder if some backsplash materials need special cleaning? Many do—like glass or ceramic, which can be cleaned with mild soap and water. Just avoid harsh chemicals that might damage the surface.
Natural stone, such as marble, requires gentle cleaners and periodic sealing to prevent stains. Using the right cleaning method helps keep your backsplash looking great and lasting longer.
Always check the manufacturer’s recommendations before cleaning to make sure you’re using the best method for your material.
How Do I Ensure My Backsplash Remains Durable Over Time?
To keep your backsplash durable over time, regularly clean it with gentle, non-abrasive cleaners suited for the material. Seal porous surfaces like natural stone periodically to prevent stains and moisture damage.
Avoid harsh chemicals that can degrade finishes. Use appropriate tools to prevent scratches, and promptly wipe up spills to prevent staining or warping.
Proper maintenance and timely repairs will help your backsplash stay beautiful and resilient for years.
Conclusion
Now that you understand each step, installing a kitchen backsplash becomes manageable and even fun. Think of it like putting together a puzzle—once you see how the pieces fit, the process flows naturally.
With patience and attention to detail, you’ll create a beautiful focal point that boosts your kitchen’s style. Remember, a well-installed backsplash isn’t just practical; it’s a reflection of your DIY skills and personal touch.
So, embrace the process and enjoy decorating your space. Your new backsplash will be a stunning addition that makes your kitchen uniquely yours.