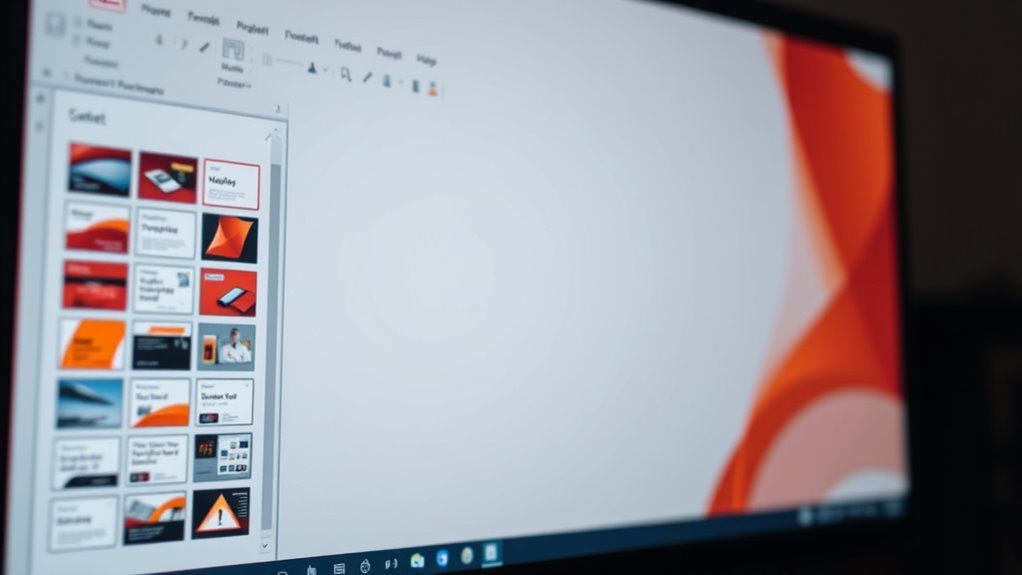
How to Use the Thumbnail Pane in PowerPoint
Many PowerPoint users find it challenging to navigate and manage large decks efficiently. If you’ve ever felt overwhelmed by dozens of slides, you’re not alone.
Luckily, the thumbnail pane can make your life so much easier.
To use the thumbnail pane in PowerPoint, open your presentation and go to the “View” tab. Click “Slide Thumbnails” to display the pane on the left, where you can view all slides at a glance.
You can resize thumbnails, rearrange by dragging, and delete or duplicate slides easily.
You can also select a thumbnail to directly edit or format that slide.
For more tips on managing large decks smoothly, keep exploring the full guide.
Key Takeaways
- Access the thumbnail pane by going to the “View” tab and clicking on “Slide Thumbnails” or “Slide Sorter.”
- Resize your thumbnails by dragging the edges, making them bigger or smaller for better visibility or a quick overview.
- To rearrange slides, simply drag the thumbnails to your desired position on the pane.
- If you need to delete multiple slides, select their thumbnails and press the Delete key.
- You can also right-click on a thumbnail to edit slides, apply transitions, or add animations directly from the options that appear.
How to Access the PowerPoint Thumbnail Pane

Wondering how to access the thumbnail pane in PowerPoint? It’s pretty straightforward. First, open your presentation and go to the “View” tab on the ribbon at the top of the window.
Access the thumbnail pane by clicking the View tab and selecting Thumbnails or Slide Sorter.
In the “Show” group, click on the “Slide Sorter” button or check the box labeled “Thumbnails” if you see it. This will instantly display the thumbnail pane on the left side of your window, showing small previews of all your slides.
If the pane doesn’t appear right away, try resizing your PowerPoint window or adjusting the layout. You can also access the thumbnail view by clicking the “Normal” view button at the bottom right corner of the interface.
Once it’s open, you’ll see all your slides in miniature form, making navigation much easier.
Customizing Thumbnail Size and Layout for Better Navigation
You can improve navigation by adjusting the thumbnail size to better fit your screen and content. Changing the layout, like arranging thumbnails in a grid or list, helps you find slides faster.
Experimenting with these settings makes your workflow smoother and more efficient. It’s all about customizing your view so everything feels just right.
Adjust Thumbnail Dimensions
Adjusting the thumbnail dimensions in PowerPoint can really make your navigation smoother, especially with complex presentations.
To do this, just hover over the edges of the thumbnail pane until your cursor turns into a resize arrow. Then click and drag to make the thumbnails bigger or smaller based on what you prefer.
Larger thumbnails give you a clearer view of slide content, making it easier to pick the right slide quickly. Smaller thumbnails fit more slides in the pane, giving you a wider overview.
Keep adjusting until you find a size that balances visibility with the number of slides displayed. This customization helps you navigate your presentation more efficiently without endless scrolling or losing your place.
Change Thumbnail Arrangement
Changing the order of your thumbnails can really make navigating PowerPoint easier. To do this, start by opening the Thumbnail Pane.
Look for the view options, which are usually at the top or in the right-click menu. Here, you can pick different thumbnail orientations like vertical or horizontal, based on what you prefer.
You can also resize the thumbnails by dragging the edges of the pane or choosing preset sizes if available. This way, you can see more slides at once or focus on specific content.
Rearranging thumbnails helps you highlight important slides or organize your presentation flow. Try out different layouts until you find what works best for you.
Rearranging and Deleting Slides Using Thumbnails
Rearranging and deleting slides using thumbnails in PowerPoint is an easy way to organize your presentation quickly. To move a slide, just click and hold its thumbnail, then drag it to where you want it.
Release the mouse button to drop the slide in its new spot. This makes it simple to reorder slides without switching views.
To delete a slide, click on its thumbnail to select it, then press the Delete key on your keyboard. You can select multiple slides by holding down Shift or Ctrl (Cmd on Mac) while clicking thumbnails, then delete them all at once.
Using thumbnails to rearrange and delete slides saves time and helps keep your presentation organized, especially with large slide decks.
Using Thumbnails to Quickly Edit and Format Slides
Once you’ve organized your slides using thumbnails, you can speed up editing and formatting directly from the thumbnail pane. This lets you make quick adjustments without switching views.
For example, you can select a thumbnail to instantly open that slide for editing. You can also apply formatting changes like font styles, colors, or alignment to multiple slides at once.
Dragging thumbnails allows you to duplicate or move slides easily. Right-click options let you add animations, transitions, or change layouts directly from the pane.
This method streamlines your workflow and helps you make multiple edits efficiently. Instead of navigating through menus, you see your entire slide deck at a glance and can implement changes quickly.
Using thumbnails is a powerful way to boost your productivity during editing sessions.
Synchronizing Thumbnails With Slide Sorter View for Efficient Management
You can boost your workflow by syncing thumbnails with slides and turning on synchronized navigation.
This makes it easy to switch between the Thumbnail Pane and Slide Sorter view without losing your spot.
Align Thumbnails With Slides
Aligning thumbnails with slides in PowerPoint makes managing and editing your presentation much easier. When the thumbnails match the slide order, navigation is faster, and you can work more intuitively.
To align thumbnails, first check that your thumbnail pane shows the slides in the correct order. You can then:
- Rearrange thumbnails to match the slide sequence
- Use drag-and-drop for quick adjustments
- Enable grid or snap-to options for precise placement
- Regularly update the thumbnail view to reflect recent changes
This way, when you click a thumbnail, you’re sure you’re working on the right slide. Keeping thumbnails synced with your deck helps prevent errors and makes editing smoother, especially with larger presentations or during revisions.
Enable Synchronized Navigation
Enabling synchronized navigation between the thumbnail pane and Slide Sorter view makes your workflow smoother by keeping both views in sync automatically. To do this, open your presentation and switch to the Slide Sorter view.
Make sure the thumbnail pane is visible. Then, go to the “View” tab and select “Slide Sorter.” PowerPoint will automatically sync the thumbnails with the slides.
When you select a thumbnail, the corresponding slide is highlighted in the main view. Any changes you make in one view will instantly show up in the other.
This saves you time and helps prevent mistakes. It’s especially useful for managing large presentations, making it easy to navigate, reorganize, or edit slides without switching back and forth.
Turn on synchronized navigation to streamline your slide management and work more efficiently.
Troubleshooting Common Thumbnail Pane Issues
Encountering issues with the Thumbnail Pane in PowerPoint can disrupt your workflow and make it hard to navigate your presentation smoothly. If your thumbnails aren’t showing up right or the pane is missing, here are some things to try.
First, check if the pane is hidden. Click on “View” and then “Slide Thumbnails” to see if it appears. Sometimes it’s just a matter of it being minimized or hidden.
If that doesn’t work, try restarting PowerPoint. A simple restart can fix temporary glitches that might be causing the problem.
Make sure you’re in the right editing mode. Switch between Normal and Slide Sorter views to see if the thumbnails appear in either mode.
If the problem continues, consider repairing your Office installation. This can fix underlying issues that might be affecting PowerPoint’s features.
Keyboard Shortcuts for PowerPoint Thumbnails
Using keyboard shortcuts can really speed up your workflow when working with the Thumbnail Pane in PowerPoint.
To move between slides, press the arrow keys: Up and Down navigate through the list, while Left and Right switch between slide groups if you have them organized that way.
Use arrow keys to navigate slides and slide groups quickly in the Thumbnail Pane.
To select a slide, just press Enter or Spacebar. You can also press Ctrl + A to select all thumbnails, which is handy for doing bulk actions.
To zoom in on the Thumbnail Pane, use Ctrl + Mouse Wheel or the zoom slider. If you want to delete a slide, select it and press Delete or Backspace.
These shortcuts help you move quickly through your presentation, making editing and organization more efficient. Mastering them can really streamline your workflow.
Best Practices for Managing Large Presentations With Thumbnails
Managing large presentations can seem overwhelming, but organizing your slides with thumbnails makes everything much easier.
To stay efficient, regularly rearrange your slides for a logical flow and group related content together. Use the thumbnail pane to quickly find and review key sections.
Delete unnecessary or duplicate slides to reduce clutter. You can also color-code or label thumbnails for quick identification and easy access.
Applying these tips helps you navigate big decks effortlessly. It keeps your presentation organized and saves you time during editing and delivery.
Staying organized with thumbnails keeps your project clear and manageable from start to finish.
Frequently Asked Questions
Can I Customize the Thumbnail Preview Images?
Yes, you can customize thumbnail preview images in PowerPoint, but there are some limits. You can’t directly change the thumbnails in the pane.
However, you can update the slide content itself, which then updates the thumbnail. To make them more recognizable, try adding distinctive images or text to your slides.
If you want specific thumbnails, create custom images and insert them into your slides. Then, set those images as backgrounds for a personalized look.
How Do I Search for Specific Slides Within the Thumbnail Pane?
To search for specific slides within the thumbnail pane, start by clicking on the slide sorter view or opening the slide thumbnail pane.
Then, look for the search box at the top of the pane. Type in keywords or slide titles related to the slide you’re trying to find.
PowerPoint will automatically filter and highlight the matching slides. This makes it easy to locate the specific slide quickly without having to scroll through the entire presentation.
Is It Possible to Lock the Thumbnail Pane’s Position?
Absolutely, you can lock the thumbnail pane’s position to keep your workspace tidy. Think of it as anchoring a ship before a storm—stabilize it so it doesn’t shift unexpectedly.
To do this, go to the View tab, then select “Slide Sorter” or “Normal” view, and adjust the pane’s placement. PowerPoint usually keeps your layout consistent, but locking the pane’s position ensures it stays put as you work through your slides.
Can I Add Annotations Directly in the Thumbnail View?
You can’t add annotations directly in the thumbnail view in PowerPoint. The thumbnail pane is mainly for navigation and organizing slides.
To annotate, you’ll need to use drawing tools or comments on the slide itself during editing or presentation.
If you want to mark up slides, switch to the Normal view. Then, use the Draw or Comment options to add annotations directly onto your slides.
How Do I Recover Accidentally Deleted Thumbnails?
Did you accidentally delete a thumbnail? Don’t panic—you might still have a chance. First, check the “Undo” option right away; press Ctrl + Z or click the Undo button.
If you’ve closed PowerPoint, open the AutoRecover version of the file or look in your Recycle Bin. Sometimes, recent backups or saved versions have your thumbnails.
Act quickly—these options could save your work before it’s gone forever.
Conclusion
Mastering the thumbnail pane makes managing your presentation seamless, turning chaos into clarity. As you get more comfortable customizing and navigating thumbnails, your workflow becomes smoother and more efficient.
Think of it like a well-organized toolbox—your secret weapon for quick edits and effortless slide management. The more you use the thumbnail pane, the easier it is to keep everything in check.
Remember, in PowerPoint, small tools often lead to big results. Keep your thumbnails handy and your presentation polished for a professional finish.