Mastering Kitchen Shears – Step-by-Step Sharpening Guide
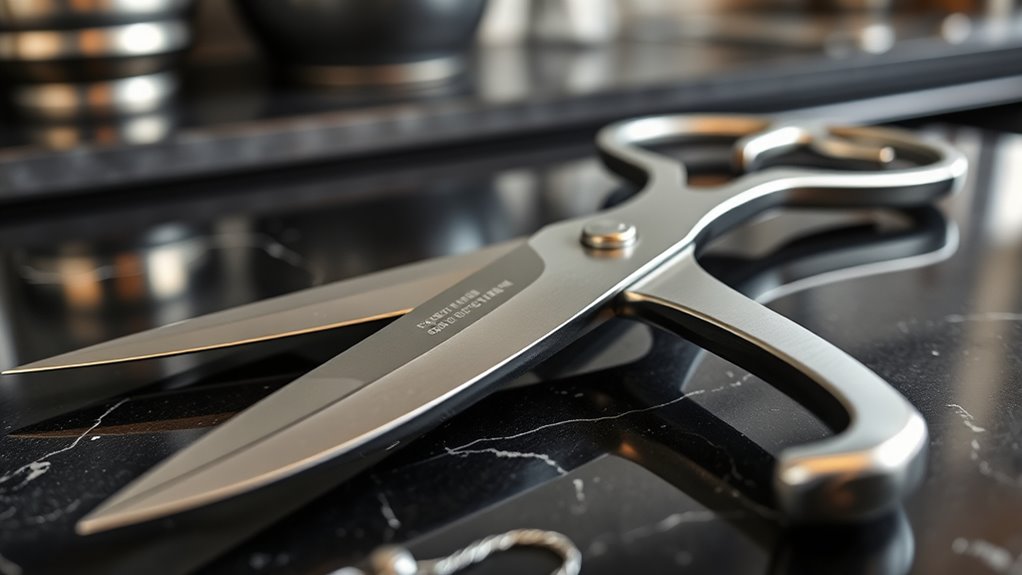
Many home cooks find sharpening kitchen shears to be a daunting task. If you’re tired of struggling with dull blades that make prep work frustrating, you’re not alone. Keeping your shears sharp is essential for safe, efficient kitchen work, but it can feel tricky to do on your own.
To master sharpening kitchen shears, start by choosing the right tools like a whetstone, file, or sandpaper. Make certain you maintain the correct angle—around 20-30 degrees—and use light, consistent pressure.
Clean and dry your shears before sharpening, and inspect the edge often. Remember to finish by cleaning, oiling, and storing them properly. If you keep these steps in mind, you’ll keep your shears sharp and ready for any task.
Keep going to learn more!
Key Takeaways
- Look for signs that your kitchen shears are dull. If cutting becomes more effortful or the blades leave jagged edges, it’s time to sharpen them.
- When choosing tools, options like a whetstone, diamond file, or even sandpaper work well. Just make sure you keep the right angle as you sharpen.
- Use steady pressure and follow a consistent technique. Take your time and regularly check the blades to see how they’re improving.
- After sharpening, clean and dry the shears thoroughly. Applying a little oil will help prevent rust and keep them sharp longer.
- If the blades are chipped or bent, or if sharpening doesn’t give you a clean cut, it’s best to get professional help.
Why Sharp Kitchen Shears Make Cooking Easier
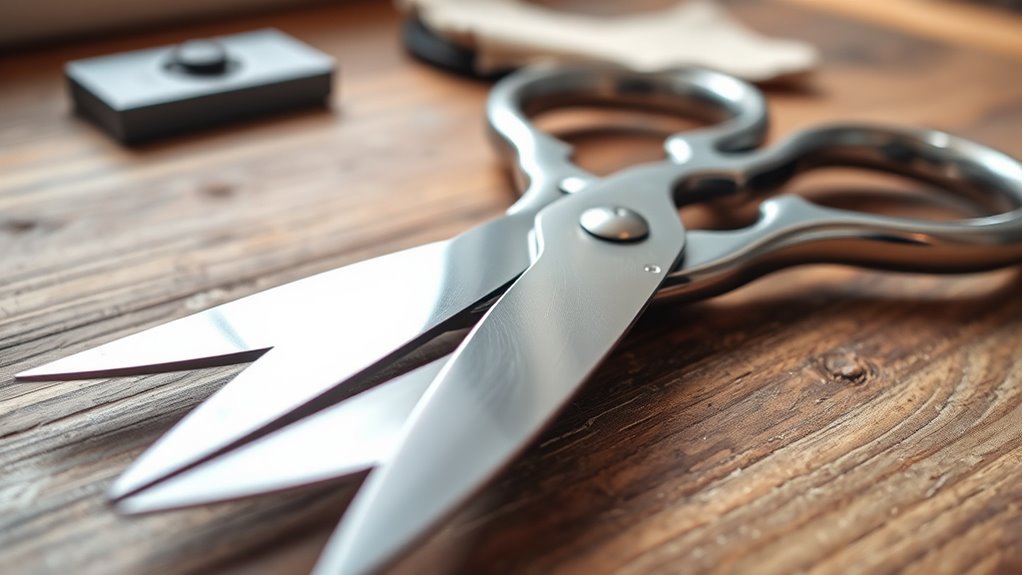
Having sharp kitchen shears makes your cooking tasks much easier and more efficient. When your shears are sharp, cutting becomes smoother and requires less effort, saving you time and energy.
You’ll find it easier to chop herbs, trim meats, or open packages without struggling or damaging ingredients. Sharp shears also boost safety, as you won’t need to force cuts that could slip and cause injury.
Precision is key, especially when working with delicate ingredients, and sharp blades give you cleaner, more accurate cuts. This means your food looks better and cooks evenly.
What Tools Do You Need to Sharpen Kitchen Shears?
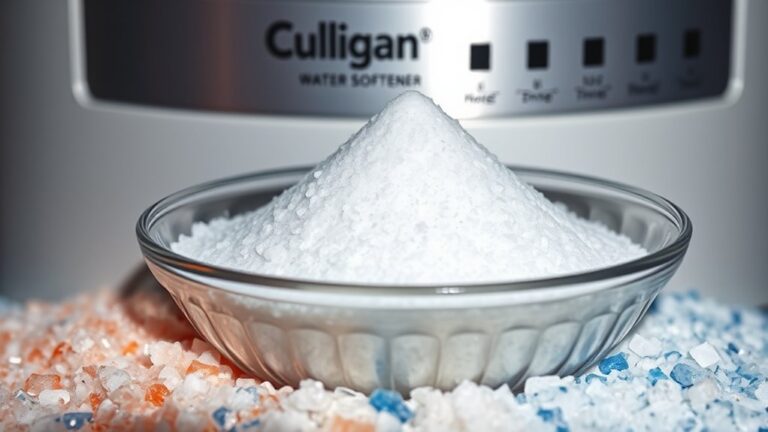
To sharpen your kitchen shears effectively, you’ll need a few essential tools. First, a sharpening stone or whetstone is vital for honing the blades. Pick one with a fine grit for finishing touches and a coarser grit for initial sharpening.
A sharpening stone with fine and coarse grits is essential for honing kitchen shears effectively.
A diamond file can also work well, especially for tougher, dull blades. Plus, a sharpening guide or jig helps keep the right angle so you get consistent results.
You’ll also want a small brush or cloth to clean debris from the blades and remove metal filings. And don’t forget a lubricant like honing oil to reduce friction and protect the blades during sharpening.
Having these tools ready makes the process smoother and ensures your shears stay sharp and effective.
How to Tell When Your Kitchen Shears Need Sharpening
How can you tell if your kitchen shears are dull and need sharpening? One sign is when they start to require more effort to cut through food.
If you notice jagged edges or uneven cuts, it shows the blades are dull. You might also see torn or crushed food instead of clean slices.
Another clue is if the shears slip or don’t close smoothly, which suggests they aren’t gripping properly.
Plus, if you’re struggling to cut through tougher items like chicken or thick herbs, it’s probably time to sharpen them.
Regularly inspecting the blades for dullness and testing their cutting ability can help you decide when they need attention.
This way, your kitchen shears will stay safe and work efficiently when you need them.
Step-By-Step Guide to Sharpening Kitchen Shears With a Whetstone
To sharpen your kitchen shears with a whetstone, start by properly preparing the stone. Make sure it’s soaked and ready for use before you begin.
Next, focus on applying the correct sharpening technique. Keep your angles and pressure consistent throughout the process.
Follow these steps carefully to restore your shears’ cutting edge effectively.
Preparing the Whetstone
Before you start sharpening your kitchen shears, it’s essential to prepare your whetstone properly. Proper preparation guarantees a smoother sharpening process and better results.
First, soak the whetstone in water for about 10-15 minutes until bubbles stop. This prevents the stone from drying out and helps create a fine honing surface. Check the manufacturer’s instructions for specific soaking times.
Keep a towel nearby to wipe off excess water during use. Make sure your work area is stable and free of debris. Also, have a guide or angle stone ready to maintain the correct sharpening angle.
Finally, verify the stone is placed on a non-slip surface to prevent movement. Proper preparation sets the foundation for effective, safe sharpening.
Proper Sharpening Technique
Start by positioning your shears on the wetted whetstone at the correct angle, usually around 20 to 30 degrees, depending on what the manufacturer recommends. Keep this angle consistent throughout the sharpening process.
Use light, even pressure as you slide the blades across the stone. Move from the pivot point to the tip in a smooth, controlled motion. Flip the shears and do the same on the other side to ensure both blades are evenly sharpened.
Make sure the blades stay aligned and avoid applying too much force, which can damage the edge. Regularly inspect the edge to check your progress.
Keep going until you get a sharp, clean cut. Proper technique will help your shears last longer and work better.
How to Sharpen Kitchen Shears With a File
Sharpening your kitchen shears with a file is simple and can bring back their cutting power. First, secure the shears in a clamp or grip to keep them from slipping.
Use a fine-tooth or flat file, holding it at a consistent 20 to 30-degree angle against the beveled edge. Push the file along the blade with smooth, even strokes, moving from the pivot to the tip.
Repeat this process on both blades, keeping the same angle and pressure throughout. When you’re done, test the shears by cutting through paper or fabric to see how sharp they are.
Using Sandpaper or Emery Boards to Sharpen Kitchen Shears
After securing the shears, you can turn to sandpaper or emery boards as a quick sharpening solution. Start by choosing a fine-grit sandpaper or a medium emery board.
Hold the shears firmly and open them slightly. Place the edge of the sandpaper or emery board against one of the blades at a 20-30 degree angle.
Hold the shears firmly, open slightly, and angle the sandpaper at 20-30 degrees for effective sharpening.
Draw the blade across the surface, moving from the pivot to the tip, applying even pressure. Repeat this motion about 10-15 times on each side.
Switch to the other blade and repeat. This method helps remove small nicks and dullness. Be careful to maintain the same angle throughout.
Afterward, wipe the blades clean with a damp cloth to remove any debris or metal shavings.
How Often Should You Sharpen Your Kitchen Shears?
Generally, you should sharpen your kitchen shears whenever you notice they’re cutting less effectively or require more force than usual. Regular sharpening helps keep them performing at their best and ensures safety.
How often you do this really depends on how much you use them. Heavy cooks might need to sharpen every few months, while occasional users might only do it once or twice a year.
Keep an eye out for signs like torn or ragged edges, difficulty cutting through tasks, or uneven blades. To stay ahead, consider sharpening after every 10-15 uses or when switching between different tasks like cutting meat and vegetables.
If the blades feel dull or sticky, or cutting requires extra force, it’s probably time. Also, look for chipped or uneven edges, slipping during use, or if you switch between tasks often. Regular maintenance can extend the life of your shears and make your work easier.
Cleaning and Maintaining Your Shears After Sharpening
After sharpening your kitchen shears, it’s important to clean them thoroughly to remove any metal shavings or debris.
Applying a light coat of oil can help prevent rust and keep the blades functioning smoothly.
Proper storage and handling also protect your shears from damage and help them stay sharp longer.
Proper Cleaning Techniques
Once you’ve sharpened your kitchen shears, proper cleaning is essential to keep them in great shape. Cleaning removes debris, oils, and residue that can cause rust or dullness over time.
Start by rinsing the shears with warm water right after use to loosen any particles. Use a soft brush or cloth to scrub the blades, paying attention to the hinge area.
Dry the shears completely with a clean towel to prevent rust. You can also wipe the blades with a mild disinfectant or rubbing alcohol for extra cleanliness.
Regular cleaning helps prolong the lifespan of your shears and ensures smooth cutting every time.
Remember to store them in a dry, safe place to keep them in top condition.
Lubrication and Rust Prevention
Proper lubrication and rust prevention are key to keeping your shears in good shape after sharpening. After cleaning, put a light coat of oil, like mineral or sewing machine oil, on the blades and pivot points.
This helps reduce friction and keeps the shears operating smoothly. It also prevents wear. Be sure to wipe away any excess oil so dirt and debris don’t stick to it.
Regular lubrication creates a barrier against moisture, which can cause rust. To prevent rust, store your shears in a dry place and consider using a rust inhibitor if you live in a humid climate.
Taking good care of your shears will help them stay sharp, functional, and free from corrosion for years to come.
Storage and Handling Tips
To keep your shears in top condition, always store them in a clean, dry place where they won’t be exposed to moisture or excessive humidity. Proper storage helps prevent rust and keeps the blades sharp.
After cleaning, dry the blades thoroughly with a soft cloth to avoid corrosion. Use a protective sheath or case to shield the blades from damage.
Avoid tossing them loosely in drawers, which can dull or nick the blades. Regularly check for debris or residue, and clean as needed.
Lubricate the pivot point periodically to ensure smooth operation. Keep shears out of reach of children and handle with care to avoid accidental injury.
- Store in a dry, protected case
- Wipe blades after each use
- Keep away from moisture and humidity
- Use a blade guard or sheath
- Regularly inspect and clean
Tips to Prevent Dullness and Keep Your Shears Sharp Longer
Preventing your kitchen shears from dulling quickly starts with proper handling and maintenance. Always clean and dry your shears after each use to prevent rust and buildup that can dull blades.
Use them only for their intended tasks—cutting food, not opening packages or other materials—as different materials can damage the edges. Avoid cutting through bones or hard objects that can chip or bend the blades.
When not in use, store your shears in a safe, dry place, preferably in a sheath or designated holder to protect the edges. Regularly check and tighten any screws to keep the blades aligned properly.
Common Mistakes to Avoid When Sharpening Kitchen Shears
One common mistake people make when sharpening kitchen shears is using the wrong tools or techniques, which can damage the blades instead of restoring their edge. Avoid rushing or applying uneven pressure, as this can misalign the blades or cause nicks.
Don’t sharpen too aggressively because over-sharpening can weaken the edge. Using dull or worn-out sharpening tools defeats the purpose, so make sure your tools are sharp and suitable for the job.
Sharpening at inconsistent angles can ruin the blades’ design and performance. Also, neglecting to clean the shears before sharpening can cause debris to scratch or dull the blades further, making the process less effective.
When Should You Consider Professional Shear Sharpening Services?
If your kitchen shears have bent or chipped blades, it’s time to consider professional sharpening. Damaged edges often can’t be fixed with home tools and need expert attention to restore their effectiveness.
Don’t wait too long, or you might end up compromising the shears’ performance even more. Getting them sharpened by a pro can help keep your tools in great shape and make cutting easier.
When Blades Are Damaged
Damaged blades can really hurt the performance of your kitchen shears, making your tasks harder and increasing the risk of injury. If your shears have chips, cracks, or bent blades, it’s time to consider professional sharpening.
Dull or damaged blades won’t cut smoothly, so you’ll need to apply more pressure, which can cause slips. You should also seek professional help if you notice uneven edges or if the blades no longer line up properly.
Think about professional sharpening if:
- The blades have visible chips or cracks
- They don’t cut through materials cleanly anymore
- You see uneven or jagged edges
- The blades are bent or out of alignment
- Your attempts at sharpening haven’t improved performance
For Best Results
To get the best cutting results, consider professional sharpening services when your shears no longer cut smoothly despite regular maintenance. If you notice jagged edges, uneven cuts, or increased effort, it’s time to call in the experts.
Professionals can restore your shears’ sharpness and extend their lifespan, making sure every cut is precise and effortless. Don’t wait until the blades are completely dull or damaged; timely sharpening helps preserve your tools’ integrity.
Here’s a quick reminder of how you might feel:
| Emotion | Impact |
|---|---|
| Frustration | Struggling with dull blades ruins your experience. |
| Confidence | Sharp shears give you control and precision. |
| Satisfaction | Well-maintained shears make cooking more enjoyable. |
| Anxiety | Fear of damaging your tools discourages DIY attempts. |
| Relief | Professional help offers peace of mind and perfect cuts. |
Frequently Asked Questions
Can I Sharpen Kitchen Shears at Home Without Special Tools?
Yes, you can sharpen kitchen shears at home without special tools. Use a fine-grit nail file or a sharpening stone by carefully running it along the blades’ beveled edges.
Open and close the shears repeatedly, applying gentle pressure. Be sure to clean the blades afterward to remove any metal shavings.
This DIY method can improve cutting performance, but for very dull or damaged shears, professional sharpening might be necessary.
How Long Does a Typical Sharpening Session Take?
A typical sharpening session usually takes around 10 to 20 minutes, depending on how dull your shears are and your experience level.
If your shears are only slightly dull, it might only take about 10 minutes. For blades that are more dull or damaged, plan for closer to 20 minutes to ensure they’re properly sharpened.
Are There Specific Types of Kitchen Shears That Are Harder to Sharpen?
Yes, some types of kitchen shears are harder to sharpen. Heavy-duty or industrial-grade shears with thick blades, serrated edges, or special coatings require more effort and specific tools.
For example, serrated blades can’t be sharpened with standard stones because their teeth need special attention. You might find it more challenging to sharpen these, and it’s often better to seek professional sharpening services.
That way, you can be sure they’re properly restored without risking damage.
What Signs Indicate My Shears Are Beyond Home Sharpening Repair?
Did you know over 80% of home cooks struggle to tell when their shears need professional sharpening? If your shears no longer cut cleanly, feel dull even after sharpening, or develop nicks and chips, it’s a sign they’re beyond home repair.
Also, if they’re misaligned or require excessive effort to cut, it’s time to see a professional. Trying to sharpen further could damage them or compromise safety.
Is It Safe to Use Household Items for Sharpening Kitchen Shears?
Using household items to sharpen your kitchen shears isn’t recommended because it can be unsafe and ineffective. Household abrasives or tools may damage the blades or create uneven edges, which can increase the risk of injury.
Instead, it’s better to use proper sharpening tools like a sharpening stone, a ceramic rod, or professional sharpening services. These methods help ensure your shears stay safe to use, cut well, and last longer.
Conclusion
With sharp kitchen shears, you hold the power to cut effortlessly through any task, much like a master swordsman wielding a finely honed blade.
By following these simple steps and maintaining your shears properly, you guarantee they stay as precise as a well-tuned instrument.
Remember, a little care goes a long way, turning your kitchen into a battlefield where only sharpness prevails.
Keep your shears sharp, and let your culinary skills shine brighter than ever with well-maintained kitchen shears.