
7 Simple Steps to Tighten Your Kitchen Faucet
Many homeowners struggle with leaky or wobbly kitchen faucets, and fixing them can seem intimidating. But don’t worry—you’re not alone, and with a few simple steps, you can tighten your kitchen faucet yourself.
To tighten your kitchen faucet, start by turning off the water supply and draining remaining water. Gather essential tools and replacement parts, then carefully remove the handles and components.
Next, tighten any loose connections and mounting nuts, making sure not to over-tighten.
Reassemble the faucet, turn the water back on, and check for leaks.
Following these straightforward steps will help you fix common issues and keep your faucet in top shape. More tips await if you keep going.
Key Takeaways
- Turn off the water supply valves under the sink so you don’t get any leaks while tightening things up.
- Open the faucet to drain out any leftover water and to relieve pressure.
- Use an Allen wrench or screwdriver to remove the handle. Once it’s off, take a good look at the connections to see if anything is loose.
- Tighten the faucet handle and fittings securely. Just be careful not to over-tighten, as that can cause damage.
- Turn the water supply back on and check for leaks. This way, you’ll know everything is properly tightened and working fine.
How to Identify if Your Kitchen Faucet Is Leaking or Loose
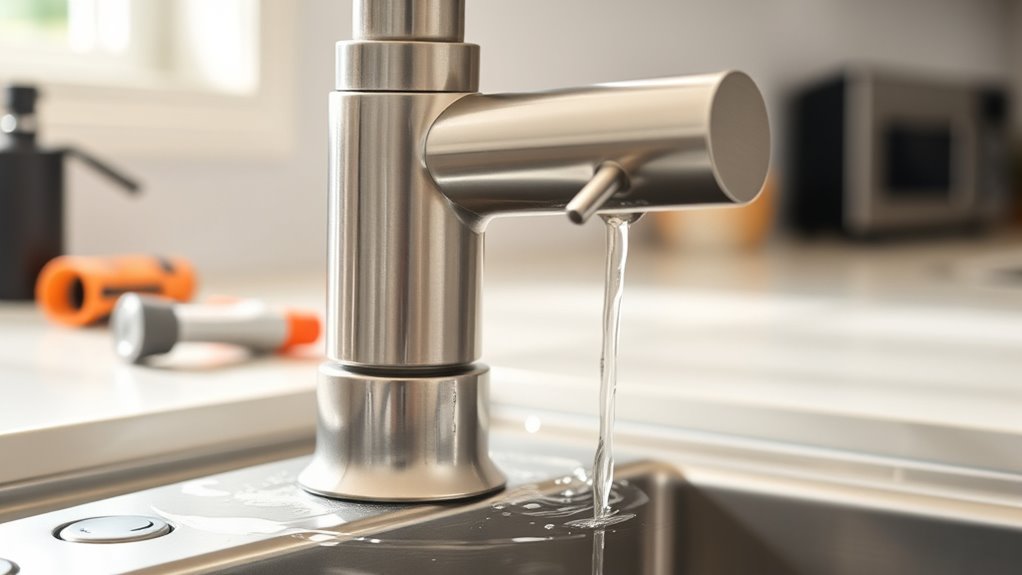
To determine if your kitchen faucet is leaking or loose, start by closely inspecting it during regular use. Look for any water dripping from the spout even when it’s turned off. If you notice continuous dripping, it indicates a leak.
Also, pay attention to the handle. If it feels wobbly or moves excessively when you turn or adjust it, the faucet may be loose. Check for water pooling around the base, which suggests a seal or connection might be compromised.
Listen for any hissing or dripping sounds that persist after turning off the water. These signs point to leaks or loose fittings that need tightening. Identifying these issues early helps prevent further damage and possible water waste.
Turn Off the Water Supply to Your Kitchen Faucet
Before you try to tighten or fix your kitchen faucet, you need to turn off the water supply. This helps prevent leaks and water damage while you’re working.
First, find the shut-off valves under the sink. They’re usually small handles or knobs. Turn each one clockwise until it stops—that cuts off water to the faucet.
Locate the under-sink shut-off valves and turn them clockwise to stop the water flow.
Next, open the faucet slightly to drain any remaining water and make sure the water is off. If your sink has a main shut-off valve, you can turn that off instead.
Always double-check that no water is coming out before you start working. This step keeps your repair safe and mess-free.
Gather the Tools and Parts You Need for the Fix
Before you start, gather all the necessary tools like a wrench and screwdriver to make the repair easier.
Collect any replacement parts, such as washers or O-rings, that might be worn or damaged.
Keep your workspace organized so you can access everything quickly and avoid unnecessary delays.
Identify Necessary Tools
Gathering the right tools and parts is essential for a smooth faucet repair. To figure out what you need, start by inspecting your faucet for any loose or worn parts.
Then, gather these essential tools:
- An adjustable wrench for loosening nuts and fittings.
- Phillips and flat-head screwdrivers for removing screws.
- Plumber’s grease to make reassembly easier and prevent leaks.
Having these tools ready ensures you can work efficiently without interruptions. Check if you need extras like a rag or a bucket to catch drips.
Make sure your tools are in good condition so you don’t struggle during the repair. Being prepared with the right tools makes tightening your kitchen faucet straightforward and hassle-free.
Collect Replacement Parts
Once you’ve identified the tools needed for your faucet repair, the next step is to collect the replacement parts. Check your faucet’s model and gather any specific components it requires, like O-rings, washers, or cartridges.
Having these ready helps prevent delays and makes sure you don’t forget any important pieces. Inspect the parts for damage or wear, and replace anything that looks worn or broken.
If you’re unsure what to buy, take the old parts with you to the hardware store for comparison. Confirm you have the right size and type for your faucet.
Gathering everything beforehand makes the repair smoother and quicker. Double-check you have all the necessary parts before you start so you can focus on the fix without interruptions.
Organize Workspace Efficiently
To guarantee your repair goes smoothly, start by organizing your workspace with all the tools and parts you’ll need within easy reach. This prevents unnecessary delays and frustration. First, gather essential tools like an adjustable wrench, screwdriver, and pliers.
Second, lay out the replacement parts you’ve collected, such as washers, nuts, or O-rings. Third, clear the area around your sink to avoid clutter. Keep small parts in a container to prevent losing them.
By setting up your workspace efficiently, you’ll streamline the repair process and reduce mistakes. Having everything organized saves time and keeps you focused. Before you begin, double-check that all tools and parts are ready to go.
A tidy, prepared workspace makes fixing your faucet quicker and less stressful.
Remove Faucet Handles and Components Safely
Before removing the faucet handles, turn off the water supply to prevent leaks and water damage. Then, open the faucet to drain any remaining water.
Turn off the water supply and open the faucet to drain remaining water before removing handles.
Use an Allen wrench or screwdriver to carefully loosen the screws securing the handles. Once the screws are out, gently lift the handles away from the faucet body.
If your handles have decorative caps, pry them off with a flat-head screwdriver to access hidden screws. Be cautious not to force or damage any parts.
If components are stuck, apply a small amount of penetrating oil and wait a few minutes before trying again. Keep track of all screws and small parts so you don’t lose anything.
Removing handles carefully prevents damage and makes reassembly easier.
Tighten Loose Connections and Mounting Nuts
Start by inspecting the mounting nuts and connections under the sink. Look for any that are loose or wobbly. If you notice movement, it’s time to tighten them.
Use an adjustable wrench to carefully turn the nuts clockwise. To guarantee a secure fit, follow these steps:
- Identify all mounting nuts and connections linked to the faucet.
- Tighten each nut gradually, avoiding over-tightening which can cause damage.
- Check for leaks or instability after tightening, then make adjustments if needed.
Keep an eye on the connections, making sure they’re snug but not overly tight. Properly securing these parts prevents leaks and keeps your faucet steady during use.
Reassemble Your Faucet and Check for Leaks
Carefully reassemble the faucet by replacing any removed components, making certain each part fits snugly into its original position. Tighten all connections securely without over-tightening, which could damage parts.
Once everything is back in place, turn on the water supply slowly. Watch for leaks around the base, spout, and underneath the sink.
If you notice drips or water escaping, double-check that all fittings are tight and properly seated. Use a cloth to wipe away any excess water to better see leaks.
If a leak persists, tighten the fittings a little more or reseat the components. Remember, a secure reassembly prevents future leaks and keeps your faucet functioning properly.
Take your time to make sure everything is tight, and don’t forget to test the faucet thoroughly.
Tips to Maintain Your Kitchen Faucet and Prevent Future Problems
To keep your kitchen faucet in top shape, make sure to clean it regularly to prevent buildup.
This helps avoid clogs and keeps everything flowing smoothly.
If you notice any leaks, fix them right away to prevent more serious damage down the line.
Little problems can turn into costly repairs if you’re not proactive.
Staying on top of these simple steps can save you time and money in the long run.
A little maintenance goes a long way in keeping your kitchen faucet working perfectly.
Regular Cleaning Practices
Regular cleaning is essential to keep your kitchen faucet functioning smoothly and looking its best. Regular maintenance helps prevent buildup that can cause blockages or corrosion.
To keep your faucet in top shape, wipe down the surface daily with a soft cloth to remove water spots and grime.
Clean aerators and spray heads monthly by soaking them in vinegar to dissolve mineral deposits.
Check for and remove any debris or buildup around the base and handles to prevent leaks and ensure smooth operation.
Addressing Leaks Promptly
Addressing leaks as soon as they appear can save you from bigger repairs down the line. When you notice dripping or water pooling around your faucet, don’t ignore it. Small leaks can waste gallons of water and cause damage to your countertop or cabinet.
Turn off the water supply immediately to prevent further leakage. Next, identify the source—whether it’s a worn-out washer, loose fitting, or faulty cartridge. Fix the issue promptly by replacing worn parts or tightening connections.
If you’re unsure, call a professional to avoid causing more damage. Regularly checking for leaks and fixing them quickly keeps your faucet working smoothly and prevents costly repairs later.
Staying attentive to leaks is a simple but effective way to maintain your kitchen faucet and extend its lifespan.
Frequently Asked Questions
How Often Should I Inspect My Kitchen Faucet for Issues?
You should inspect your kitchen faucet at least once every few months to catch any issues early. Regular checks help you spot leaks, drips, or loose parts before they get worse.
If you notice water pressure drops or unusual noises, check immediately. Routine inspections keep your faucet working smoothly and prevent costly repairs.
Staying proactive helps extend its lifespan and keeps your kitchen leak-free. It’s a simple step that gives you peace of mind.
Can I Fix a Leaky Faucet Without Professional Help?
Yes, you can fix a leaky faucet yourself if you’re handy with tools. Think of it as untangling a stubborn knot—you just need patience and the right approach.
Start by turning off the water, then disassemble the handle and replace worn washers or cartridges. With a bit of careful work and a splash of confidence, you’ll stop that drip from becoming a drip-drenched headache.
What Are Common Signs That a Faucet Needs Replacing?
You’ll notice corrosion, persistent leaks, or inconsistent water flow, indicating your faucet may need replacing.
If you hear strange noises when using it or see water stains around the base, it’s a sign.
Also, if repairs become frequent and costly, replacing the entire faucet might be more practical.
Don’t ignore these signs, as they can lead to bigger plumbing issues or water damage over time.
Are There Eco-Friendly Options for Repairing My Faucet?
Yes, you can find eco-friendly options for repairing your faucet. Look for biodegradable or non-toxic sealants and washers made from sustainable materials like silicone or rubber.
Choosing water-efficient aerators can also reduce water usage and energy consumption. Many brands now offer environmentally friendly plumbing products.
How Long Does a Typical Faucet Repair Take?
A typical faucet repair usually takes about 30 minutes to an hour, depending on how complicated the issue is.
It’s a good idea to gather your tools beforehand, like wrenches and replacement parts, so you’re ready to go.
By turning off the water supply, following the right steps, and working efficiently, you can often finish small repairs within half an hour.
More complex problems, like replacing cartridges or fixing leaks, might take a bit longer to sort out.
Conclusion
By following these simple steps, you’ll have your kitchen faucet feeling firm and secure once again. Imagine the gentle hum of water flowing smoothly, no longer interrupted by leaks or wobbles.
With a little effort, you’ve turned a shaky fixture into a steadfast centerpiece of your kitchen. Keep an eye on it and enjoy the calm, steady stream that’s ready to serve you for years to come.
No more drips, just reliable function. A tight and secure kitchen faucet makes all the difference in your daily routine.