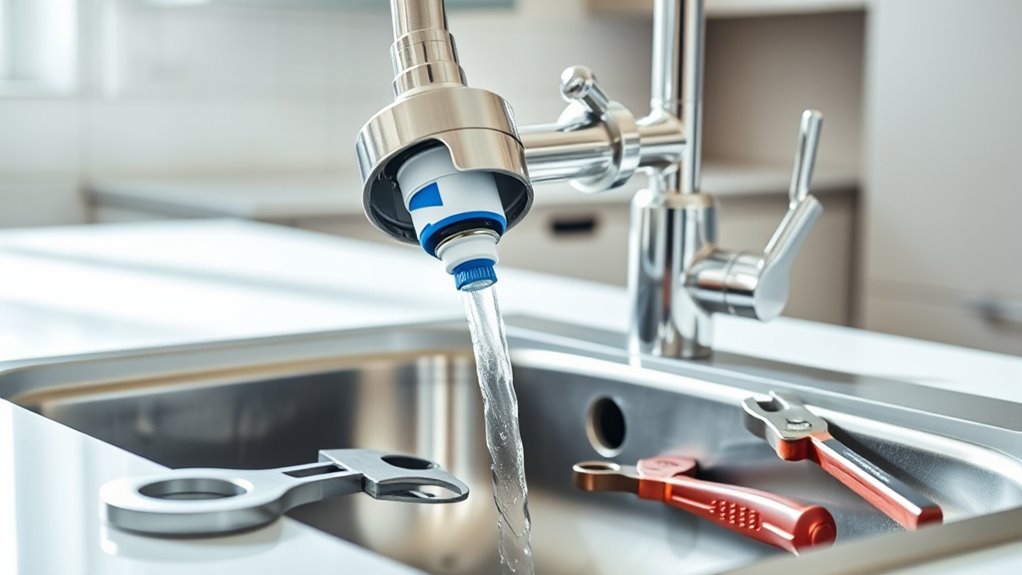
7 Simple Steps to Replace Your Kitchen Sink Faucet
Few home improvement projects can feel as daunting as replacing your kitchen sink faucet. You’re not alone—many people struggle with figuring out where to start or worry about making a mistake.
Luckily, with a little guidance, this is a task you can easily tackle yourself.
To replace your kitchen sink faucet in seven simple steps, start by gathering your tools and preparing your workspace.
Turn off the water supply, remove the old faucet carefully, and disconnect supply lines.
Then, position and secure your new faucet, connect the water lines with plumber’s tape, and tighten all fittings.
Finally, turn the water back on to check for leaks and adjust as needed.
For a smooth process, keep following these tips for detailed guidance.
Key Takeaways
- Gather all the necessary tools and double-check that the new faucet includes all the parts you’ll need before you start.
- Turn off the main water supply. Then, drain any remaining water from the lines to avoid spills.
- Next, remove the old faucet. Disconnect the supply lines and loosen the mounting nuts holding it in place.
- Install your new faucet by securing it with the mounting hardware. Connect the supply lines, and it’s a good idea to use plumber’s tape to prevent leaks.
- Turn the water back on and check for any leaks. After that, perform regular maintenance to keep everything working smoothly.
Gather Your Tools and Materials Before Replacing Your Kitchen Faucet
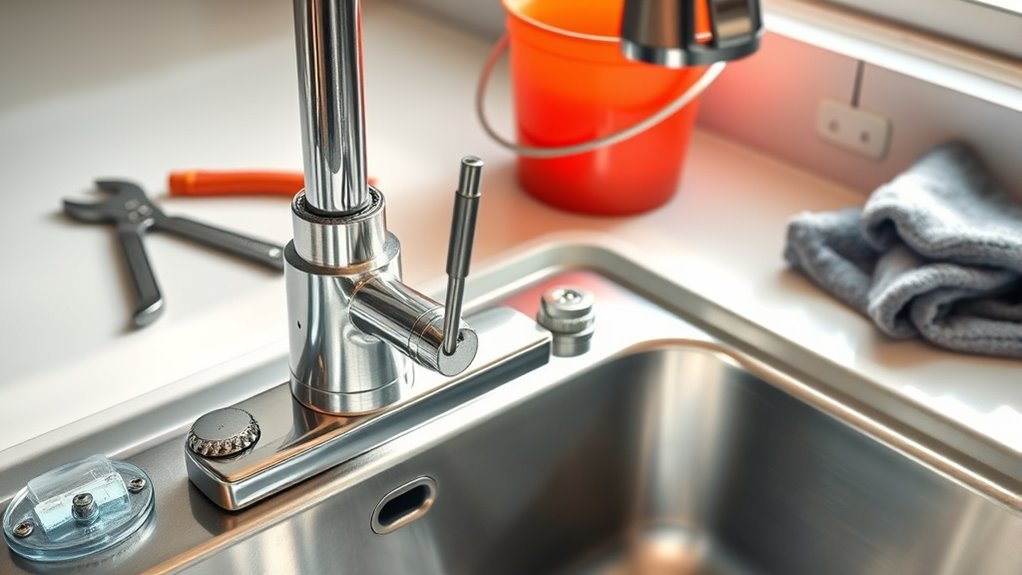
Before you start replacing your kitchen faucet, gather all the tools and materials you’ll need. You’ll want a basin wrench, adjustable wrench, screwdrivers, and plumbing tape.
Have a bucket or towel ready to catch any water drips. Make sure you have the new faucet, including all parts and mounting hardware.
It’s also a good idea to keep a rag or cloth nearby for cleaning up spills. Check if you need extra supplies like replacement hoses or washers.
Organizing everything beforehand saves you time and frustration during the job. Double-check that you have the right tools for your specific faucet model.
Being prepared makes the replacement smoother and helps you avoid multiple trips to the hardware store. Proper prep makes the job easier and more efficient.
Turn Off the Water and Prepare Your Workspace
Turn off the main water supply to avoid leaks before you start.
Clear the area around the sink so you have plenty of space to work.
This helps keep the process safe and mess-free as you replace your faucet.
Shut Off Main Water
To start replacing your kitchen sink faucet, you need to shut off the main water supply. This step prevents water from flowing while you work, avoiding messes and potential damage.
First, locate your main water shut-off valve, which is usually near the water meter or under the sink. Turn the valve clockwise to close it completely.
Next, turn on your faucet to drain any remaining water in the lines. Finally, check that no water is flowing by turning the faucet on briefly; if water stops, you’re ready to proceed.
- Locate the main shut-off valve.
- Turn the valve clockwise to close.
- Open your faucet to drain residual water.
Clear Workspace Area
Clearing your workspace is an essential first step to guarantee a smooth faucet replacement. Before you start, turn off the water supply to prevent leaks or water damage.
Make sure the area around your sink is free of dishes, soap, and any clutter. Remove any items stored underneath or nearby to give yourself plenty of room to work.
Lay down a towel or cloth to catch any drips or small parts that might fall. Having a clean, organized space helps you work efficiently and reduces the risk of losing small components.
Take a moment to gather your tools and supplies so everything is within easy reach. A tidy workspace makes the entire process safer and more manageable.
Remove Your Old Kitchen Faucet Step-by-Step
Start by turning off the water supply valves beneath the sink to prevent leaks. Once the water is shut off, open the faucet to drain any remaining water.
Next, loosen the mounting nuts holding the faucet in place with an adjustable wrench. Then, disconnect the supply lines from the faucet using pliers.
Loosen mounting nuts with an adjustable wrench, then disconnect supply lines with pliers for easy faucet removal.
Finally, lift the old faucet out of the sink. Keep track of all hardware for reinstallation or disposal.
Taking these steps carefully ensures a smooth removal process without damaging your sink or surrounding area.
Install Your New Kitchen Faucet Correctly
Align the new faucet with the mounting holes on your sink and insert it securely into place. From underneath, tighten the mounting nuts to hold the faucet firmly. Make sure the faucet is straight and properly aligned before tightening all the way.
To guarantee a proper fit and prevent leaks, connect the water supply lines to the faucet’s inlet ports. Use an adjustable wrench to tighten fittings, but be careful not to over-tighten.
Here’s a quick overview:
| Step | Tip |
|---|---|
| Attach water supply lines | Hand-tighten first, then use wrench to make it snug |
| Check alignment | Adjust before fully tightening connections |
| Tighten mounting nuts | Ensure the faucet is stable without overtightening |
Test for Leaks and Make Final Adjustments
Turn on the water supply and run the faucet to check for leaks. Carefully observe all connection points for drips or moisture. If you notice leaks, tighten fittings gradually until they stop. To make sure everything works smoothly, follow these steps:
- Check all underneath connections for moisture or drips, tightening fittings if needed.
- Run both hot and cold water to verify proper flow and look for any irregularities.
- Inspect the base and handles for any signs of water escape or loose parts.
Once you’ve confirmed there are no leaks and everything operates correctly, wipe down the area and clean up any debris. Making these final adjustments guarantees your faucet functions perfectly and helps prevent future issues.
Maintain Your New Faucet and Prevent Future Issues
To keep your new faucet working smoothly, make a habit of cleaning it regularly to prevent buildup. Check for leaks monthly and address any issues promptly to avoid bigger problems.
If you notice worn-out parts, replace them right away to extend your faucet’s lifespan.
Regular Cleaning Practices
Regular cleaning is key to keeping your new kitchen faucet looking great and working smoothly. Regular upkeep helps prevent buildup that can cause stains, odors, or even damage over time.
To keep your faucet in top shape, try these simple practices:
- Wipe the surface daily with a soft cloth to remove water spots and fingerprints.
- Use a mild cleaner or vinegar solution weekly to clear away mineral deposits and soap scum.
- Check and clean the aerator monthly to ensure a steady water flow and prevent clogs.
Check for Leaks Regularly
Checking for leaks frequently is one of the easiest ways to keep your new faucet working well. Just take a moment to look around the base, spout, and under the sink for any signs of water drips or pooling.
Even small leaks can waste water and cause damage over time. If you see moisture or dripping, tighten fittings or swap out worn washers right away.
Turn on the water and run both hot and cold to make sure everything flows smoothly without leaks. Keep an eye out for reduced water pressure, which could mean hidden leaks or blockages.
Catching problems early helps you avoid costly repairs and makes your faucet last longer. Regular leak checks are a simple, effective way to keep your faucet performing its best and prevent future issues.
Replace Worn-Out Parts
Worn-out parts are a common cause of faucet problems, and replacing them quickly can save you from bigger repairs later. Check your faucet regularly for leaks, drips, or low water flow. These signs often mean some parts are worn out.
Focus on these key parts to keep your faucet working smoothly:
- O-rings and washers – Replace these to stop leaks and ensure a good seal.
- Cartridge or valve assembly – Swap out if you notice stiffness or irregular water flow.
- Aerator – Clean or replace it to boost water pressure and prevent buildup.
Troubleshoot Common Faucet Replacement Problems
When replacing a kitchen sink faucet, you might run into some common issues that can seem tricky at first. Leaking around the base usually means the seal isn’t tight enough or the mounting hardware isn’t secure.
Tighten the mounting nuts carefully, but don’t overtighten, which can damage fittings. If water flow is weak, check for clogged aerators or mineral buildup; cleaning or replacing these parts often fixes the problem.
For persistent leaks after installation, make sure all connections are tight and the supply lines are properly attached. If the handle is hard to turn, check that the cartridge or valve stem is correctly installed and free of debris.
Troubleshooting these common problems quickly helps keep your faucet working smoothly and prevents further damage.
Frequently Asked Questions
How Do I Choose the Right Kitchen Faucet Style?
You choose the right kitchen faucet style by thinking about your kitchen’s design and what you need. Consider the finish that matches your decor, like chrome or matte black, and the spout height and reach for practicality.
If you like a modern look, go for sleek, minimalist designs. For traditional kitchens, choose more ornate styles that add a classic touch. Also, think about features like pull-down or touchless options to make your day-to-day tasks easier.
Can I Replace a Kitchen Faucet Without Professional Help?
You can definitely replace a kitchen faucet without professional help if you’re handy. It’s a bit of a leap of faith, but with the right tools and patience, you’ll pull it off.
Turn off the water supply, disconnect the hoses, remove the old faucet, then install the new one step-by-step.
Just remember, take your time and follow instructions carefully. Your DIY spirit will save the day!
What Are Signs My Faucet Needs Replacing?
You’ll know your faucet needs replacing if it’s dripping constantly, even after tightening the handles, or if it’s leaking underneath the sink.
Look for corrosion, cracks, or mineral buildup around the spout and handles. Reduced water flow can also be a sign of internal damage.
If you notice any of these signs, it’s probably time to replace your faucet to avoid more problems and keep your water usage efficient.
How Long Does a Typical Faucet Replacement Take?
A typical faucet replacement takes about 30 minutes to an hour, depending on your skill level and the faucet’s complexity. You’ll want to turn off the water, disconnect the old fixture, and install the new one with precise patience.
Prepare for potential problems like stubborn fittings or leaks. With a little time and tools, you can transform your tap’s trendiness in no time, taking your kitchen from drab to fab.
Are There Eco-Friendly Faucet Options Available?
Yes, eco-friendly faucet options are available. You can choose water-saving models with aerators that reduce water flow without sacrificing performance.
Look for faucets labeled as ENERGY STAR or those with low-flow features, which help conserve water and energy. These options are easy to install and can significantly lower your utility bills while helping the environment.
Conclusion
Replacing your kitchen sink faucet might seem intimidating, but with these simple steps, you’re in control. Think of it as turning the page to a new chapter in your kitchen’s story—one where you’re the author of a smoother, leak-free experience.
Welcome the process, trust your skills, and enjoy the satisfaction of a job well done. Because when you master this task, you’re not just installing a faucet—you’re elevating your space.