How Long to Pressure Cook Roast Beef Step by Step
Many people struggle with figuring out the perfect way to cook a tender, juicy roast beef using a pressure cooker. You’re not alone—getting that right balance of time and technique can be tricky.
Luckily, pressure cooking can make it easier and faster to enjoy a delicious roast.
To pressure cook roast beef, plan for about 20-25 minutes per pound, depending on thickness and preferred doneness. For example, a 3-pound roast takes roughly 60-75 minutes.
Make sure you trim excess fat, season well, and sear the meat first. Use a meat thermometer to check for doneness, and let the roast rest for 10-15 minutes before slicing.
For more tips on timing, prepping, and troubleshooting, keep exploring this step-by-step guide.
Key Takeaways
- Cook for 20-25 minutes per pound, but keep in mind that you might need to adjust based on the thickness of the roast and how well-done you like it.
- Use a meat thermometer to check the internal temperature. Aim for around 135°F if you want it medium-rare, or 140-145°F for medium.
- Once it’s done, let the pressure release naturally for about 10-15 minutes. This helps the juices stay inside and keeps the meat tender.
- Before cooking, make sure the roast is at room temperature and has been seared. This gives it a nice crust and helps it cook evenly.
- After cooking, let the meat rest for 10-15 minutes before slicing. Always cut against the grain for the most tender slices.
How Long Should You Pressure Cook Roast Beef for Perfect Results?
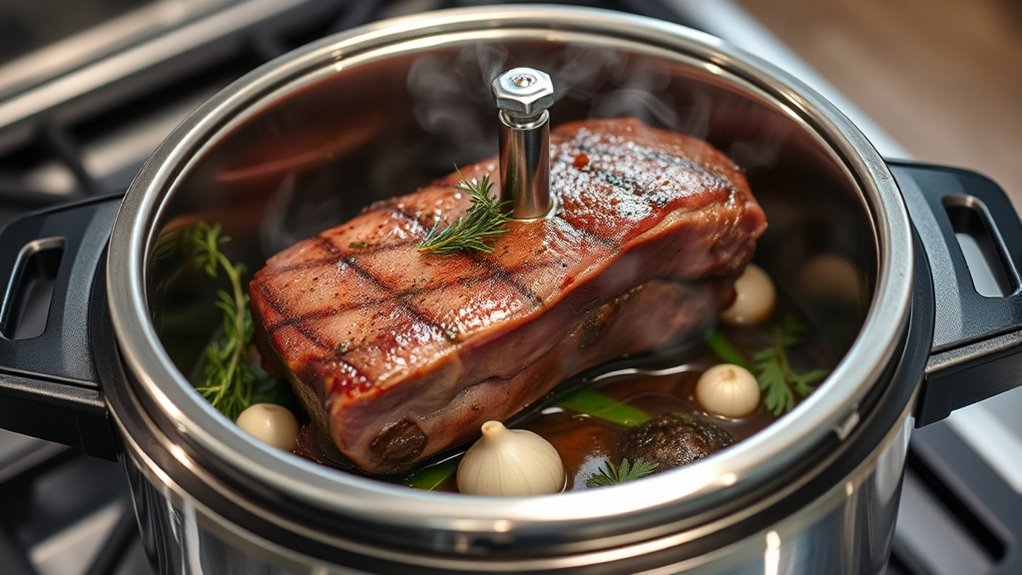
Wondering how long to pressure cook roast beef for the best results? The cooking time depends on the size and cut of your roast.
For a tender, juicy result, aim for about 20-25 minutes per pound of meat. If you’re cooking a 3-pound roast, this means around 60-75 minutes under pressure.
Always consider the thickness and your preferred doneness—less time for rare, more for well done. Once the cooking cycle ends, allow a natural pressure release for 10-15 minutes, which helps retain juices.
Keep in mind, overcooking can make the meat dry, so monitor your time carefully. Adjust the cooking duration based on your specific cut and the texture you desire.
Preparing Your Roast Beef for Pressure Cooking: Tips and Tricks
Preparing your roast beef properly before pressure cooking ensures it turns out tender and flavorful. Start by trimming excess fat to prevent greasiness, then pat the meat dry to promote even browning. Season generously with salt, pepper, and your favorite herbs or marinades for extra flavor.
Consider searing the roast in a hot skillet for a few minutes on each side. This step locks in juices and improves the taste. If you’re adding vegetables or aromatics, place them at the bottom of the pressure cooker to create a flavorful base.
Make sure the meat is at room temperature before cooking. This helps promote even cooking. Lastly, check that your pressure cooker is clean and working properly for smooth results every time.
How to Determine the Best Pressure Cooking Time Based on Roast Size
To get the perfect result, you need to evaluate the size and thickness of your roast. Larger or thicker cuts will need more cooking time.
Smaller ones cook faster, so adjust your pressure cooking time accordingly. This way, you can guarantee the meat is tender and cooked through.
Roast Size and Thickness
The size and thickness of your roast are key factors in determining how long it needs to cook under pressure. Larger or thicker cuts will take more time to cook thoroughly, while smaller or thinner roasts cook faster.
When measuring, consider both the total weight and the height of the meat. A thicker roast might need a few extra minutes to reach the right tenderness, but a thinner cut will cook quicker.
If you have a large roast, cutting it into smaller, uniform pieces can help ensure even cooking. Remember, thickness affects how heat reaches the meat, so adjust your cooking time accordingly.
Always keep an eye on your roast’s progress and use a meat thermometer to check for doneness. This way, you’ll get perfect results every time.
Adjusting Cooking Duration
Adjusting the cooking duration based on roast size is key to getting tender, perfectly cooked meat. Larger roasts need more time under pressure, while smaller ones cook faster.
To find the best cooking time, think about the weight and thickness of your roast. Usually, add about 5 minutes per pound for a standard cut.
If your roast is thicker, extend the cooking time a bit so heat can reach all parts. For thinner cuts, cut back on the time accordingly.
Always follow a trusted pressure cooker recipe as your guide and tweak it based on your specific roast size.
How Do You Know When Your Roast Beef Is Done and Juicy?
To tell if your roast beef is done and juicy, start by checking its temperature with a meat thermometer. That’s the most reliable way to know if it’s cooked to your preferred doneness.
Next, you can do simple tests like gently pressing the meat or looking at its appearance to see if it’s tender and moist. These clues help you judge its doneness without cutting into it.
Keep an eye on visual cues and texture to make sure it’s perfectly cooked and flavorful. A little practice will help you get a feel for when your roast is just right.
Meat Temperature Indicators
Wondering how to tell when your roast beef is perfectly cooked and juicy? Meat temperature indicators are your best guide. Use a reliable meat thermometer to check the internal temperature.
For medium-rare, aim for about 135°F (57°C); for medium, 140-145°F (60-63°C); and for well-done, 155°F (68°C) or higher. Insert the thermometer into the thickest part of the roast, avoiding bone and fat, for an accurate reading.
Keep in mind that meat continues to cook slightly after removing it from the pressure cooker, so pull it out a few degrees below your target temperature. This guarantees your roast remains tender and juicy without overcooking.
Using a thermometer gives you precise control over doneness and assures a delicious result.
Juiciness Test Techniques
Knowing when your roast beef is juicy and perfectly cooked isn’t just about checking the temperature. It also involves observing its appearance and texture.
You can test juiciness by gently pressing the meat. If it yields slightly without feeling mushy, it’s probably tender and moist.
Use a meat fork or skewer to pierce the roast. Juicy meat will release minimal liquid, which shows it’s ready.
Here’s a quick guide with key indicators:
| Indicator | What to Look For | What It Means |
|---|---|---|
| Surface appearance | Slight sheen, no dry patches | Juicy and well-moistened |
| Firmness | Slight give when pressed | Tender and moist |
| Juices when pierced | Clear and minimal | Properly cooked and juicy |
| Texture after resting | Slight softness, not rubbery | Juicy and tender |
| Overall moisture | No excessive dryness or pooling | Perfectly cooked, juicy roast beef |
Visual and Texture Cues
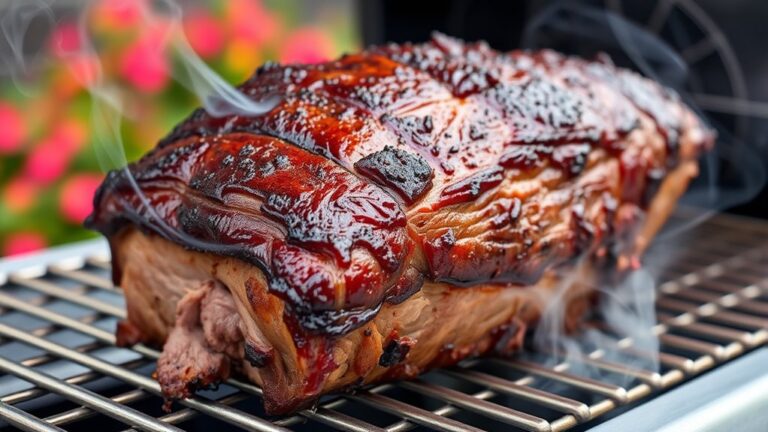
When checking if your roast beef is done and juicy, visual and texture cues are your best indicators. Look for a deep, even brown crust on the outside, signaling proper cooking.
The meat should feel firm but still have some give when pressed gently with tongs or a fork, indicating it’s cooked through but not overdone.
When you cut into the roast, the juices should run clear, not pink or bloody. The interior color should be uniform, with no raw or overly dark areas.
A properly cooked roast will have a slight springiness and a tender appearance. Use these cues together to assess doneness and keep your beef juicy and flavorful without drying out or becoming tough.
Common Mistakes That Can Affect Pressure Cooking Time and Texture
One common mistake that can throw off your pressure cooking results is not properly preparing or measuring your ingredients. Using too much or too little liquid can mess with the cooking time and texture, leading to undercooked or mushy meat.
Overfilling the pressure cooker can stop it from reaching the right pressure, which means uneven cooking. Not trimming excess fat or connective tissue can make the meat tough and chewy.
Also, ignoring the recommended size of the roast can change the cooking time—bigger cuts need more time, smaller ones less. Failing to secure the lid properly can prevent the cooker from building enough pressure.
Finally, opening the pressure cooker before releasing pressure naturally or manually can cause the meat to be underdone or overcooked, affecting the final result.
Rest and Serve Your Roast Beef for Maximum Juiciness
Allowing your roast beef to rest after cooking is key to locking in its juices and getting the most flavor. Resting helps the meat reabsorb the juices that move to the surface during cooking, making it tender and juicy.
Resting your roast beef reabsorbs juices, ensuring tender, flavorful, and juicy slices every time.
To get the best results, remove the roast from the pressure cooker and place it on a cutting board or plate. Cover it loosely with aluminum foil to keep it warm.
Let it rest for at least 10-15 minutes; if you have a larger roast, give it more time. Then, slice against the grain for maximum tenderness and serve right away.
This simple step can really make a difference, turning a good roast into a flavorful, juicy masterpiece.
Troubleshooting: What to Do If Your Roast Isn’t Tender Enough?
If your roast isn’t as tender as you’d like after resting, don’t worry—there are simple ways to improve its texture. First, try slicing the beef into thinner pieces and simmering them in a flavorful broth or gravy for 10-15 minutes. This helps break down connective tissues further.
Alternatively, wrap the roast in foil and return it to the pressure cooker for an additional 5-10 minutes under high pressure. You can also let it rest longer, as some cuts need more time to become tender. Avoid overcooking, which can make the meat tough.
Finally, verify your cooking time and pressure level are adequate for the size and cut of your roast. Adjustments like these can make a big difference in achieving the desired tenderness.
Frequently Asked Questions
Can I Cook Frozen Roast Beef in a Pressure Cooker?
Yes, you can cook frozen roast beef in a pressure cooker. Just add a bit more cooking time—about 20 to 30 minutes longer than you would for fresh meat.
Make sure to add enough liquid, like broth or water, to create pressure and prevent burning. Keep the cooker sealed during cooking.
Afterward, check the meat’s internal temperature to ensure it’s cooked through. This method saves time and still gives you a tender, flavorful roast.
What Types of Roast Beef Are Best for Pressure Cooking?
Think of your pressure cooker as a treasure chest, revealing the richest flavors.
For the best results, pick cuts like chuck roast, brisket, or round roast.
These cuts are like seasoned adventurers, full of connective tissue that breaks down into tender, flavorful bites under pressure.
They hold up well to the intense heat, transforming into melt-in-your-mouth delights.
Every meal becomes a culinary treasure hunt with these cuts.
How Do Altitude Changes Affect Cooking Time?
Altitude changes can make your pressure cooking times longer because the lower air pressure reduces boiling temperatures.
At higher elevations, water boils at lower temperatures, so your roast beef might need extra cooking time to reach the right tenderness and safety.
To fix this, increase your cooking time by about 5% for every 1,000 feet above sea level.
Keep an eye on your pressure cooker’s instructions and adjust as needed for the best results.
Can I Use a Slow Cooker Instead of Pressure Cooking?
Yes, you can use a slow cooker instead of pressure cooking, but it will take longer.
Slow cookers usually need 6 to 8 hours on low or 4 to 6 hours on high to make roast beef tender.
Keep in mind that the texture and flavor might be a little different from pressure-cooked meat.
Adjust cook times based on your slow cooker’s size and how done you want the meat to be for the best results.
Is It Safe to Open the Pressure Cooker Immediately After Cooking?
No, it’s not safe to open the pressure cooker immediately after cooking. You should wait for the pressure to release naturally or use the quick-release method as per your cooker’s instructions.
Opening too soon can cause hot steam or liquid to escape forcefully, which could lead to burns or injuries. Always wait until the safety valve shows the pressure has fully dropped before opening the lid.
Safety always comes first!
Conclusion
Imagine slicing into your perfectly cooked roast, each piece tender and bursting with flavor, juices gleaming like a jewel. With the right pressure cooking time, you’ll create a mouthwatering masterpiece that melts in your mouth.
Trust the process, follow the tips, and rest assured, your hearty, juicy roast will impress everyone at the table. So, grab your pressure cooker, and turn simple ingredients into a spectacular, unforgettable meal.
For a tender roast beef, aim for about 20-25 minutes of pressure cooking per pound. Adjust the time slightly depending on your desired doneness and cut thickness.
Remember to let the pressure release naturally for the best results. This helps the meat stay juicy and tender.
Using the right pressure cooking time is key to achieving that perfect roast beef everyone will rave about.